In a previous blog post, I showed how to run a Play application into JBoss AS 7. This time since JBoss AS7 is now available on OpenShift Express we are going to deploy that exact same application on this free offering.
Environment
For this blog and related video, I'm using Linux (Fedora 15) and Play 1.2.2. The tools are also available for Mac and Windows.
Installation
We'll assume that you already have Play configured as in the previous post.
You will need an OpenShift Express account if you do not have one already, you can subscribe here. During the sign up process you will be led to a page explaining how to install the Red Hat Cloud tools.
You can also find a video about installing the tools on an RPM-based Linux distribution here.
If your environment is correctly setup you should:
- be able to run the play command (watch out the 'play' music player on Linux...)
- be able to run the rhc commands such as rhc-user-info
- be able to login on https://openshift.redhat.com/app/login with the username and password you chose during registration
The video at the bottom of this page will assume that the environment is already setup.
Create an OpenShift Express domain and application
The first thing to do with a new account is to create a domain. A domain can contain multiple apps.
The domain name will appear in the URL of your application according to the following scheme:
http://<application name>-<domain-name>.rhcloud.com
So pick a domain name that you can be proud of
To create a domain named play for the username theute@redhat.com (but that one is now used for this demo so you will need to create a new name):
rhc-create-domain -n play -l theute@redhat.com
And you should be prompted for your password:
Password:
Generating OpenShift Express ssh key to /home/theute/.ssh/libra_id_rsa
Generating public/private rsa key pair.
Enter passphrase (empty for no passphrase):
Enter same passphrase again:
Your identification has been saved in /home/theute/.ssh/libra_id_rsa.
Your public key has been saved in /home/theute/.ssh/libra_id_rsa.pub.
The key fingerprint is:
cb:50:b0:08:4f:52:5b:af:6d:a7:1a:e3:96:af:47:89 theute@desktop.heute
The key's randomart image is:
+--[ RSA 2048]----+
|  o.o o          |
|   = + +         |
|    + . o        |
|       +         |
|      o.S..      |
|      E+o+       |
|      oo+        |
|     .o+.        |
|     .++.        |
+-----------------+

Contacting https://openshift.redhat.com
Creation successful


You may now create an application.  Please make note of your local config file
in /home/theute/.openshift/express.conf which has been created and populated for you.
The domain has been successfully created !
Note: From now on, the default user will be theute@redhat.com and I won't need to specify it in the subsequent commands.
Now that the domain exist, we will want to create a new application, taking the JBoss AS 7 cartridge. To do so we will need to give it a name and specify the type of cartridge.
rhc-create-app -a booking -t jbossas-7.0
And you will be asked for the password again:
Password:


Found a bug? Post to the forum and we'll get right on it.
    IRC: #openshift on freenode
    Forums: https://www.redhat.com/openshift/forums


Attempting to create remote application space: booking
Contacting https://openshift.redhat.com


RESULT:
Successfully created application: booking


Checking ~/.ssh/config
Contacting https://openshift.redhat.com
    Adding rhcloud.com to ~/.ssh/config
Now your new domain name is being populated worldwide (this might take a minute)...
Pulling new repo down
Warning: Permanently added 'booking-play.rhcloud.com,67.202.44.44' (RSA) to the list of known hosts.
Confirming application booking is available
  Attempt # 1


Success!  Your application is now published here:


      http://booking-play.rhcloud.com/


The remote repository is located here:


    ssh://21080154349345648355846370ea5738@booking-play.rhcloud.com/~/git/booking.git/


To make changes to your application, commit to booking/.
Then run 'git push' to update your OpenShift Express space
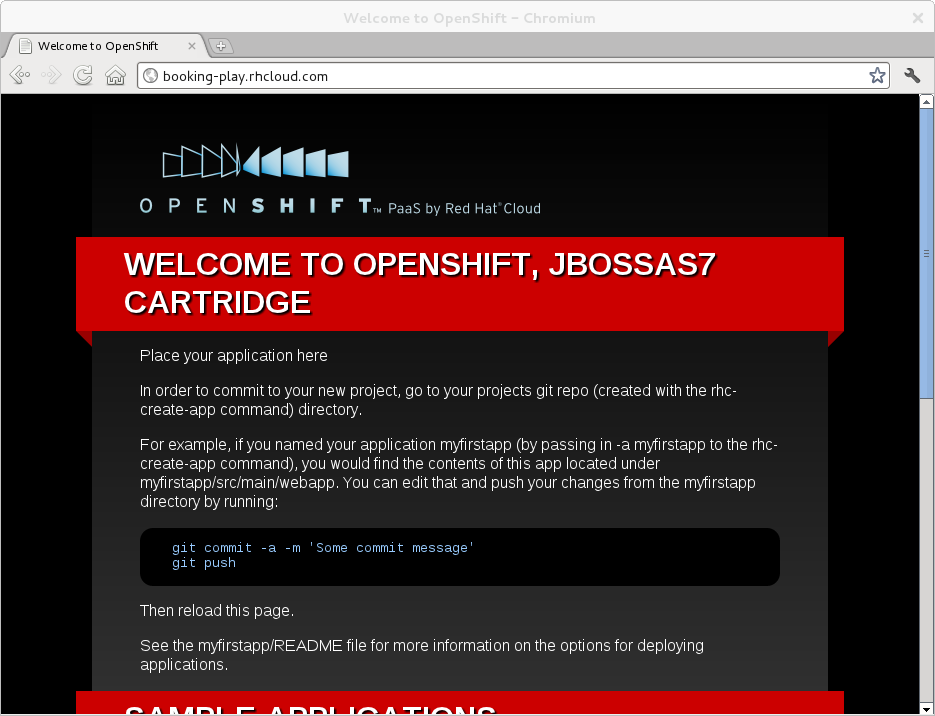
To measure your progress you can go to the URL mentionned (http://booking-play.rhcloud.com/ in my case) to see your first AS7 application running on OpenShift in action.
 Now that we have this application up and running, we can now deploy our Play application (the booking demo).
All the deployment is done using GIT. You will need to know a little bit about git, but the main commands will be used here (how to commit and push the changes).
Deploying the Play application
During the application creation, the command also clone the GIT repository locally in a folder named as your application (booking in our example).
It will look like this:
.
|-- deployments
|-- .openshift
|   |-- action_hooks
|   |   `-- build
|   |-- config
|   |   `-- standalone.xml
|   `-- markers
|       `-- README
|-- pom.xml
|-- README
`-- src
    `-- main
        |-- java
        |-- resources
        `-- webapp
            |-- health.jsp
            |-- images
            |   `-- jbosscorp_logo.png
            |-- index.html
            |-- samples
            |   |-- weld-login.war
            |   |-- weld-numberguess.war
            |   `-- weld-translator.ear
            |-- snoop.jsp
            `-- WEB-INF
                `-- web.xml
The pom.xml file and src directory is a Maven project, it's actually the webapplication that is shown on the screenshot above.
There are mainly two ways to deploy an application for JBoss AS 7 on OpenShift, either:
- You edit the files in src and on each git push the project will be compiled and deployed for you (pushing sources)
- You push a ready-to-go war file (pushing binaries)
Since our booking project isn't a Maven project, we will push a web archive directly and we will not need the pom.xml and src directory.
To remove those files, go to the GIT clone of your application and type:
git rm -rf pom.xml src
We can already commit that change:
git commit -m "Removing useless application"
Now similarly to what we've done in the previous blog entry, we will want to create a war from the booking play application.
Go to $PLAY_HOME/samples-and-tests then execute (after replacing /home/theute/booking, by the actual location of your GIT clone):
play war booking -o /home/theute/booking/deployments/booking.war
And you should get something like:
~        _            _
~  _ __ | | __ _ _  _| |
~ | '_ \| |/ _' | || |_|
~ |  __/|_|\____|\__ (_)
~ |_|            |__/
~
~ play! 1.2.2, http://www.playframework.org
~
Listening for transport dt_socket at address: 8000
14:14:43,652 INFO  ~ Starting /home/theute/Projects/Play/play-1.2.2/samples-and-tests/booking
14:14:44,425 INFO  ~ Precompiling ...
14:14:49,560 INFO  ~ Done.


~ Packaging current version of the framework and the application to /home/theute/booking/deployments/booking.war ...
~ Done !
~
~ You can now load  as a standard WAR into your servlet container
~ You can't use play standard commands to run/stop/debug the WAR application...
~ ... just use your servlet container commands instead
~
~ Have fun!
~
Now the last thing we need to do for JBoss AS 7 and since it is an exploded archive is to create a file named after our WAR name and siffixed by .dodeploy, this file needs to sit next to the booking.war folder:
touch /home/theute/booking/deployments/booking.war.dodeploy
At this point our GIT clone looks like:
.
|-- deployments
|   |-- booking.war.dodeploy

|   `-- booking.war
|       `-- WEB-INF
|           |-- application
|           |   |-- **
|           |-- classes
|           |   |-- application.conf
|           |   |-- data.yml
|           |   |-- messages
|           |   `-- routes
|           |-- framework
|           |   `-- **
|           |-- lib
|           |   |-- **
|           |-- resources
|           |   `-- messages
|           `-- web.xml
|-- .openshift
|   |-- action_hooks
|   |   `-- build
|   |-- config
|   |   `-- standalone.xml
|   `-- markers
|       `-- README
`-- README
We simply need to push our changes:
git add deployments/booking.war*
git commit -m "Adding Play Application"
git push
The last command will take some time the first time as the play application embeds a lot of (unused) libraries (25MB of files in total to upload). Next push would be much faster.
You should see the following:
Counting objects: 215, done.
Delta compression using up to 2 threads.
Compressing objects: 100% (199/199), done.
Writing objects: 100% (213/213), 25.62 MiB | 51 KiB/s, done.
Total 213 (delta 26), reused 0 (delta 0)
remote: Stopping application...
remote: done
remote: Found .openshift/config/standalone.xml... copying to /var/lib/libra/21080154349345648355846370ea5738/booking/jbossas-7.0/standalone/configuration/
remote: running .openshift/action_hooks/build
remote: Starting application...done
To ssh://21080154349345648355846370ea5738@booking-play.rhcloud.com/~/git/booking.git/
   ab9b0c1..51b68b3  master -> master
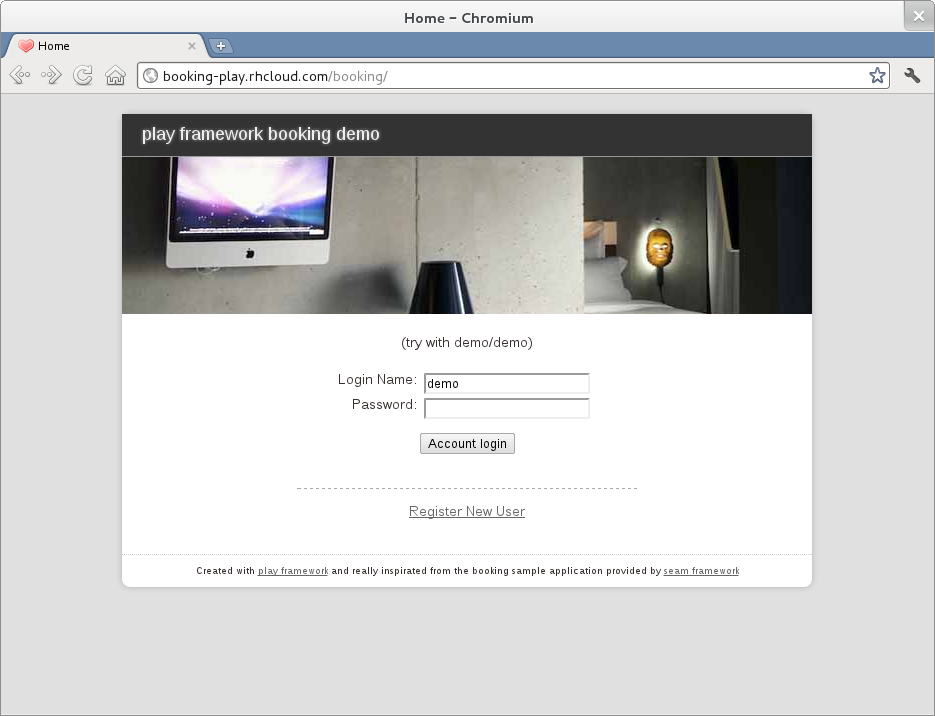
Now go to your address similar to http://booking-play.rhcloud.com/booking/ (this one should actually be running too) and you should see and be able to start using the application:
Next in the serie will be how to use MySQL as storage instead of H2 in memory (as currently setup).
I hope you enjoyed this little explanation, now you can see the same steps in action on this video: