Unzip the attached solution - BasicJMSListener.zip and make the appropriate modifications to the build.xml file.
The BasicJMSListenerConfig.xml file shouldn't require any modifications. It assumes there is a JMS queue named "D" running on localhost which is a default when installing the JBoss Application Server.
  <HowToJMSWatch
    listenerClass="org.jboss.soa.esb.listeners.JmsQueueListener"
    actionClass="howto.MyJMSWatcher"
    maxThreads="4"
    queueConnFactoryClass="ConnectionFactory"
    listenJndiType="jboss"
    listenJndiURL="localhost"
    listenQueue="queue/D"
  ></HowToJMSWatch>
This example also adds a
jndi.properties
file that is important for the JMS Test message sender that can be found in the src/util folder.
java.naming.factory.initial=org.jnp.interfaces.NamingContextFactory
java.naming.provider.url=jnp://localhost:1099
java.naming.factory.url.pkgs=org.jboss.naming
java.naming.factory.url.pkgs=org.jnp.interfaces
Again these are the default settings for a locally installed JBoss Application Server
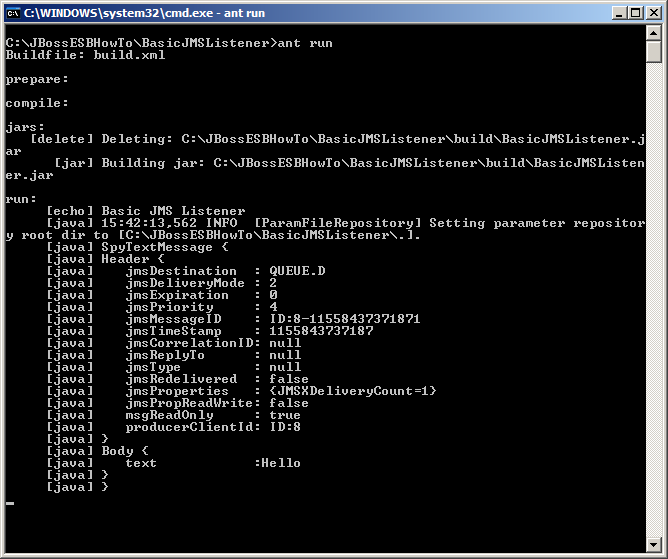
The actual body of the JMS message is simply "Hello" and is defined in the "runtest" task in the build.xml file.
Use "ant run" in one command window to start the JMS listener. Then use "ant runtest" in another command window to push the "Hello" message into queue D. You should see the message display on the JMS listener command window.

Comments