Running JSFUnit tests inside Eclipse is actually quite simple!
The following instructions assume the following:
- You can run JUnit tests within eclipse already
- You have successfully run a JSFUnit test on your app by following the instructions provided on this page: RunningJSFUnit
To get the tests working in eclipse all we need is to set the cactus.contextURL VM Argument.
The following instructions show two of many different ways of doing this.
Global Configuration
The advantages of this solution is that you only need to do it once
In Eclipse:
- Go to Window -> Preferences
You will be presented with this screen:
- Navigate to Java -> Installed JREs
- Select the JRE you are using (the one with the checkbox ticked)
- Click the Edit button
- In the default VM Arguments we will set the cactus variable.
It is in the format: -Dcactus.contextURL={protocol}://{server}:{port}/{application path}
Here is an example:
That's it! Now you should be able to open any of your JSFUnit tests and run them as if they were normal JUnit tests. Well, almost. You do of course need to have your application deployed and your server up and running.
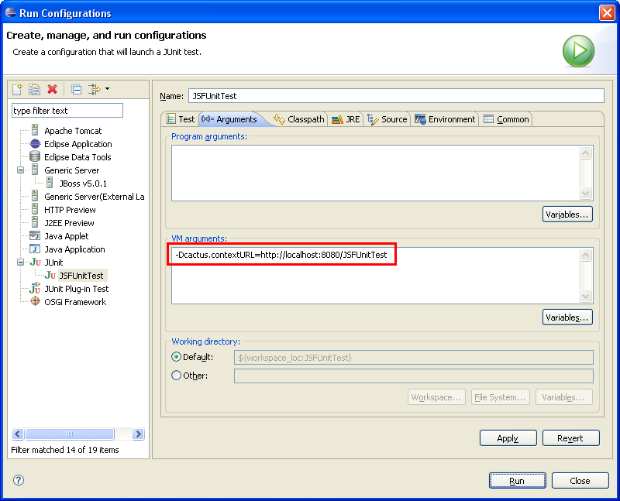
"JUnit" Run Configuration
Instead of modifying the global config (which will fail if you want test multiple web apps), you might also modify the run configuration of the project's unit test.
- To do so, create a "JUnit" Run Configuration. Choose "JUnit3" as a Test Runner.
- On the tab "Arguments", add the Cactus VM arg, as decribed above:
Now, "Run" the test!


Comments