http://www.redhat.com/docs/en-US/JBoss_Enterprise_Application_Platform/5.0.0/html/RESTEasy/index.html
We will take a step by step approach and utilize a Rest test client to verify that all is working without any further ado :
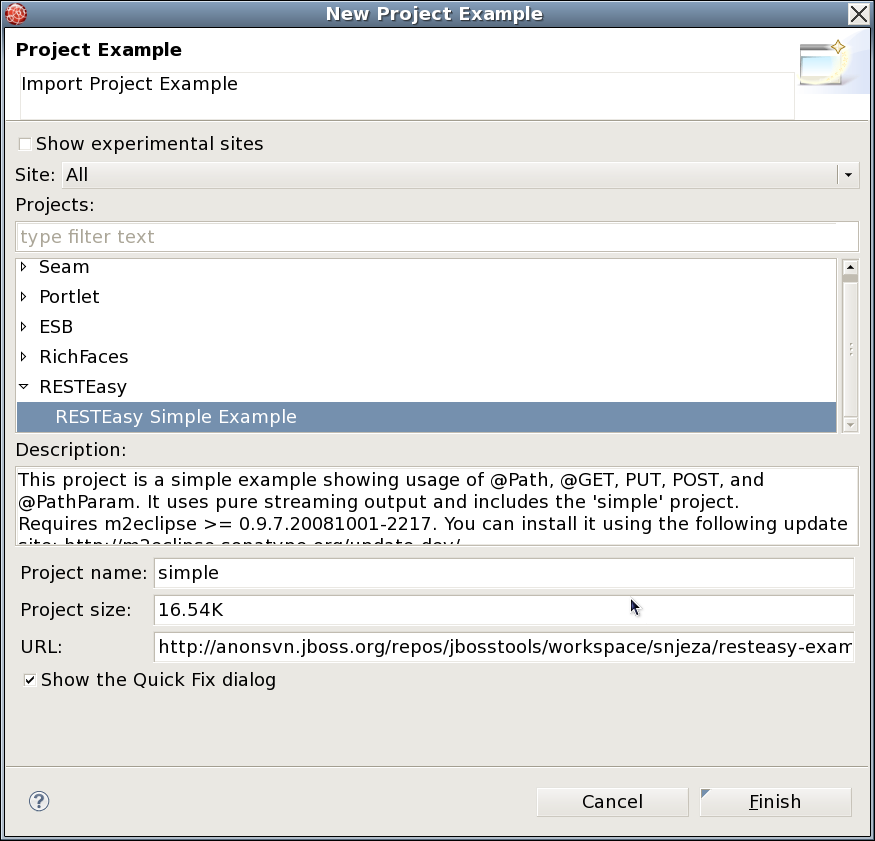
1) JBDS has several examples that allow you to test drive JBoss features from JBDS click on Help->Project Examples and scroll to RestEasy Simple Example and select it:
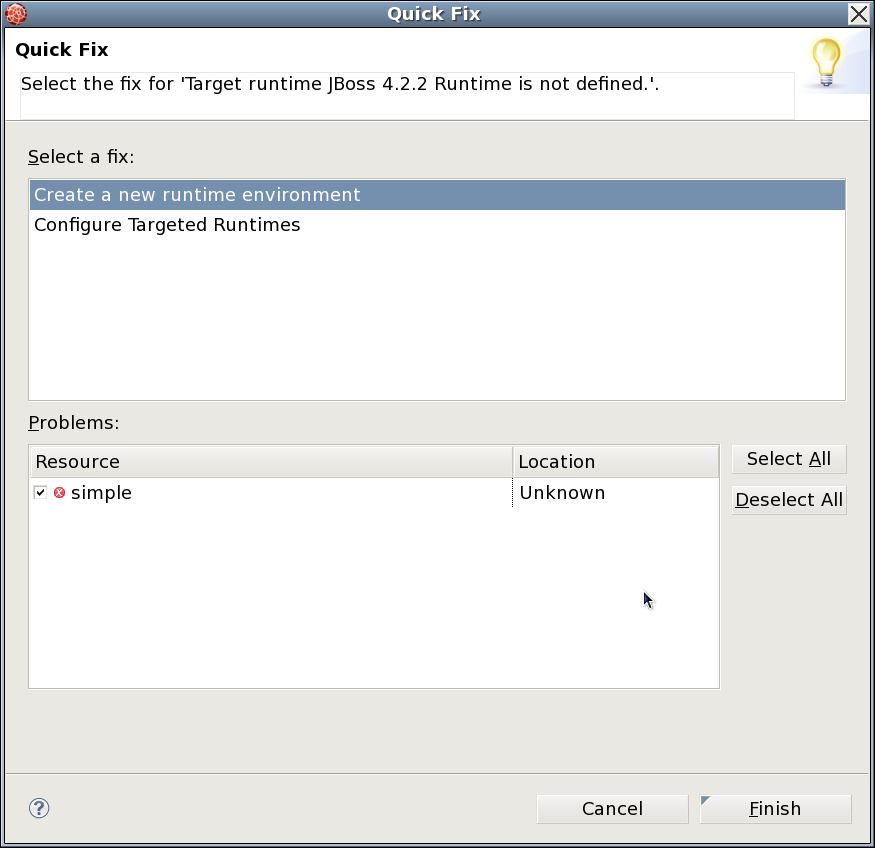
2) You'll have several fixes to take care of after adding the Example. The first is to fix the Server Runtime, add a EAP 5.0 Instance and use a Deploy folder (you could use default, if you like)
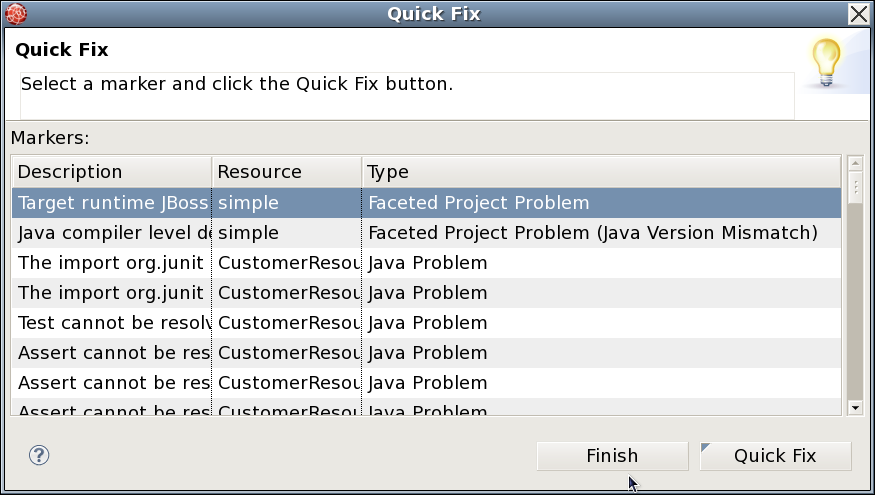
3) At this point you will have several fixes left, just ignore all these fixes for now, because most, if not all will go away, when you update the Web Project with the RestEasy Libraries. The RestEasy Libraries are found underneath the EAP 5.0 parent:
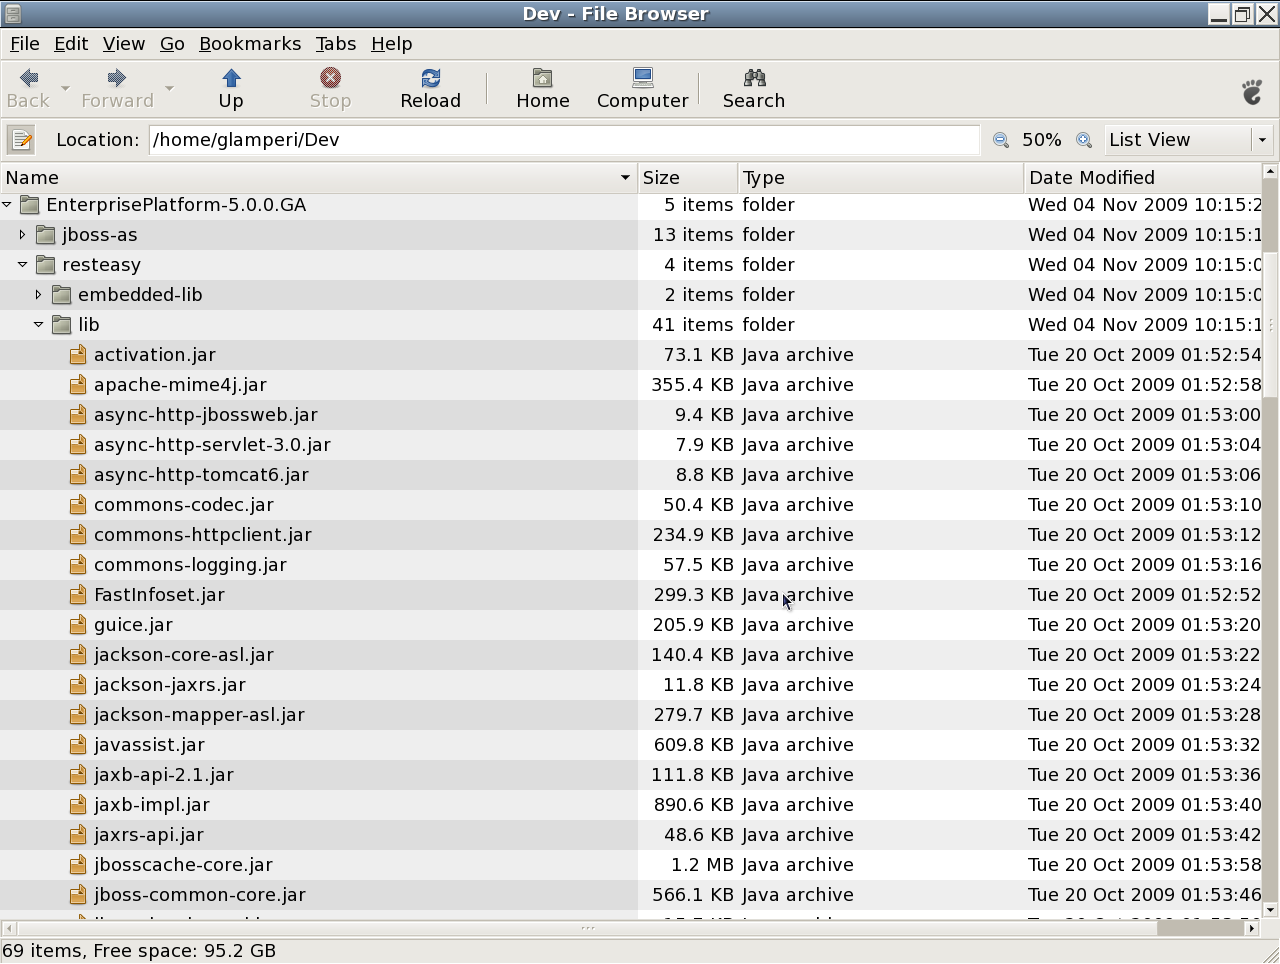
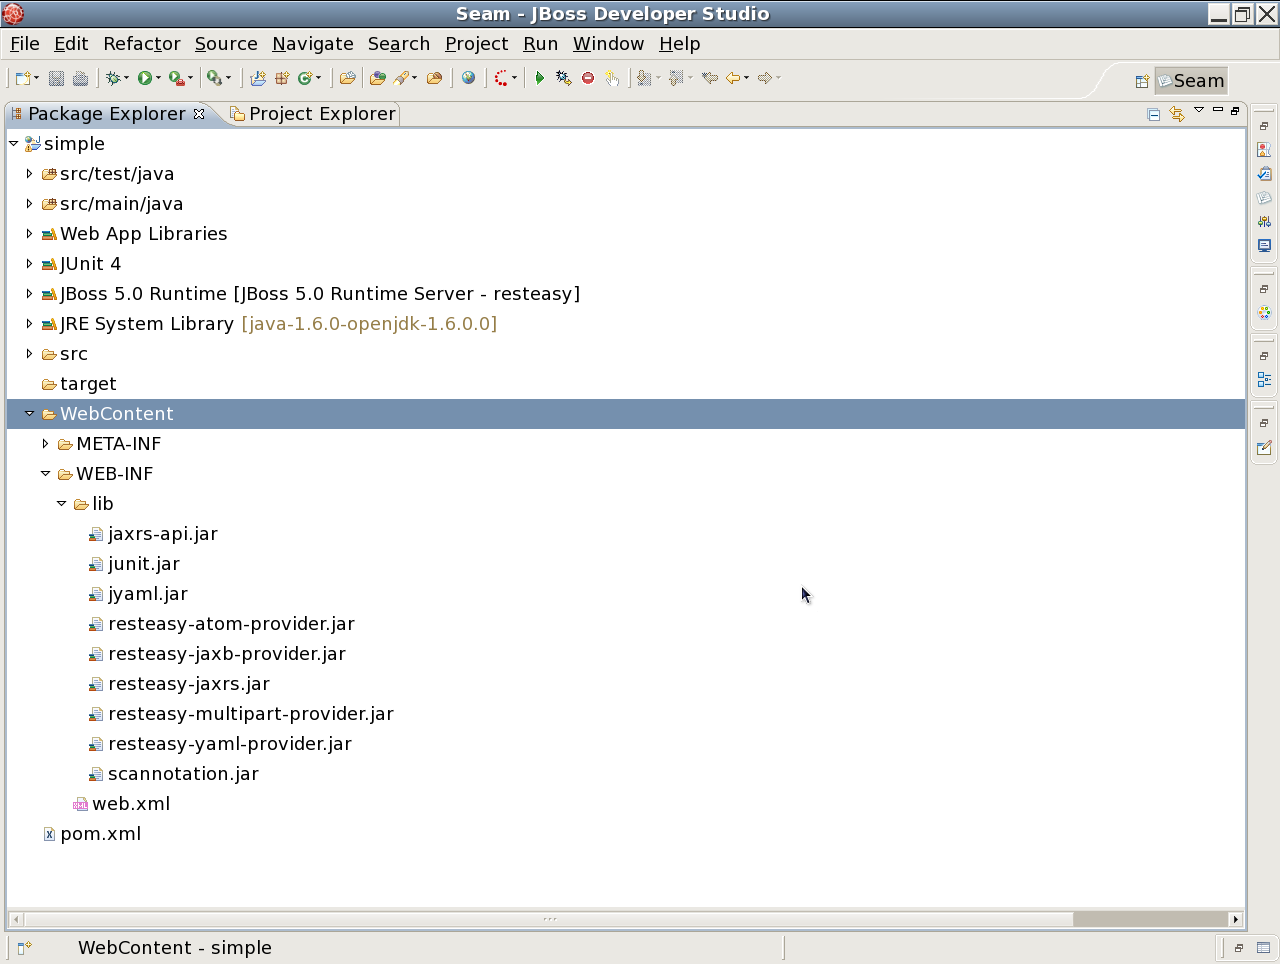
Only the 8 libraries in next screenshot need to be copied from the RestEasy Library folder to the WEB-INF/lib to make this Simple RestEasy example work, these are jaxrs-api.jar, jyaml.jar, resteasy-atom-provider.jar, resteasy-jaxb-provider.jar, resteasy-jaxrs.jar, resteasy-multipart-provider.jar, resteasy-yaml-provider.jar and scannotation.jar. Also, copy junit.jar from the seam/lib folder to the WEB-INF/lib:
4) At this point you should be able to Clean the example and add the Project it to the Server. Now We need something to Test the example to see that it works. The example includes a JUnit Test Case, but we are doing RestEasy, why not show how easy services can be called from a browser? One issue with this, is how to send to puts, and posts from a browser and how to handle JSON message bodies. I have found the RESTClient to be very useful, it is a plugin for Firefox and comes to us from the Google Chrome Project.
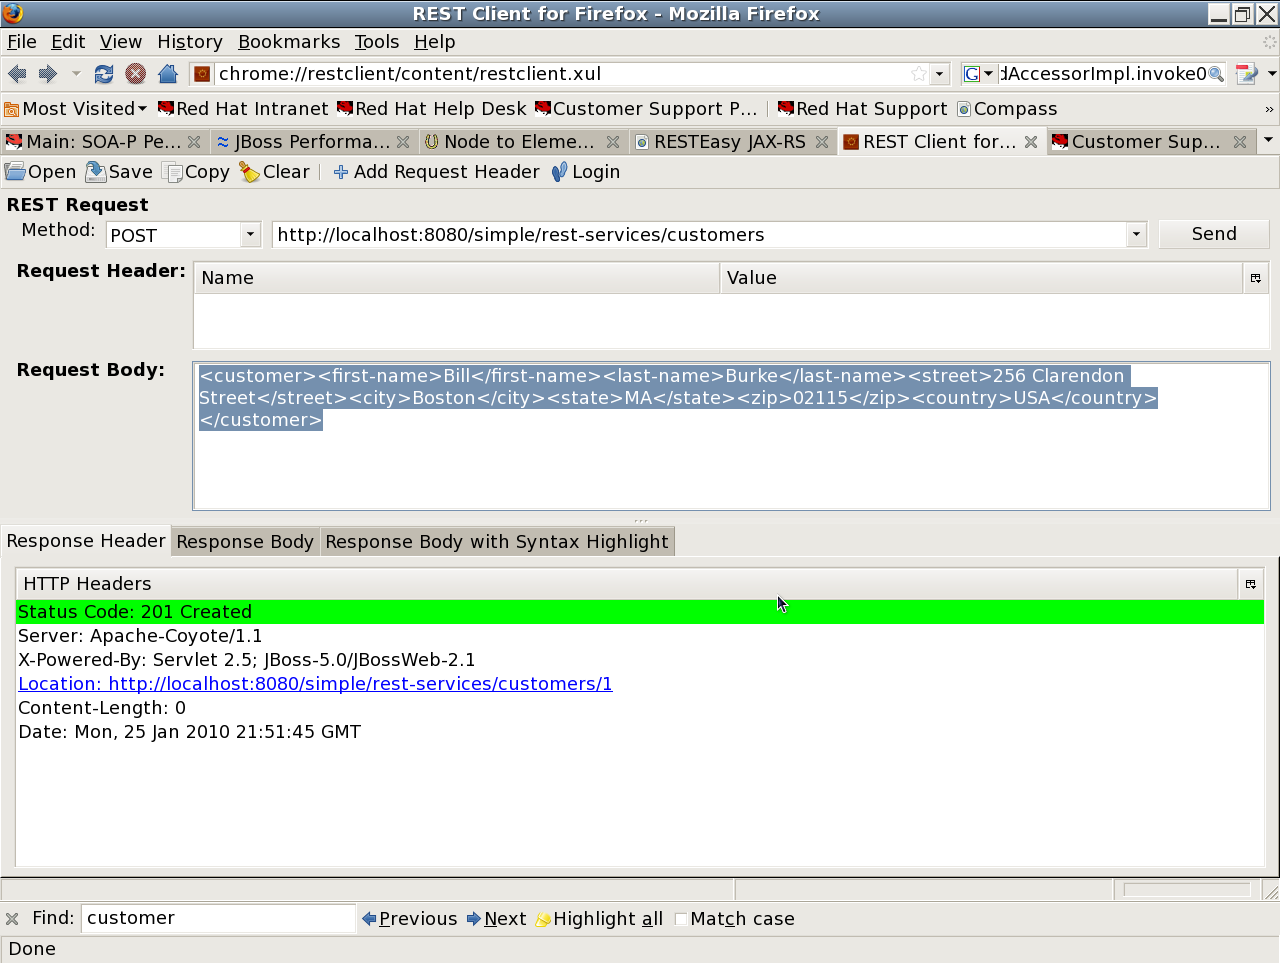
5) After downloading the RestClient, let's give the Simple Shopping Application a Customer Record. Copy the following without spaces(to avoid xerces exceptions at the server) to the Request Body Section of the RestClient:
<customer>
<first-name>Bill</first-name>
<last-name>Burke</last-name>
<street>256 Clarendon Street</street>
<city>Boston</city>
<state>MA</state><zip>02115</zip>
<country>USA</country>
</customer>
6) The Web.xml and the RestEasy Implementation Class are responsible for deciding what the final URL will look like and what methods are supported (again this is not a RestEasy tutorial, go to the Reference Guide discussed for more info). The URL to use for this test case is http://localhost:8080/simple/rest-services/customers. Using this url and a post method, We will create the first customer record with the RestClient.
Note: You may need to add the following request header by selecting the "Add Request Header" button:
name=content-type
value=application/xml
This ensures the request content type is consumable by the service POJO.
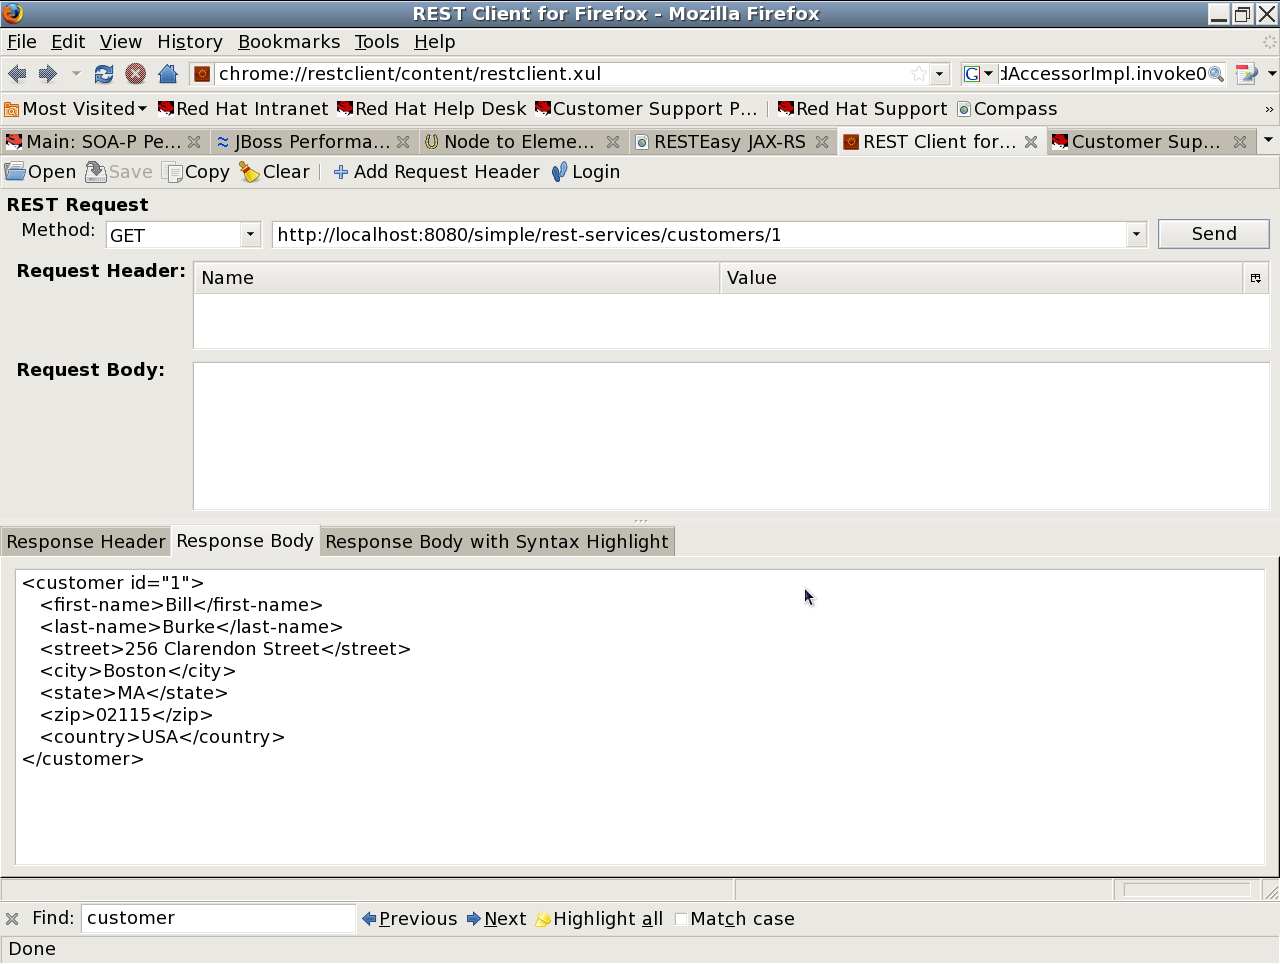
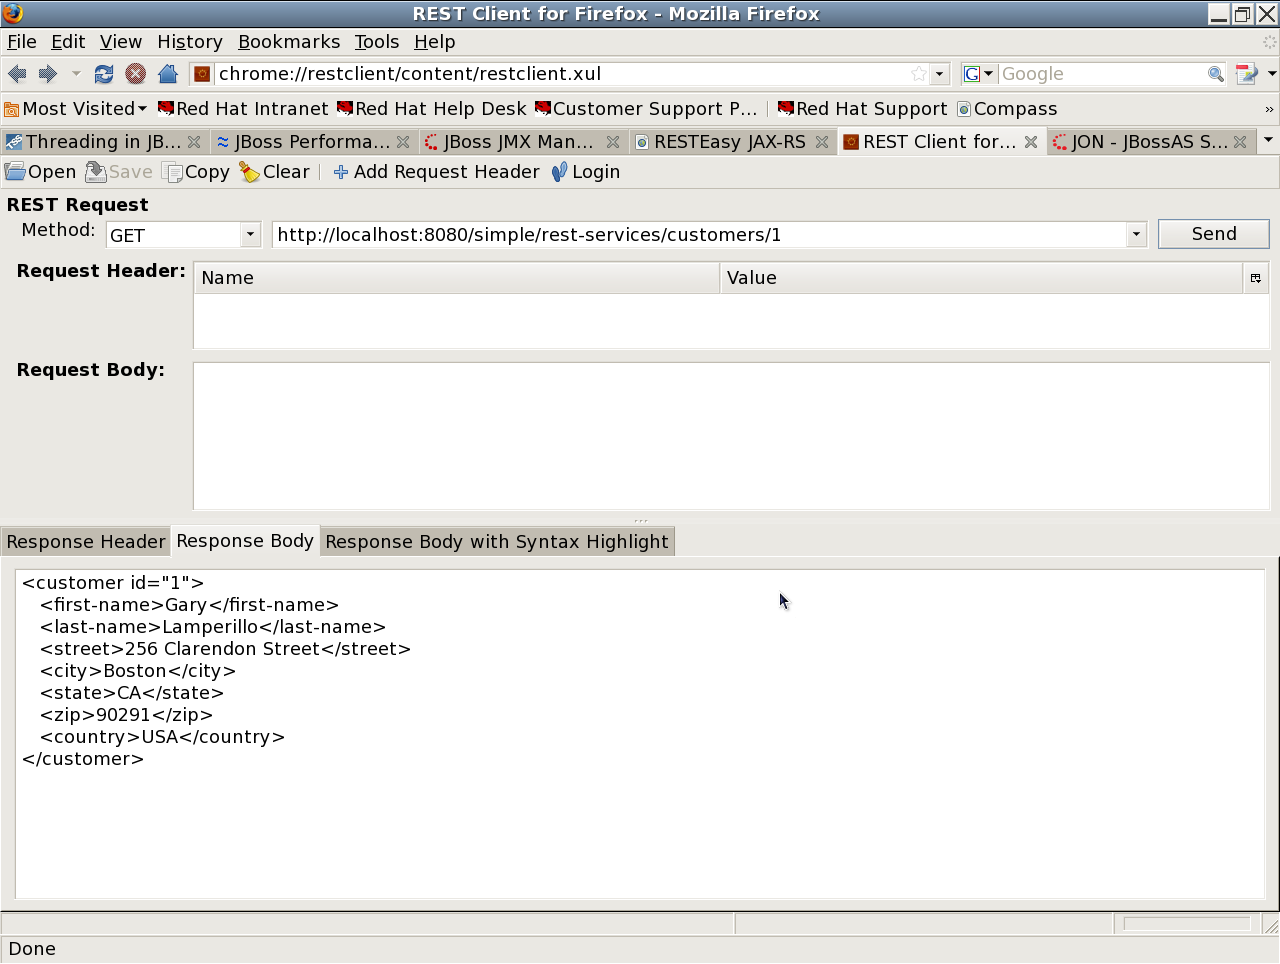
7) We can now use the Get Method and pass the id of 1 to get the first customer record. Click on the Response Body tab to see the same record that you previously posted to the server.
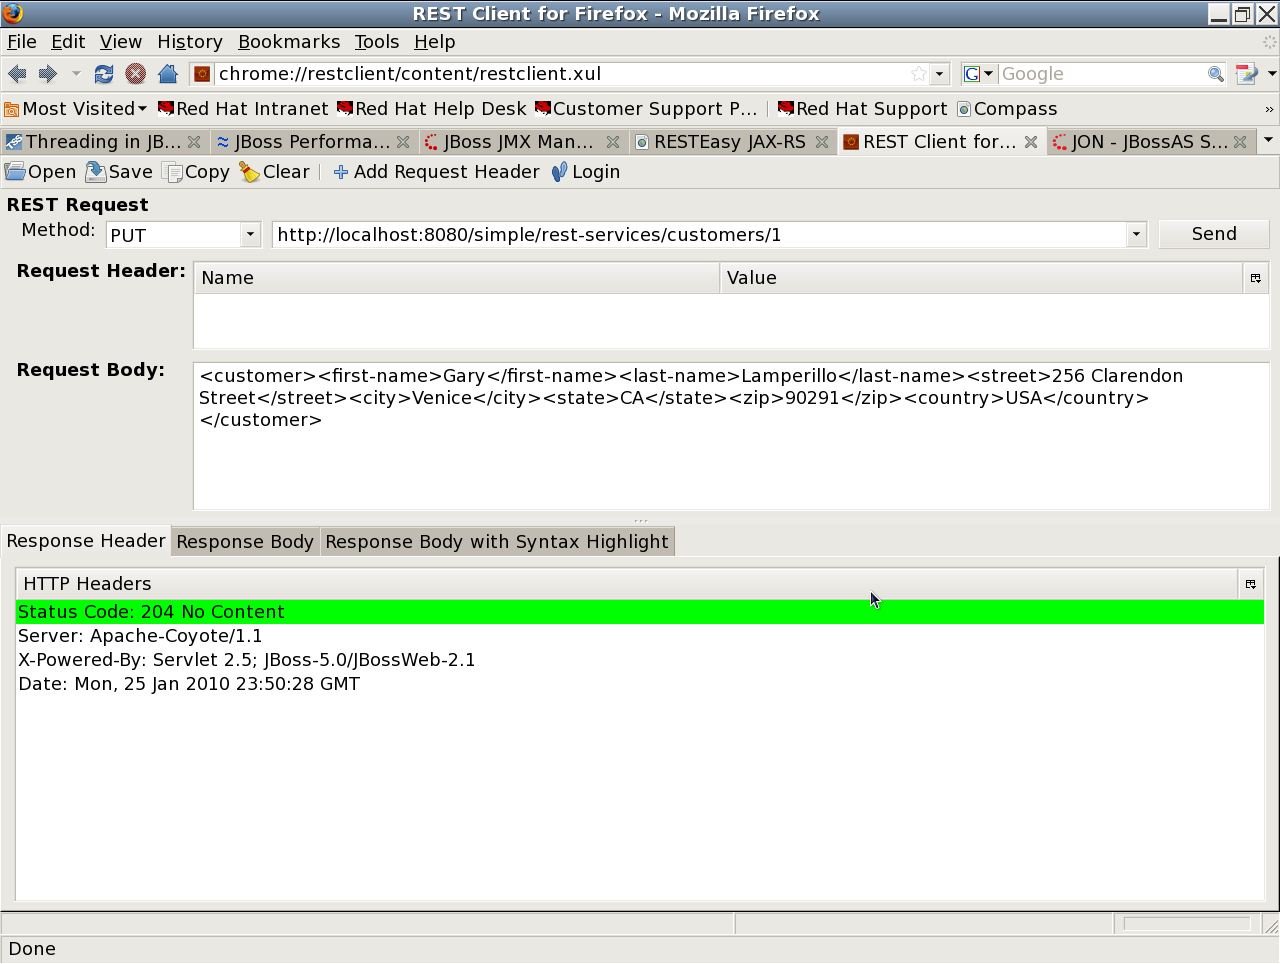
8) Now Let's Update the record with the Put Method, copy the following to the Request Body:
<customer>
<first-name>Gary</first-name>
<last-name>Lamperillo</last-name>
<street>256 Clarendon Street</street>
<city>Venice</city>
<state>CA</state>
<zip>90291</zip>
<country>USA</country>
</customer>
9) Now change the method to Put, and click send:
10) Again verify that the Record has changed with a Get Method call on the Customer Record ID 1.
You have just completed a RestEasy and JBDS tutorial, now you can take a rest
Comments