Provision Data Virtualization on OpenShift online
This article guides you through the process of provisioning a Data Virtualization instance on OpenShift online.
1. Get your free OpenShift Account
- Sign up for your free OpenShift account here
2. Deploy the Data Virtualization cartridge
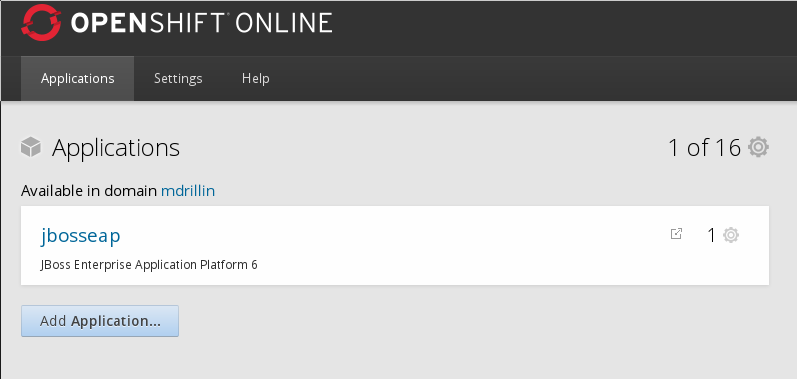
Go to the Applications page on OpenShift online https://openshift.redhat.com/app/console/applications . A sample page is shown below:
Click the Add Application... button.
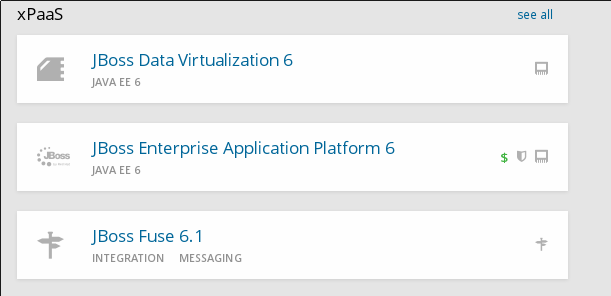
Then on the applications page, click JBoss Data Virtualization 6 from the xPaaS section:
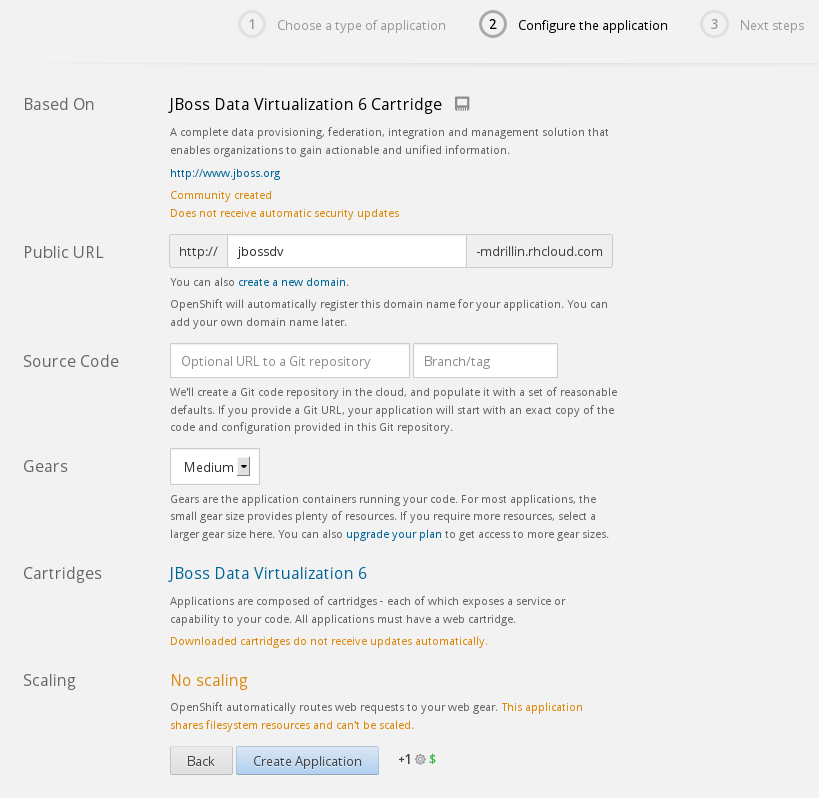
The application configuration page is shown below.
Enter the name of your application, e.g. 'jbossdv'. If your account allows, choose a Medium gear. Click the Create Application button.
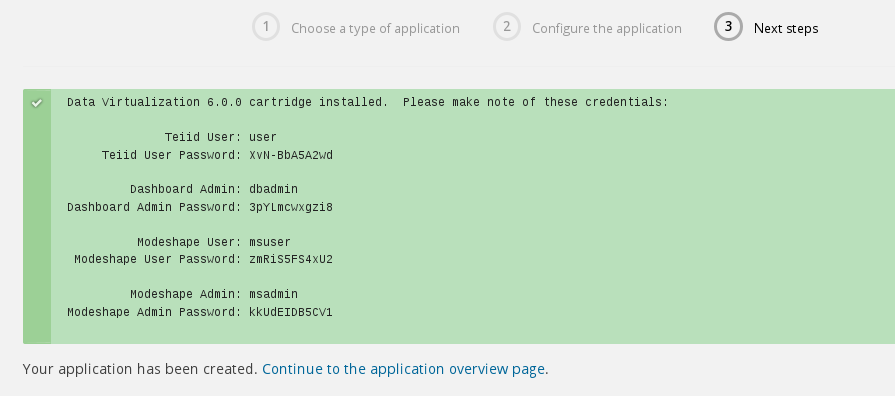
The Data Virtualization cartridge will now deploy. When complete, you will see a screen like this:
IMPORTANT: Please copy and save the User and Password info for later use!
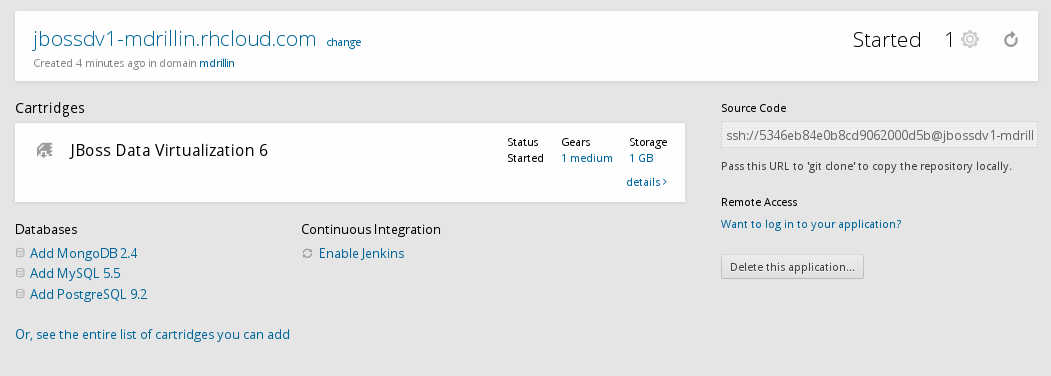
Click on Continue to the application overview page to see the Data Virtualization cartridge overview:
Verify that the status is Started
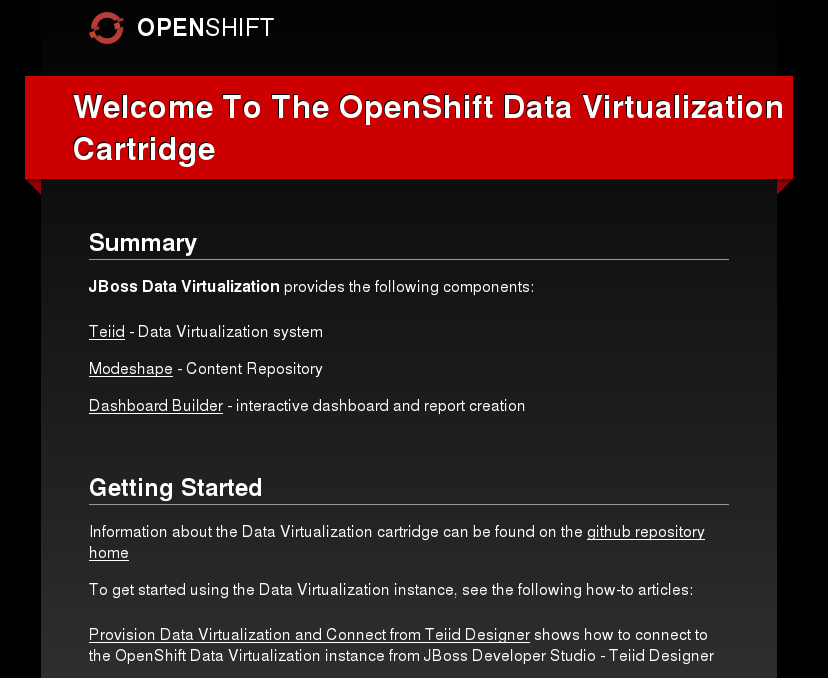
If you click on the application link (for example 'jbossdv1-mdrillin.rhcloud.com' above) you will see the Data Virtualization Welcome page. This page contains cartridge information and some getting started links:
Command line deployment:
Alternately, (if you have the OpenShift command line tools installed on your system) you can deploy the Data Virtualization cartridge from the command line:
$rhc app-create myApp jboss-dv-6.0.0
Deployment Complete
This completes the Data Virtualization deployment! If you would like to see how to connect to the OpenShift DV instance from the tooling, please continue with the following article:
Provision Data Virtualization and Connect from Teiid Designer
Comments