This article is about how RedDeer framework simplifies workflow in writing eclipse tests that depend on application server.
As a demostration an apache tomcat application server is used (because it is already integrated in RedDeer), but have in mind that there are several server requirements for JBoss AS already implemented in https://github.com/jbosstools/jbosstools-integration-tests/tree/master/plugins/org.jboss.ide.eclipse.as.reddeer. And you can even implement your own server requirements just by extending ServerRequirementsBase xsd and writing the supporting java classes. You can read more about RedDeer requirements here: https://github.com/jboss-reddeer/reddeer/wiki/Requirements
The idea behind is simple. You just write a configuration xml file and annotate your test classes. All other is done by the RedDeer framework.
Prerequisites
Unpack Apache Tomcat 8 and Eclipse Luna. Start eclipse and install RedDeer framework from http://download.jboss.org/jbosstools/builds/staging/RedDeer_master/all/repo/ updatesite.
Requirements Configuration
The Red Deer JUnit component provides support for easy test run configuration by providing its own XML schema. To create a test run configuration you only need to create the XML file and point Red Deer either to that file or to the folder containing several XML configuration files by specifying the following property on the command line when you run your test:
-Dreddeer.config=/home/path/to/file/or/directory
Prepare a configuration xml file for Apache Tomcat server requirement.
<?xml version="1.0" encoding="UTF-8"?>
<testrun xmlns="http://www.jboss.org/NS/Req" xmlns:xsi="http://www.w3.org/2001/XMLSchema-instance"
              xmlns:db="http://www.jboss.org/NS/db-schema" xmlns:server="http://www.jboss.org/NS/ServerReq"
              xsi:schemaLocation="http://www.jboss.org/NS/Req http://www.jboss.org/schema/reddeer/RedDeerSchema.xsd
                                                http://www.jboss.org/NS/ServerReq http://www.jboss.org/schema/reddeer/ApacheServerRequirements.xsd
                                                http://www.jboss.org/NS/db-schema http://www.jboss.org/schema/reddeer/DatabaseRequirement.xsd">


    <requirements>
          <!-- Example server configuration -->
          <server:server-requirement name="Tomcat8">
              <server:type>
                    <server:familyApacheTomcat version="8.0" />
              </server:type>
              <server:runtime>/home/path/to/apache-tomcat-8.0.21</server:runtime>
          </server:server-requirement>
    </requirement
</testrun>
Test Plugin
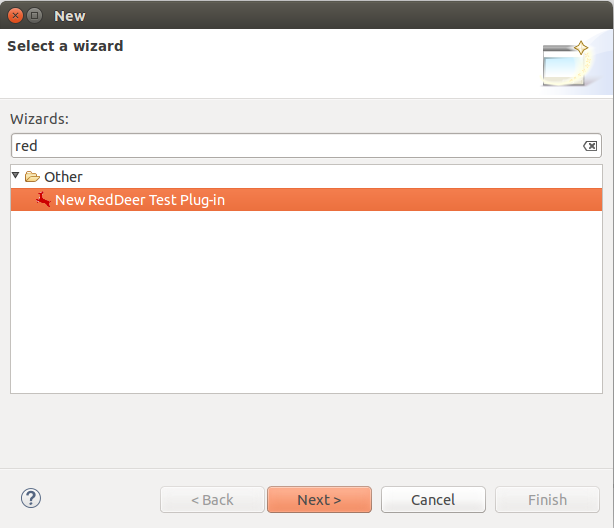
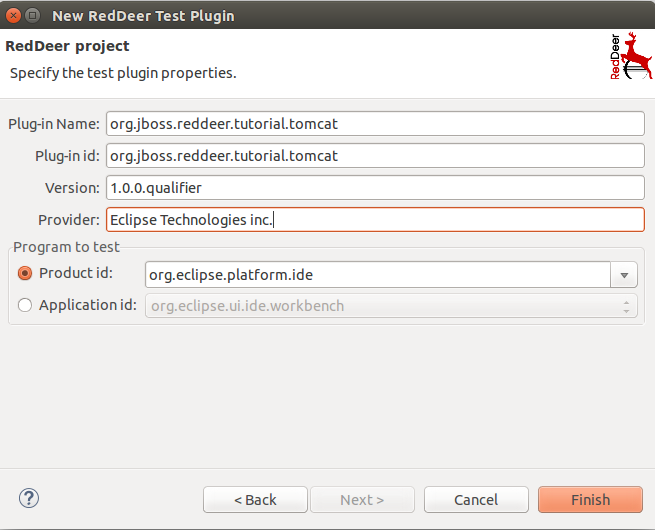
We need to create a test plug-in first. Simply we can use New RedDeer Test Plug-in wizard. We will fill in plugin name, id (for example org.jboss.reddeer.tutorial.tomcat) and vendor (whatever) and click Finish.
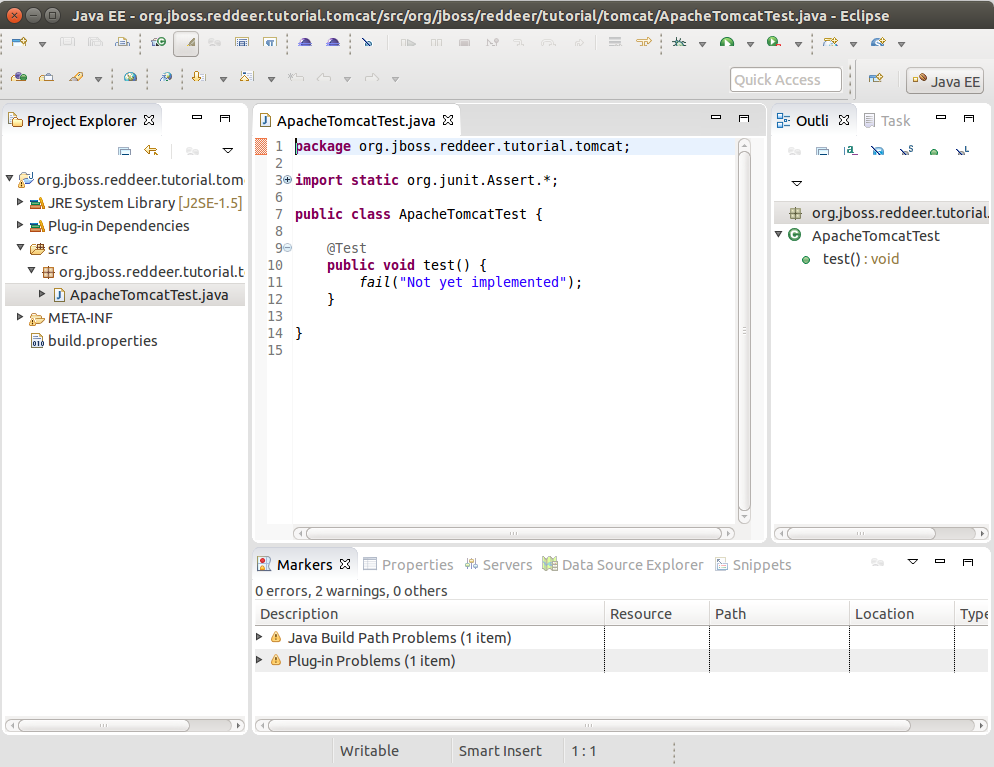
Use JUnit Test Wizard and create a Test Case. From main menu select File -> New ->Other… -> JUnit Test Case. Select a name e.g. ApacheTomcatTest and click finish.
Apache Tomcat Test
First add org.jboss.reddeer.requirements and org.jboss.reddeer.workbench dependency to the manifest in your test plugin.

Then modify the ApacheTomcatTest.java (created in previous step):
package org.jboss.reddeer.tutorial.tomcat;


import static org.junit.Assert.*;


import org.jboss.reddeer.eclipse.wst.server.ui.view.Server;
import org.jboss.reddeer.eclipse.wst.server.ui.view.ServersView;
import org.jboss.reddeer.eclipse.wst.server.ui.view.ServersViewEnums.ServerState;
import org.jboss.reddeer.junit.requirement.inject.InjectRequirement;
import org.jboss.reddeer.junit.runner.RedDeerSuite;
import org.jboss.reddeer.requirements.server.ServerReqState;
import org.jboss.reddeer.requirements.server.apache.tomcat.ServerRequirement;
import org.jboss.reddeer.requirements.server.apache.tomcat.ServerRequirement.ApacheTomcatServer;
import org.junit.Test;
import org.junit.runner.RunWith;


@RunWith(RedDeerSuite.class)
@ApacheTomcatServer(state=ServerReqState.RUNNING)
public class ApacheTomcatTest {

  @InjectRequirement
  protected ServerRequirement requirement;


  @Test
  public void isServerRunningTest(){

  ServersView sw = new ServersView();
  sw.open();
  Server s = sw.getServer(requirement.getServerNameLabelText(requirement.getConfig()));
  assertTrue(s.getLabel().getState().equals(ServerState.STARTED));
  }


}
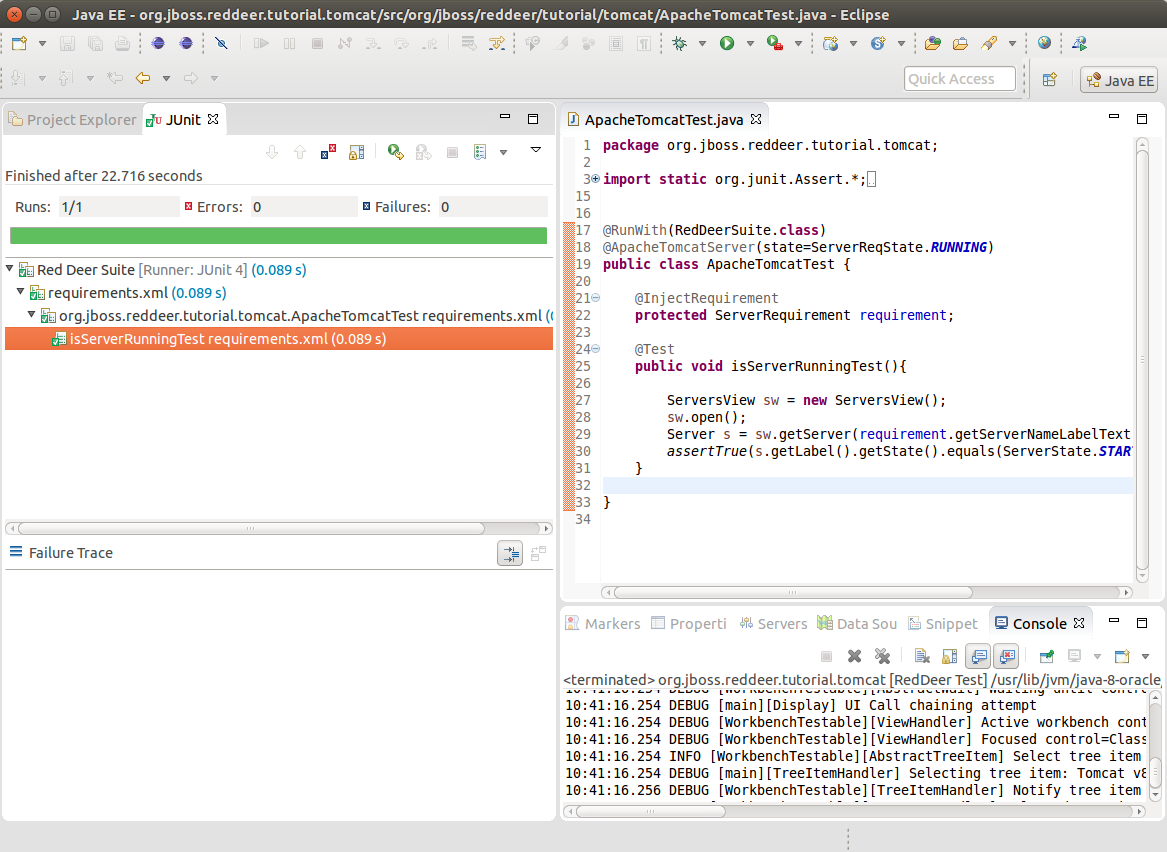
The example above shows how easy it is to use reddeer server requirements. First you need to annotate your test class with @ApacheTomcatServer annotation. In our case we request the server to be started before the test executes.
In the class itself you'll need to inject the requirement. Then you can use it in your test methods.
In this example we just test if the server has started. It is an UI test which opens the eclipse servers view, then finds the server (name can be read from the injected requirement) and reads the state of the server from UI.
Server requirements are especially handy if you need to test eclipse tooling which has some application server capabilities. E.g adding runtimes, deployments etc.
Run the Test
Create new Run Configuration (Run As -> Run Configurations) - then double click on RedDeer Test. Select JUnit4 Test runner.
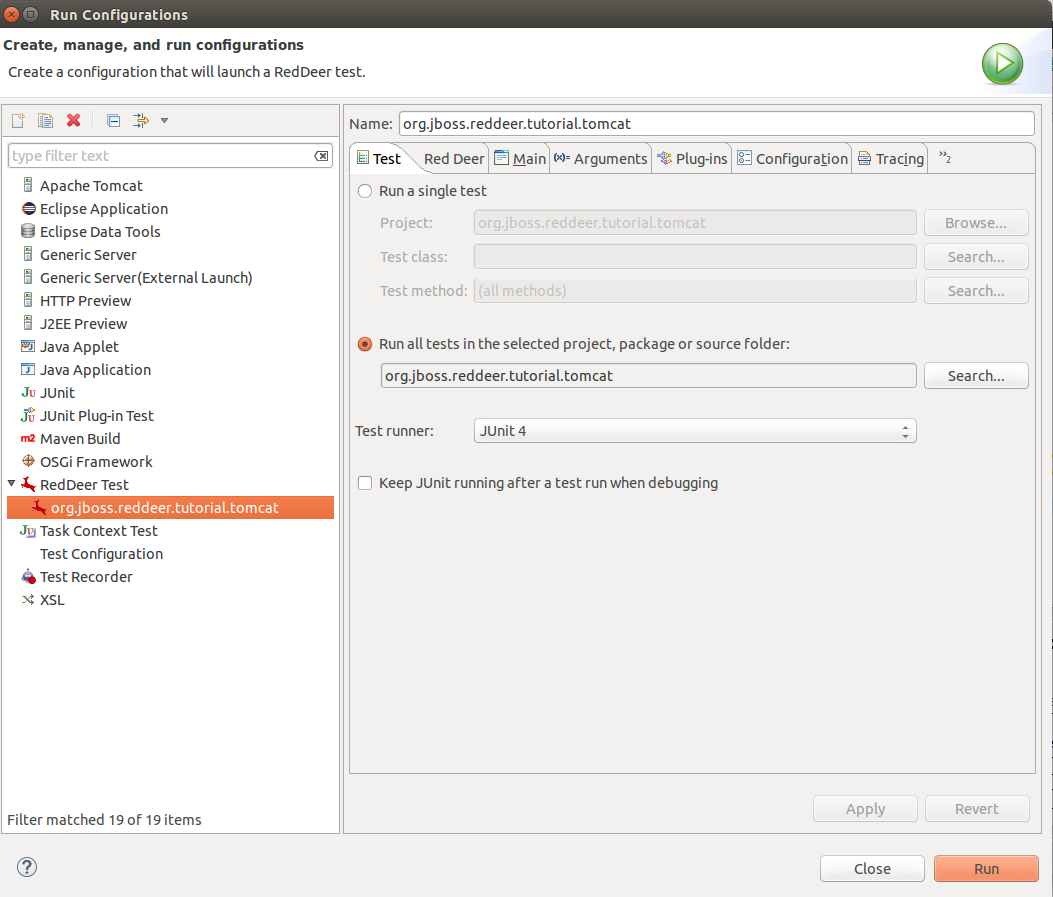
Set the reddeer.config property in your run configuration. Point to a directory where is the requirements.xml file created in the first step of this tutorial.
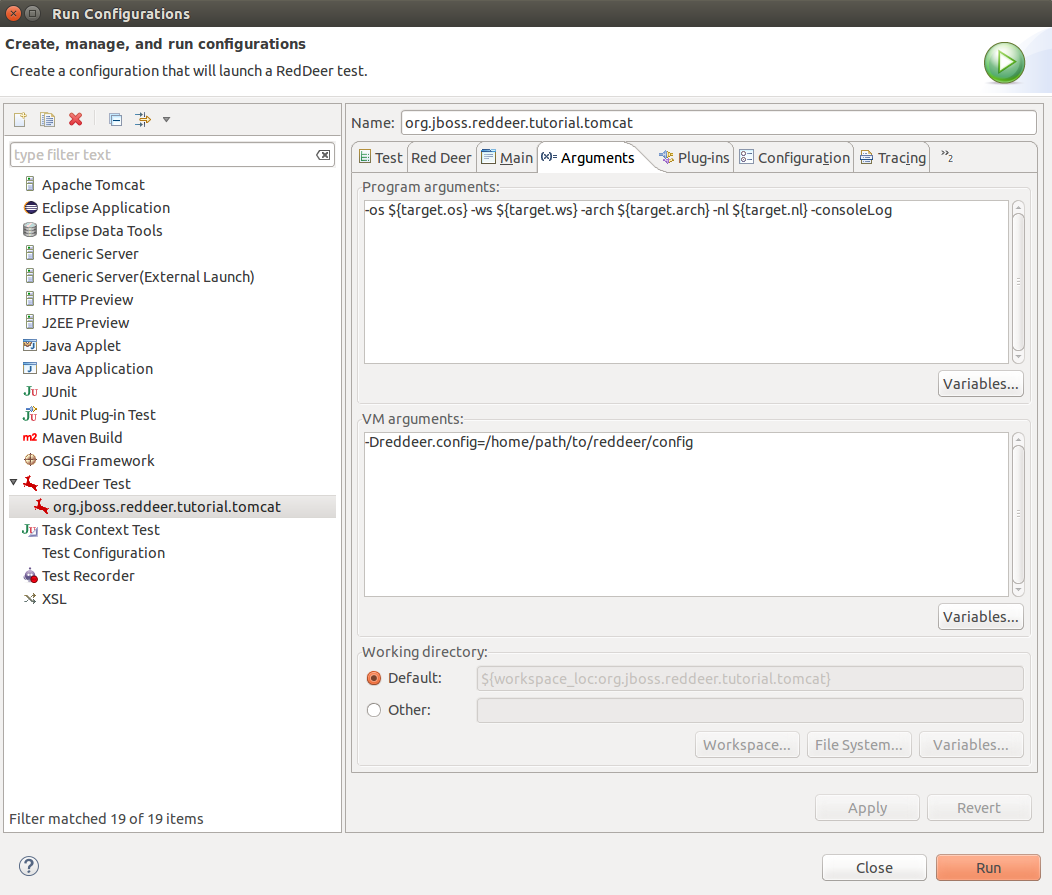
Click on Run. You will see another eclipse instance starting. The implemented test will automatically start the server and check if it's started.
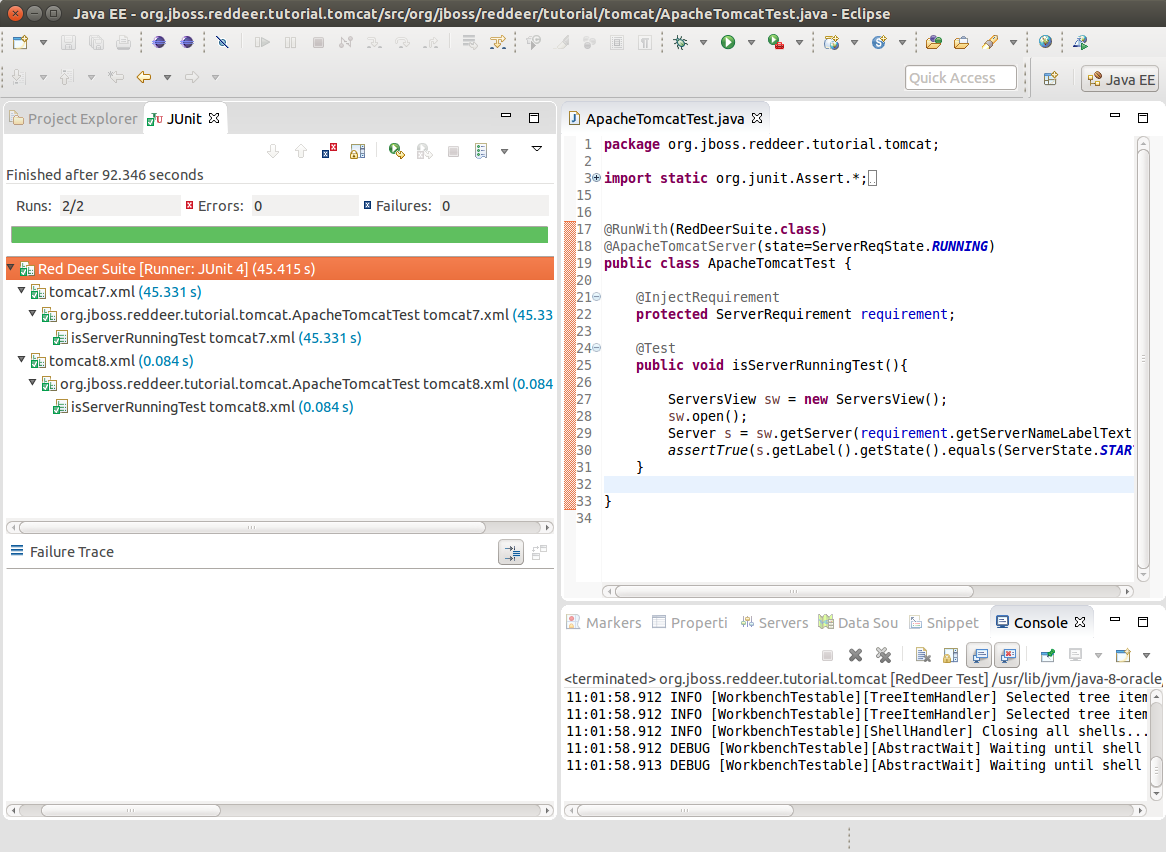
How to test against multiple server versions
Often you need to test your tooling with various application server versions. Let's say tomcat 8, tomcat 7 and so fort.
RedDeer is so clever that you don't need to change anything in your test suite.
It's so simple that you just create multiple xml configuration files. In reddeer.config directory create tomcat8.xml, tomcat7.xml and so fort.
RedDeer will automatically run the test against every configuration file that is found in the directory and fits the test annotation.
Comments