Overview
Wise's GUI is a dynamic, 4 screen wizard. It walks the user through a three step process of invoking a deployed webservice endpoint without the need of generating and compiling client stubs or directly writing SOAP xml messages.
- Wizard Screens
1. Wizard Screens
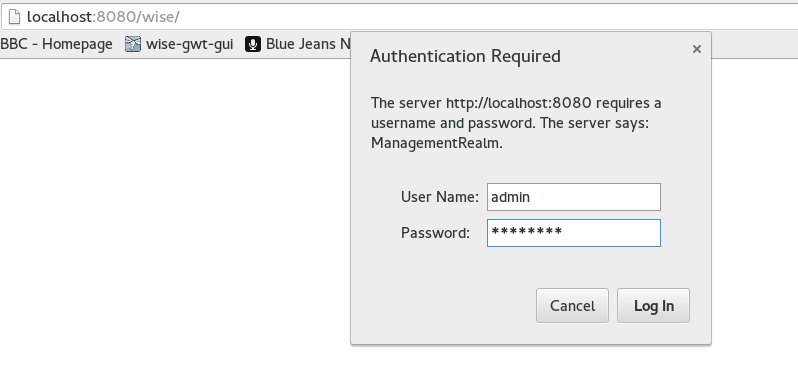
1. Authentication Dialog
The user may encounter an authentication dialog. The credentials are the application server's admin console credentials.
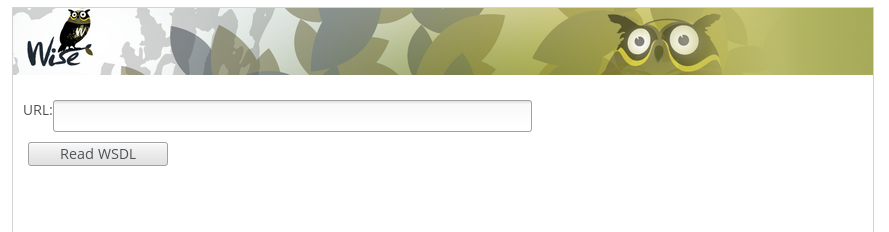
2. Home page
The home page is the starting point. On this page type the URL of the wsdl contract you want to be consume. Click the "Read WSDL" button.
figure 1
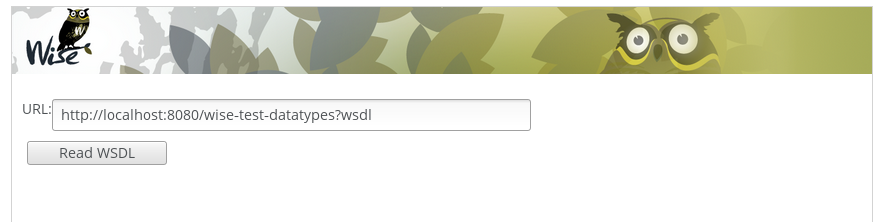
Here is an example wsdl URL. The referenced webservice can be on a remote system. Just provide the appropriate URL.
figure 2
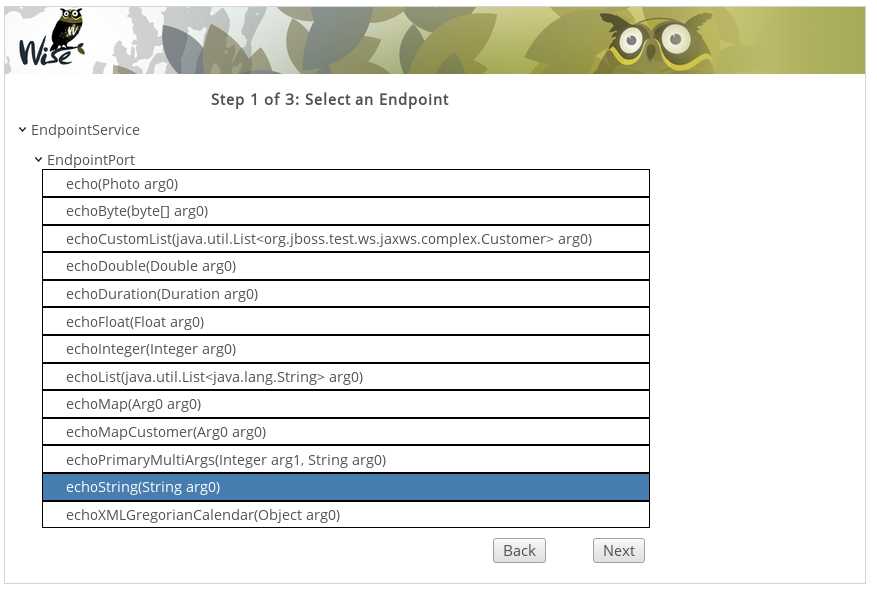
3. Step 1 of 3: Select an Endpoint
In step 1 the wizard displays all the endpoint signatures it found in the WSDL. A single endpoint can be selected and processed at a time. The user can not proceed to the next step until one of the endpoints is selected.
figure 1
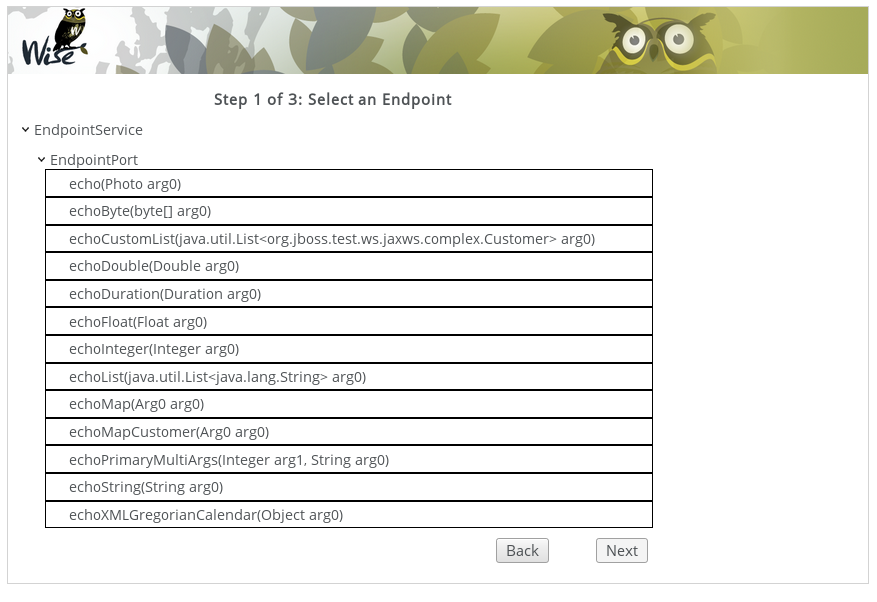
Clicking one of the endpoint signatures will highlight the line and enable the Next button.
figure 2
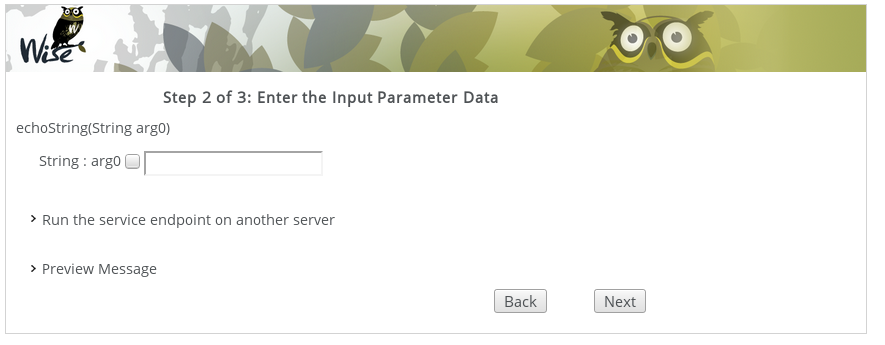
4. Step 2 of 3: Enter Input Parameter Data
In step 2 the wizard introspects each input parameter data type of the selected endpoint and prompts the user for values. The wizard handles simple data types such as String, int, float, double and collection types, List and Map. The wizard makes a best effort to handle user defined data objects, for example org.jboss.test.ws.jaxws.complex.Customer in figure 2.
Most data objects can be designated as Nillable. A checkbox is provided next to each nillable data object. A checked checkbox designates the value provided in the corresponding field will be transmitted. When the field is empty (e.g. blank) a empty data object will be transmitted. An unchecked checkbox designates that the data object will be transmitted with the xsi:nil="true" attribute; any value provided in the input field will be ignored.
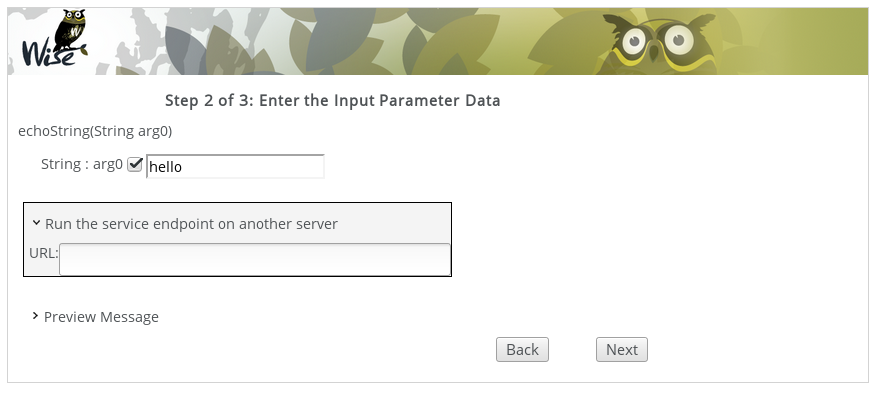
1. Simple Data Type Input Arguments
Here is an example of a single simple data type.
figure 1
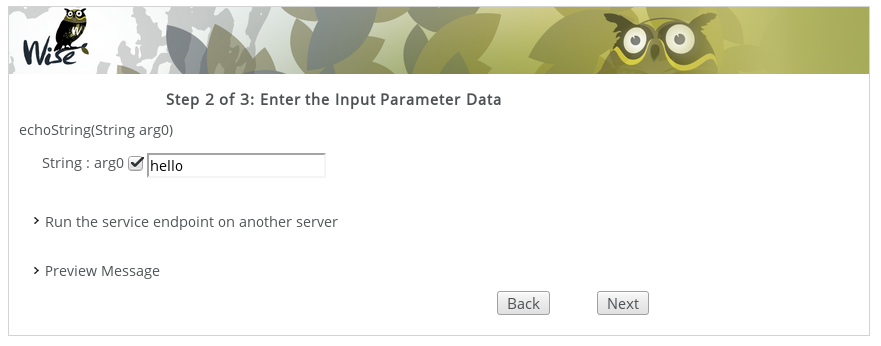
2. The Checkbox
As soon the user enters data in the input field the checkbox will automatically be checked. Uncheck the checkbox if you want the input value to be ignored and the xsi:nil=true to be sent.
figure 2.1
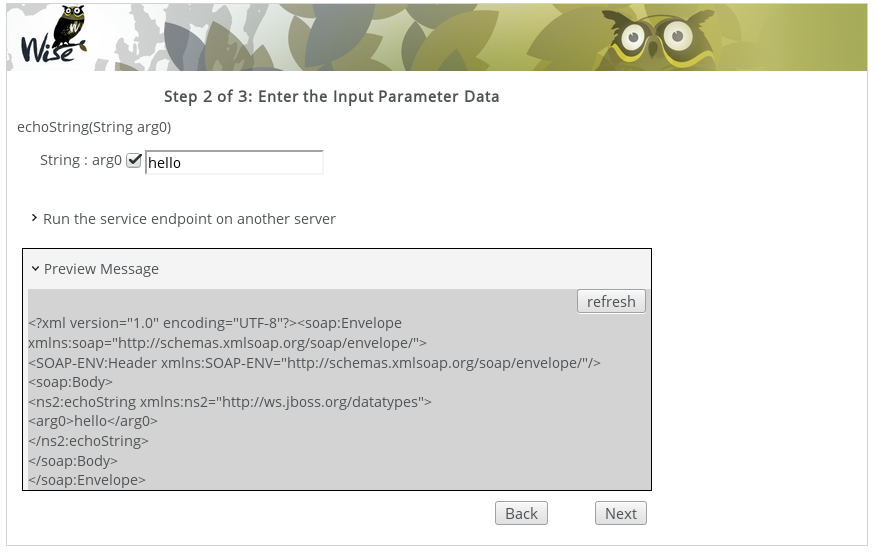
3. Preview Message Panel
The endpoint's raw SOAP message can be reviewed before transmission using the Preview Message link. Select the Preview Message panel to view the raw SOAP message that will be transmitted.
figure 3
4. Run the service endpoint on another server Panel
The webservice may be running on a different server than the one designated by the URL on the wizard home page. The user can designate a different server on which to execute the endpoint by selecting the, "Run the service endpoint on another server" panel, entering the alternate webservice URL and clicking the Next button.
figure 4
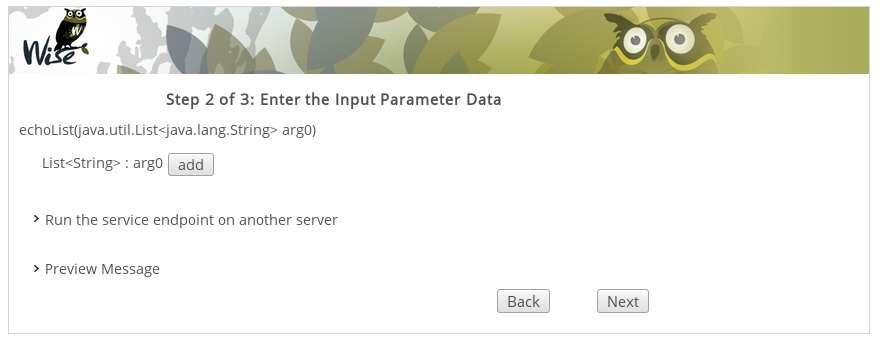
5. List Input Arguments
A list of data objects is supported by WISE UI. An add and remove button is provided to add a new object and remove an object from the list. (This endpoint exists in a different webservice than shown in the example above.)
1. Add Button
Each click of the add button will create a new data type input element (see figure 6).
figure 5
2. Removed Button
Each list item can be removed by clicking the remove button.
figure 6
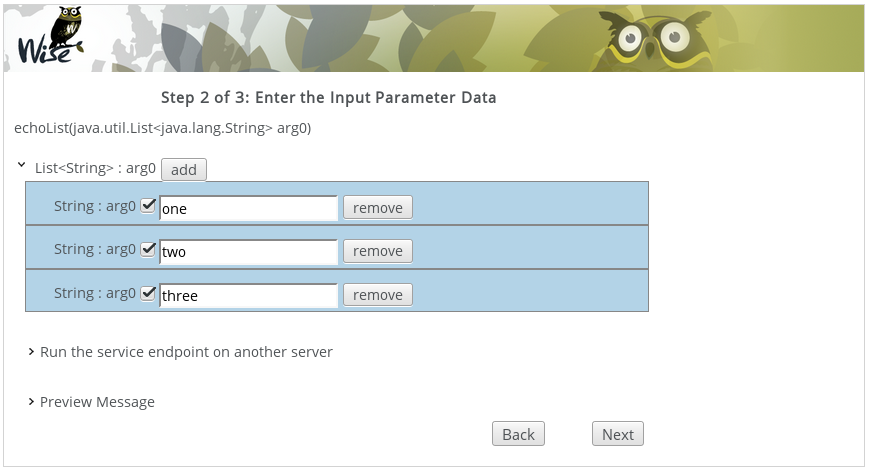
figure 7
6. Map Input Arguments
A map of data objects is supported by WISE UI. Just as for lists an add and remove button is provided for adding and removing a map entry. Each entry provides fields for a key/value pair.
figure 8

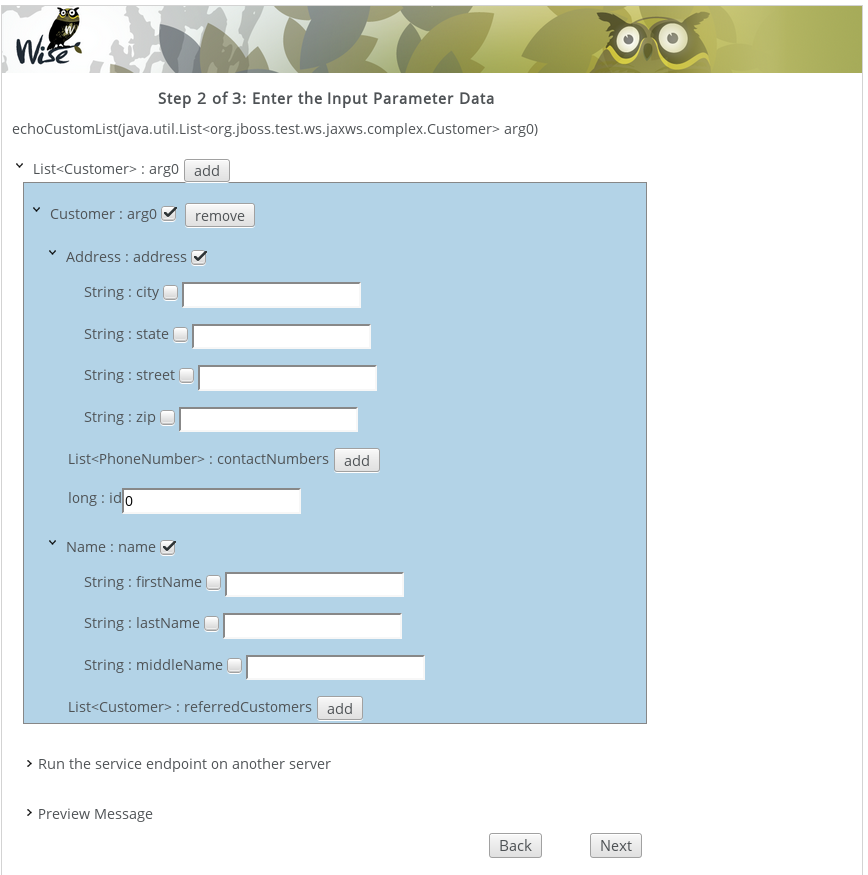
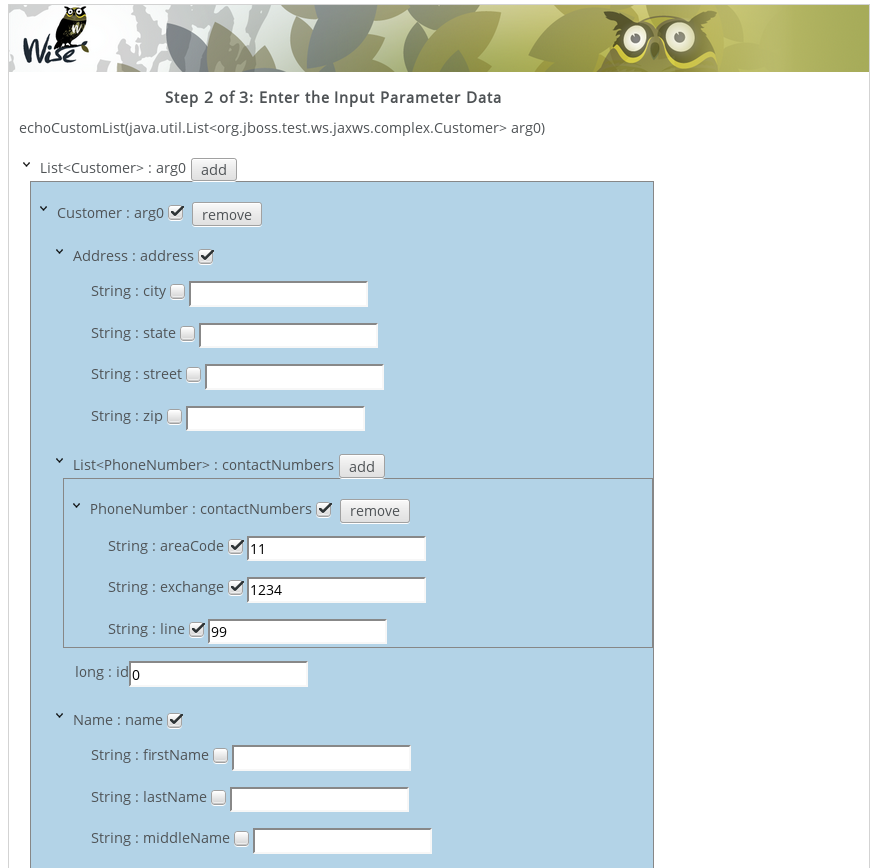
7. Complex Object List Input Arguments
Here is an example of a user defined complex data object. The Customer object consists of simple data type fields and list elements. The object can be populated with sample data by filling in the fields and adding or removing items with the corresponding buttons.
figure 12
The image below shows a contactNumbers item being added to the list element.
figure 13
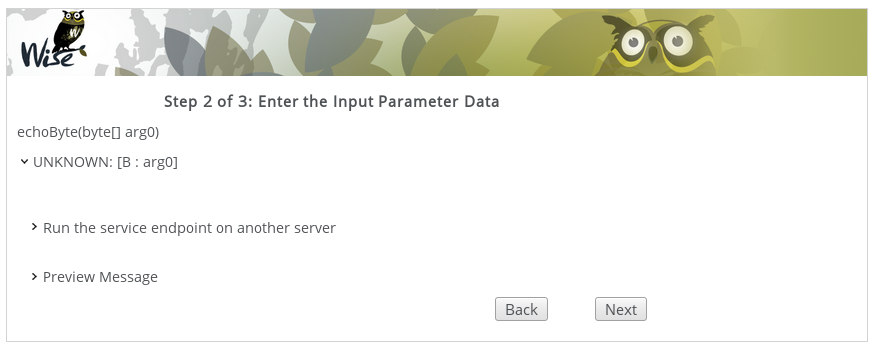
8. Unknown Input Arguments
Not all data types can be handled. These items are flagged with an UNKNOWN message.
figure 15
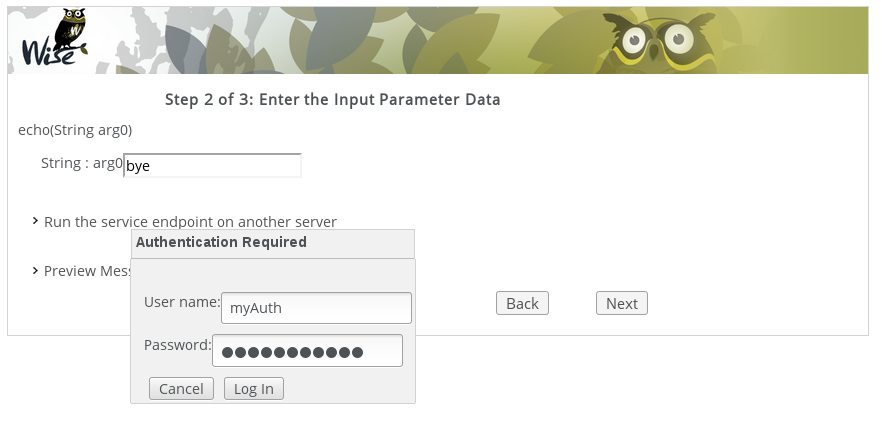
9. Endpoint Authentication
An endpoint can be password protected. When this is detected an authentication dialog is presented. The user must have knowledge of the needed credentials to proceed.
figure 16
10. WSDL Authentication
A WSDL can be password protected. When this is detected on the home page an authentication dialog is presented. The user must have knowledge of the needed credentials to proceed.
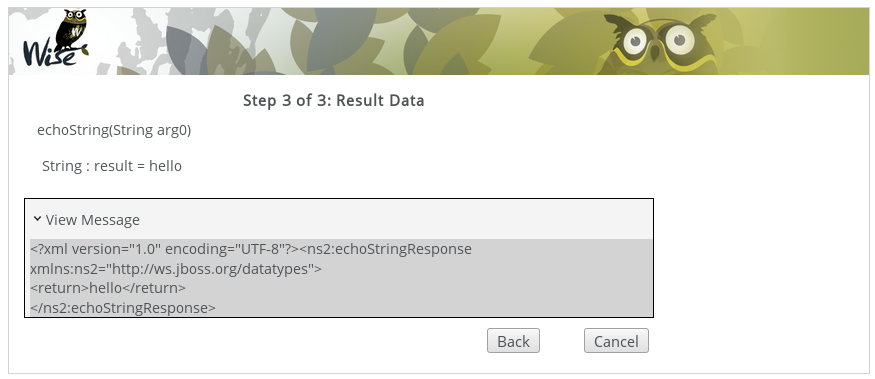
5. Step 3 of 3: View Result Data
figure 17
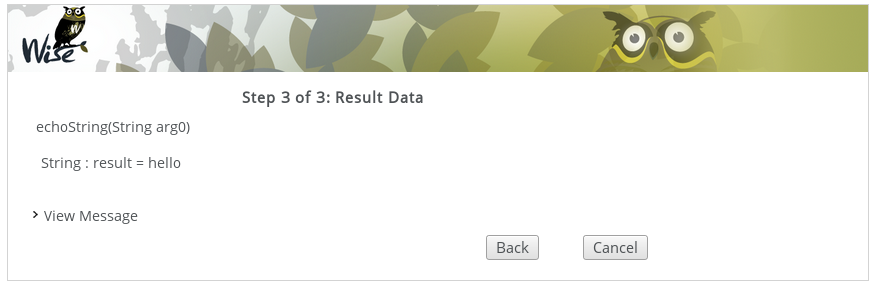
1. View Message
The endpoint's returned raw SOAP message can be reviewed using the View
Message link. Select the View Message panel to view the raw SOAP message that was returned.
figure 18
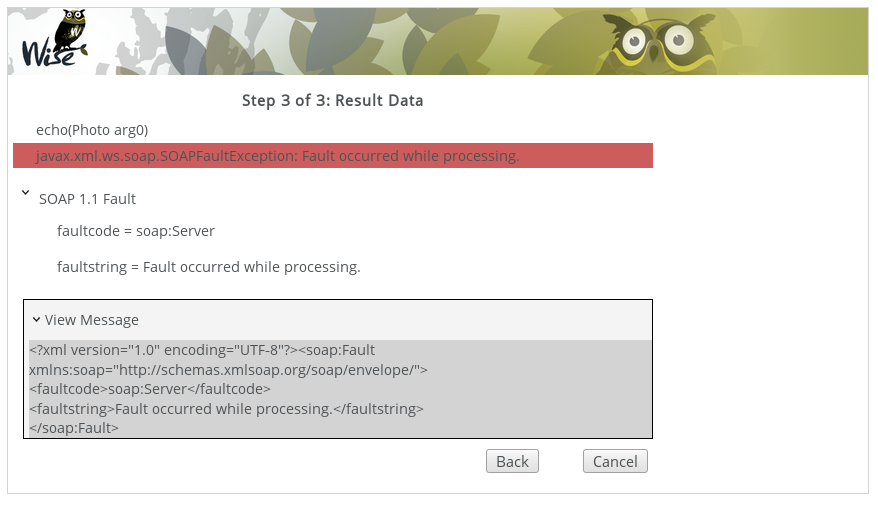
2. SOAP Error Reporting
SOAP errors are reported on the results page. The error may or may not be accompanied by an exception.
Figure 19 shows how a SOAP fault is displayed and the corresponding raw SOAP message.
figure 19
Comments