Step 1) Launch the new server wizard
- Click File -> New -> Other, find the Server category and choose Server
or
- Or choose the New > Server button or action in the Servers view
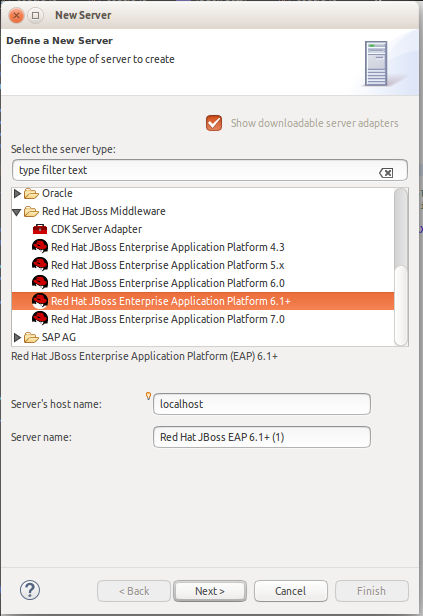
Step 2) Select and define your server type
- From the JBoss Enterprise Middeware category, choose your server version
- Enter valid server host name and unique server name for your new server or leave the default, click Next >
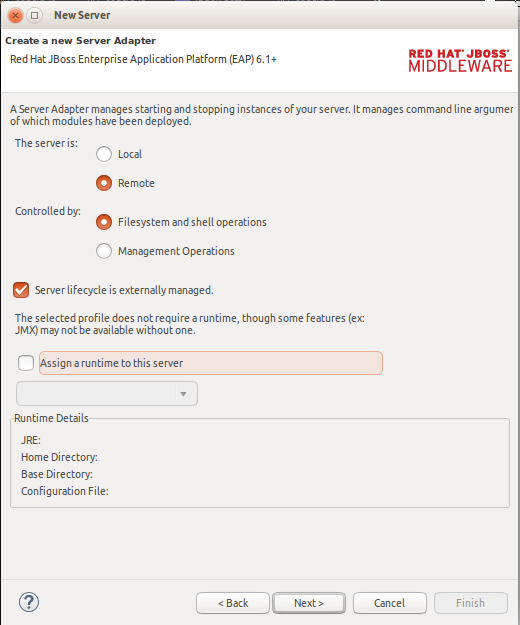
Step 3) Configure server for remote definition
- Choose Remote server type
- Choose controlled by Filesystem and shell operations option
- Check Server life cycle is externally managed option
- Uncheck Assign a runtime to this server
- click Next >
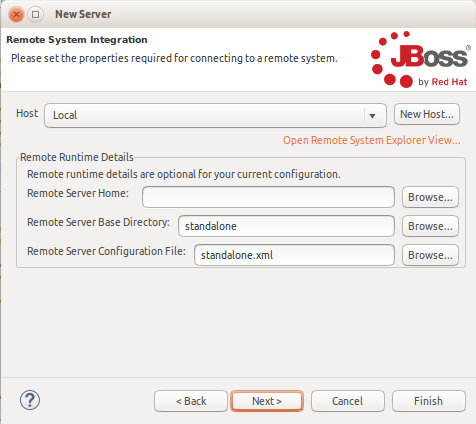
Step 4) Configure remote server properties
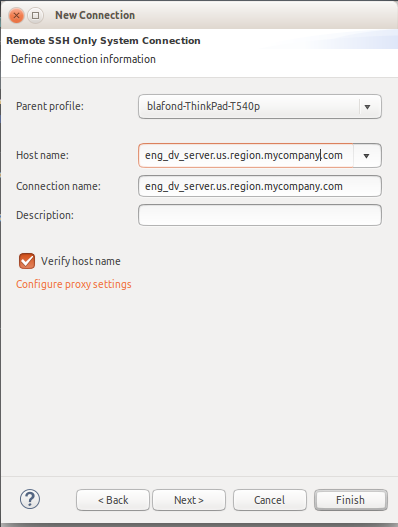
- Click New Host... button
- Select SSH Only and click Next >
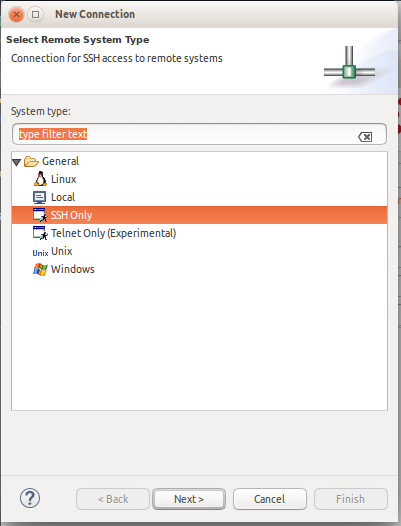
- Enter Host name, click Next > 3 times and click Finish
- Select Browse... to set the remote server home
- Fill information about ssh connection (username, password)
- Choose server folder (i.e. /home/myservers/EAP-6.4.0 ) and click OK
- Click FInish
- Your new server instance is displayed in the Servers view
Step 5) Set server credentials and start server
- Open the server editor by double clicking your new server in the servers view or select, right-click select the Open action
- Set admin username and password in the overview tab
- Select the Teiid Instance tab and set your JDBC username and password
- Select your server in the view and select the Start button on the toolbar or right-click select the Start action
Comments