Step 5 - Generate/Deploy a Sample Seam Application Using seam-gen
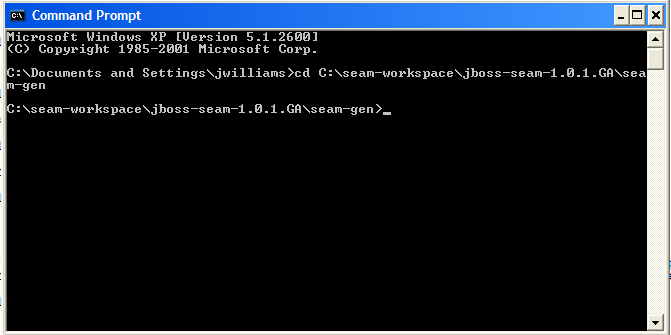
Using the "sample" application as your seam-gen project target, you will generate a new Seam application. For seam-gen, we will operate at the command line again. So, go ahead and open up a command prompt and cd to the seam-gen directory.
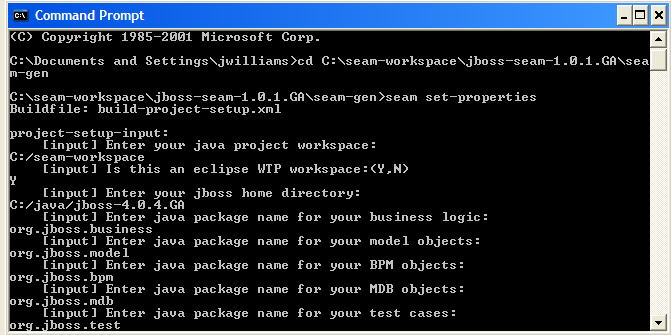
This next step is a one-time thing, but it's required to tell seam-gen your eclipse workspace, you desired java package names and the eclipse WTP project structure. Type "seam set-properties". Be sure to use forward slashes for your workspace, not backward slashes. seam-gen will generate a build.properties file that it uses to generate seam projects and source files.
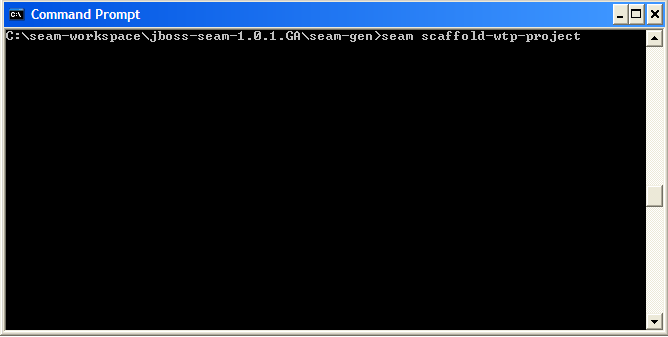
To generage the code needed to populate your new project, type "seam scaffold-wtp-project sample". This will create a sample app that contains a working SFSB, BPM and pageflow example.
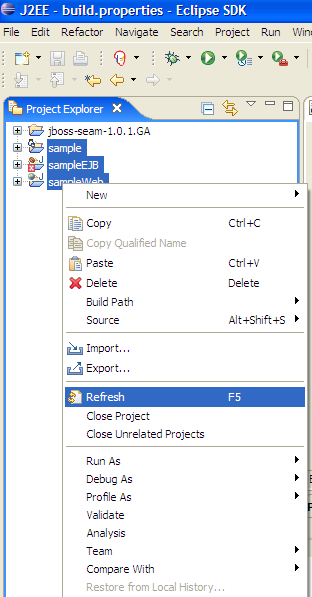
Now, you've got a working Seam sample project in Eclipse that works with WTP. We just have a few more things to do before we can run this application. First, we must fix the project's build path in eclipse. But, before we do that, let's go ahead and refresh our workspace in eclipse.
Next, we need to fix the build path in "sampleEJB". Since we generated the code outside of eclipse, we need to setup the project build path and library dependencies.
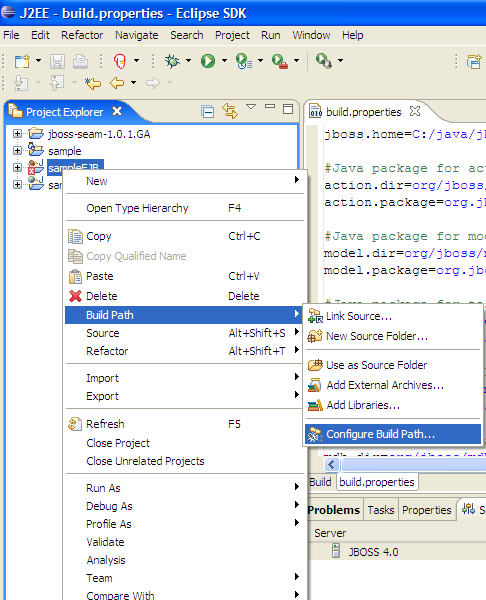
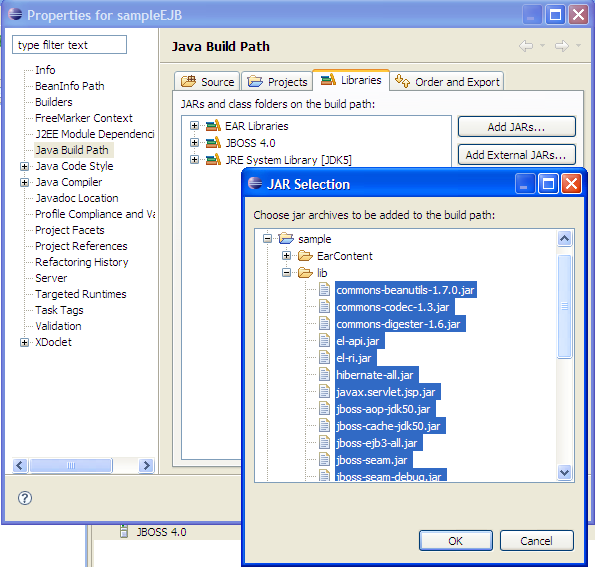
Click the "Libraries" tab, then the "Add JARs..." button. Select all of the JARs in "sample/lib".
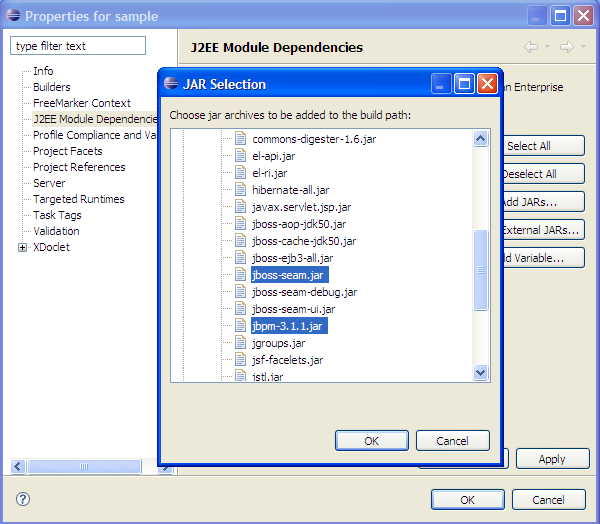
Here's where eclipse WTP tooling gets a bit flaky, but there's a way to get it working. Right click on sample > Properties > J2EE Module Dependencies and you will see this screen.
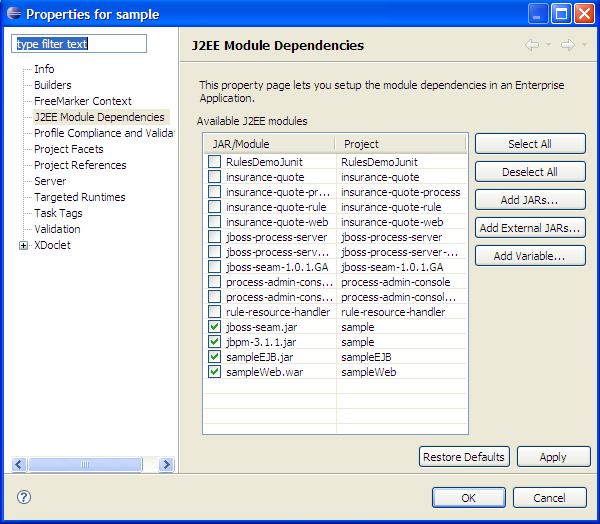
Then de-select jboss-seam.jar and jbpm-3.1.1.jar and click OK.
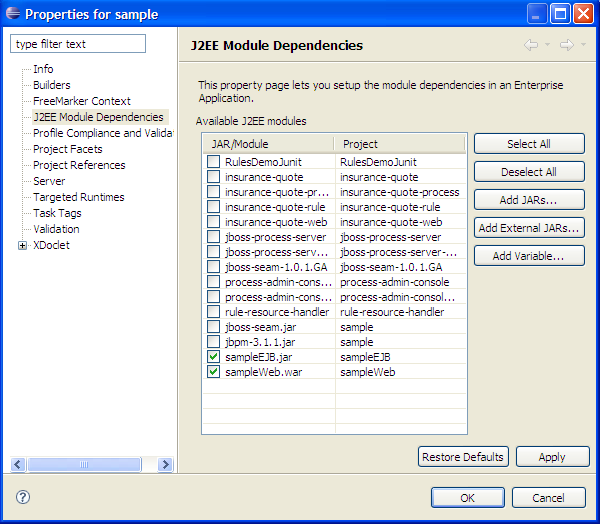
Unfortunately, you'll need to add these jars back because WTP is a bit flaky.
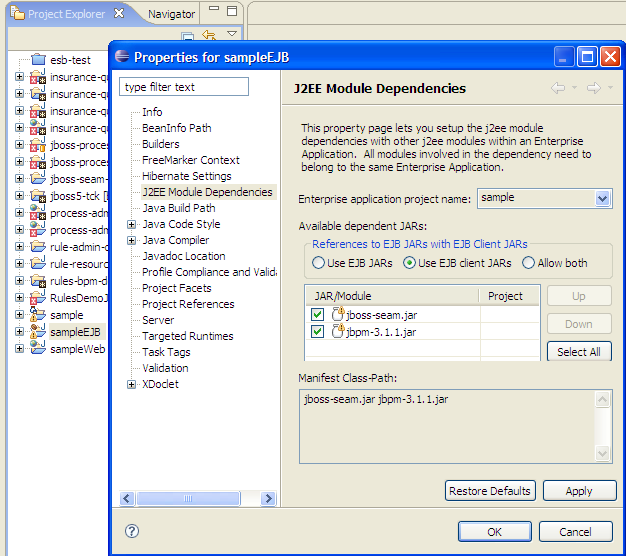
Lastly, Right click on sampleEJB > Properties > J2EE Module Dependencies and you will see this screen. Add the jboss-seam.jar and jbpm-3.1.1.jar and click OK.
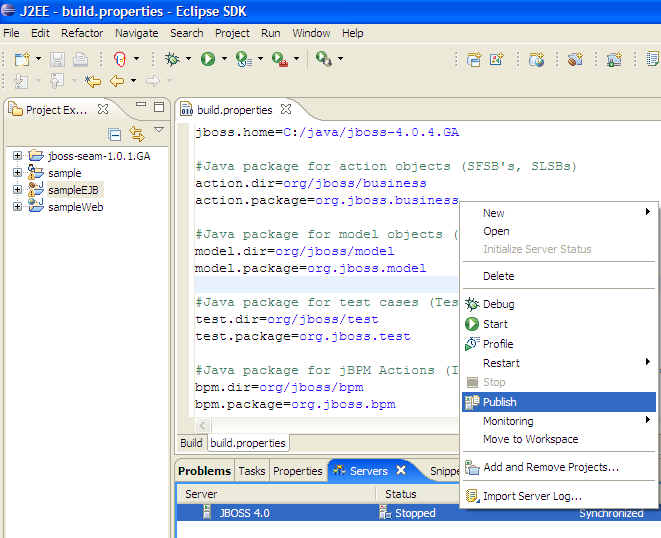
We're almost there. Now, all we've got to do is "Re-publish" server.
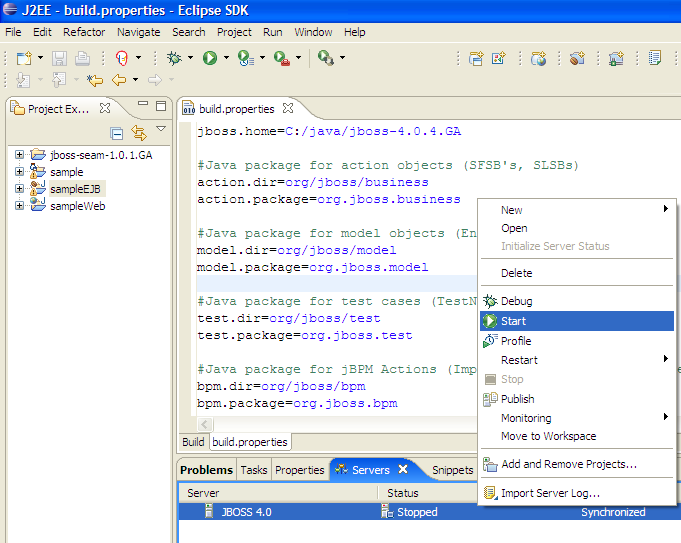
It would also help if we "Start" the server.
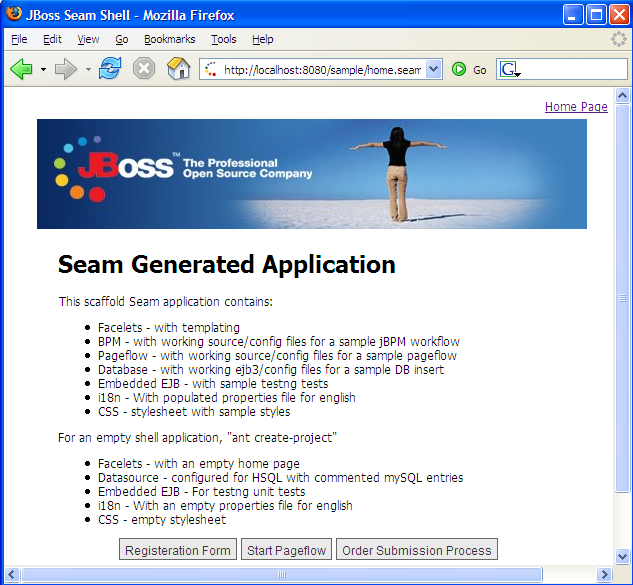
Now, open up a browser and go to: http://localhost:8080/sample. The sample app should now work.
Note: You may need to edit the hsqldb-ds.xml in the server > default > deploy directory of JBoss AS, to enable JBoss AS to find the "java:/sampleDatasource", since the default datasource configured is "java:/DefaultDS" (jndi-name markup).


Comments