Add a MySQL database to your OpenShift Data Virtualization instance
This article will show you how to add a MySQL database to your DataVirtualization instance on OpenShift online, and load some sample data.
1. Provision Data Virtualization on OpenShift online
First, deploy the Data Virtualization instance on OpenShift online. Please see the Provision Data Virtualization on OpenShift article for instructions.
2. Add a MySQL database to your Data Virtualization instance
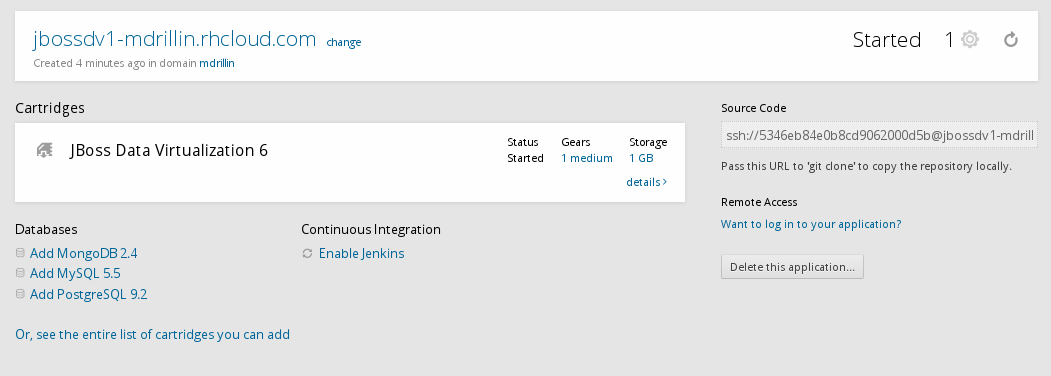
Go to the overview page for your Data Virtualization application (shown below). Click on the Add MySQL 5.5 link under the Databases section
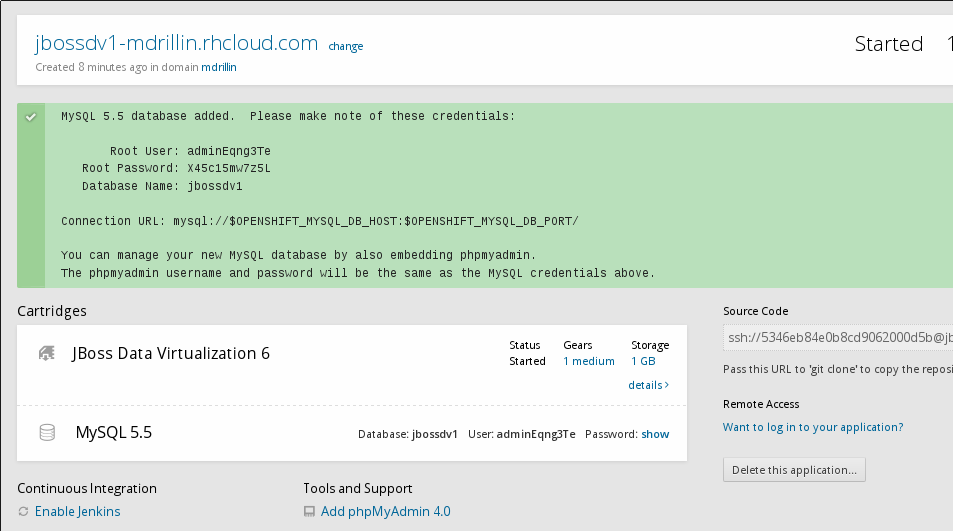
The MySQL cartridge will deploy. When complete, you will see a success screen like the one below:
IMPORTANT: Please save the credentials information for later reference.
Next under Tools and Support, click on the Add phpMyAdmin 4.0 link. This adds the web interface for easy management of your MySQL database.
When complete, you'll see a page like this:
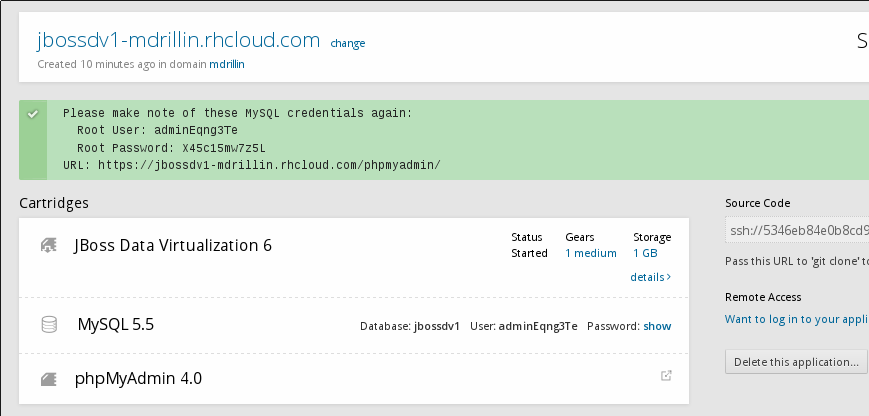
The MySQL database and management interface deployments are now complete.
3. Load some sample data into the MySQL database
You can load some data into the database using the phpMyAdmin interface. Use the link that was displayed when you installed the phpMyAdmin cartridge.
https://<myApp>-<myDomain>.rhcloud.com/phpmyadmin
(Use the Root User and Root Password you received when the cartridge was installed)
You will see an interface like this:
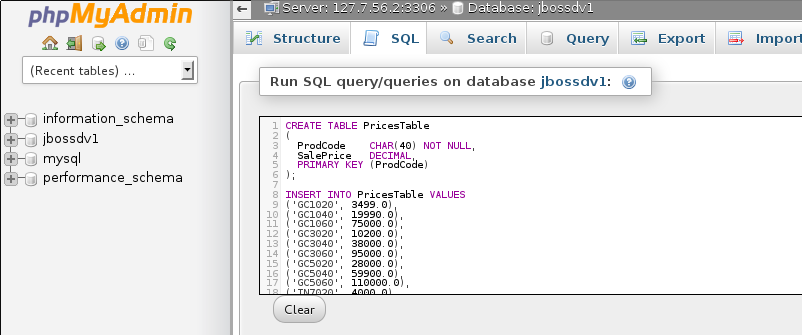
In the left tree panel, click on the database that matches the name of your DV application (e.g. jbossdv1). Select the SQL tab. On the SQL tab, copy the DDL below and paste it into the text area. Finally, click the GO button on the far right of the management interface.
CREATE TABLE PricesTable
(
  ProdCode    CHAR(40) NOT NULL,
  SalePrice   DECIMAL(10,2),
  PRIMARY KEY (ProdCode)
);

INSERT INTO PricesTable VALUES
('GC1020', 3499.0),
('GC1040', 19990.0),
('GC1060', 75000.0),
('GC3020', 10200.0),
('GC3040', 38000.0),
('GC3060', 95000.0),
('GC5020', 28000.0),
('GC5040', 59900.0),
('GC5060', 110000.0),
('IN7020', 4000.0),
('IN7040', 16000.0),
('IN7060', 42000.0),
('IN7080', 69000.0),
('SL9020', 4999.0),
('SL9040', 9999.0),
('SL9060', 14999.0),
('SL9080', 19999.0);
The table PricesTable should be created and populated. You can verify the contents by clicking on it.
You can use your own DDL if you wish - the above DDL is just provided as a simple example.
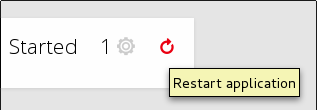
5. Restart the Data Virtualization cartridge
Finally, restart the Data Virtualization cartridge. This is required to initialize the MySQL datasource. Click the Restart application icon on the application overview page as shown below:
Conclusion
We've demonstrated how you can add a MySQL database to your Data Virtualization instance on OpenShift. Also, we've shown how you can load data into the database. Next, you can proceed to our next article - Utilize the MySQL database on OpenShift Data Virtualization in Teiid Designer - where you can see how to work with the database in the Developer Studio tooling.
Comments