Skip navigation

JBoss Tools

3 Posts authored by: snjeza
snjeza

JBoss Source Lookup

Posted by snjeza Jan 24, 2012

The JBoss Tools Source Lookup plugin automatically adds a source attachment when debugging JBoss AS servers.

The plugin has been tested with JBoss AS 7.x and JBoss AS 6.1.


Installing the JBoss Source Lookup plugin


Note: Since JBoss Tools 3.3 Beta3 JBoss Source Lookup is available and part of JBoss Tools Maven integration.

No need to install JBoss Source Lookup from the temporary updatesite anymore.


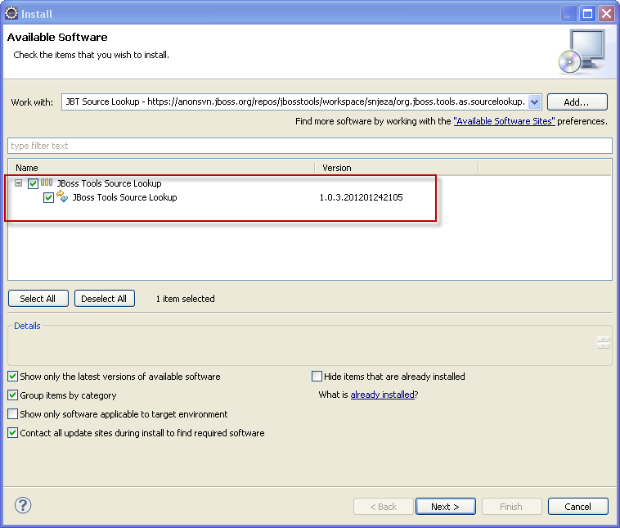
  • call Help>Install New Software..., click the Add button and enter the following update site:

https://anonsvn.jboss.org/repos/jbosstools/workspace/snjeza/org.jboss.tools.as.sourcelookup.updatesite/

lookupblog1.png

Install the JBoss Tools Source Lookup category and restart Eclipse.


Using the JBoss Source Lookup plugin


The use and debugging of this plugin is demonstrated in the following screencast: Debugging JBoss AS server.


The JBoss Source Lookup plugin enhances source attachment in the following way:


  • archive file doesn't have to be in the maven classpath
  • archive file doesn't have to be included in the classpath (jbossweb-*.jar, for instance). The JBoss Source Lookup plugin will find a class within a JBoss AS distribution and, if it is a Maven artifact, the plugin will attach the corresponding source.
  • archive file doesn't have to be in the m2e index (jbossjts-4.16.0.Final.jar, for instance)


You don't have to add any JBoss AS Runtime to the classpath. I have added it in order to ensure the classes within the runtime are included in the Java Search and in order to be easier to add a breakpoint.


Debugging Apache Tomcat and Glassfish servers


The JBoss Source plugin can serve to debug other servers.

If a server includes mavenized archives, the JBoss Source container will find, download, and show source files.
I have tested the Apache Tomcat 7.0.25 and Glassfish 3.1.1.


If you want to debug Apache Tomcat and/or Glassfish, you have to do the following:


  • create some Apache Tomcat/Glassfish server

    lookupblog3.png

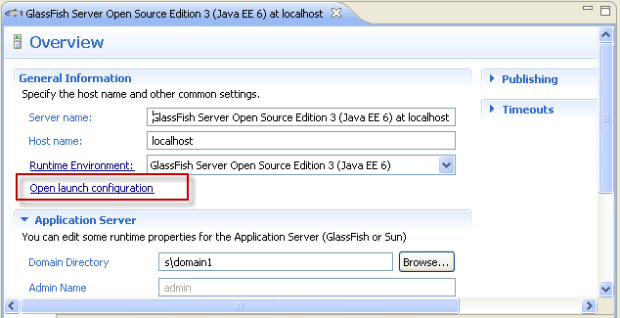
  • open the server editor

    lookupblog4.png

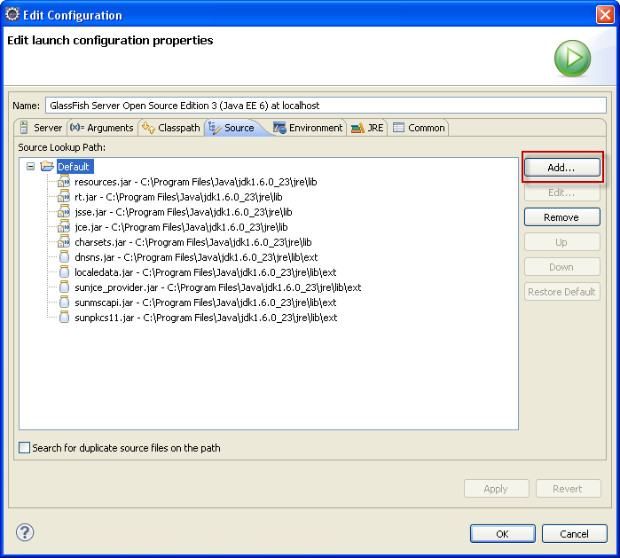
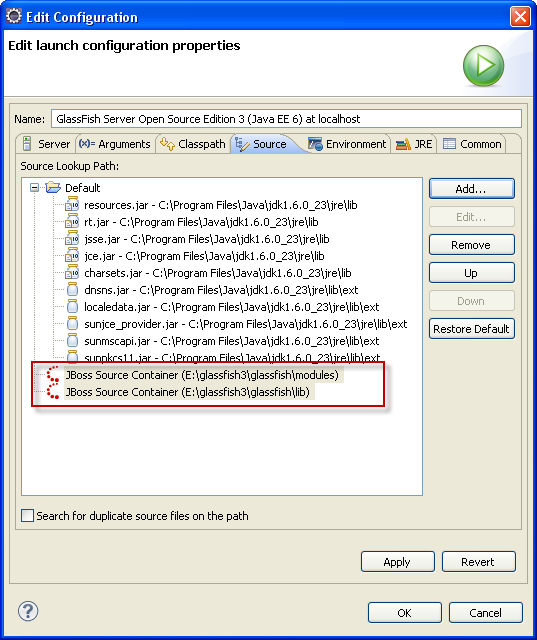
  • click Open launch configuration and select the Source tab

    lookupblog5.png

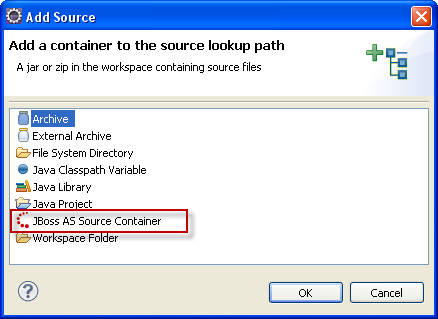
  • click the Add button and select the JBoss AS Source Container

    lookupblog6.png

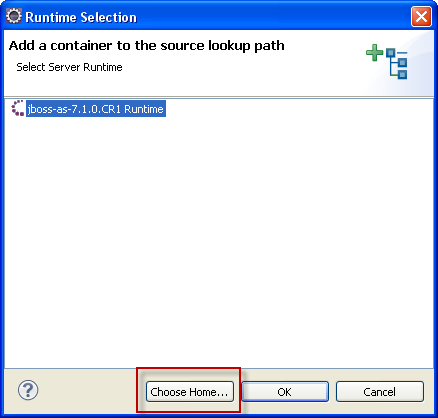
  • JBoss AS servers will be automatically recognized and you can choose them by clicking a server
    As to other servers, you need to click the Choose Home button, select all the directories in which the server's archives are placed.

        If you debug Tomcat, you can choose $TOMCAT_HOME/lib.  When debugging Glassfish, you can choose $GLASSFISH_HOME/lib and $GLASSFISH_HOME/modules.
        You can add as many JBoss AS Source containers as you want.

lookupblog7.png


  • move a JBoss Source container(s) to the end (optional)

    lookupblog8.png

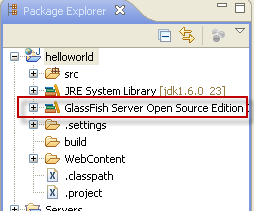
  • you can add a Server Runtime container to the project's classpath (optional)

    lookupblog9.png

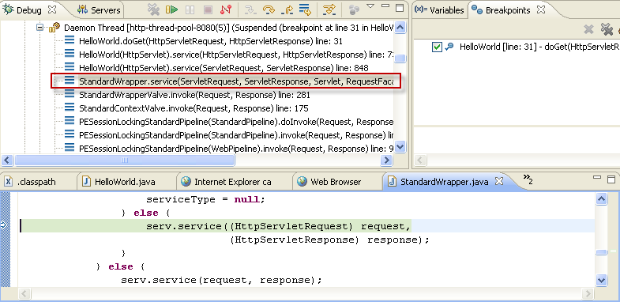
  • start the server in the debug mode

    lookupblog10.png

    StandardWrapper.java is placed in the glassfish's web-core.jar.  
    The Source Lookup plugin finds this archive's source and shows it in the editor.


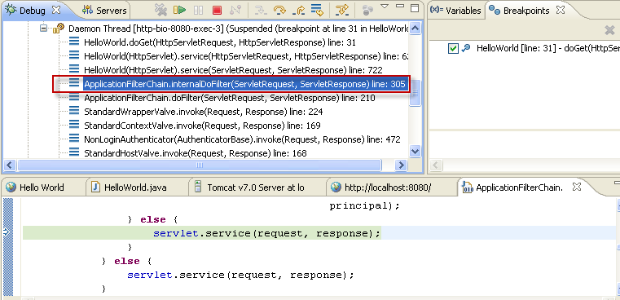
In a similar way you can debug Apache Tomcat server.

lookupblog12.png

The ApplicationFilterChain.java is placed in the Tomcat's catalina.jar archive.


The Source Lookup plugin finds source for a mavenized archive as follows:


  • using the m2e API
  • using the archive's metadata (META-INF/maven)
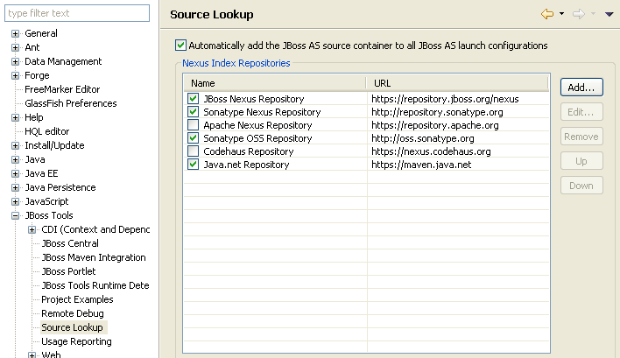
  • using nexus repositories that can be defined using the Source Lookup preferences page

    lookupblog11.png


The Source Lookup preferences page enables you to add/remove, enable/disable and/or change ordering of Nexus repositories.

You can see that the helloworld project I have used in this blog, is not a maven project (it doesn't contain the maven icon).
JBoss Source Lookup plugin can be used to debug any Java project.


The plugin doesn't have to be used for debugging only.

It will find, download and open a source file for a mavenized archive included in the classpath when double-clicking a class file in the Package Explorer view, opening it using Navigate>Open Type or some other way.


The JBoss Source Lookup plugin can be used for any Java project and any launch configuration.


Note: When starting debugging the first time, it could take some time until m2e updates indexes and the JBoss Source lookup plugin scans the container's directory.
The JBoss Central editor includes several quickstarts that provide a quick run-through of Java EE 6 features.

The quickstarts are based on amazing Pete Muir's JBoss AS7 quickstarts - JBoss AS 7.0 - Getting Started Developing Applications Guide

and are adapted to work with Eclipse/JBoss Tools.

This blog guides you how to install JBoss Tools 3.3 and start work with Java EE 6 using these tutorials.


Installing JBoss Tools 3.3


In order to install JBoss Tools 3.3, you need to perform the following steps:

  • install Eclipse Java EE IDE for Web Developers

      Download the appropriate archive for your OS, unpack it and start Eclipse.  

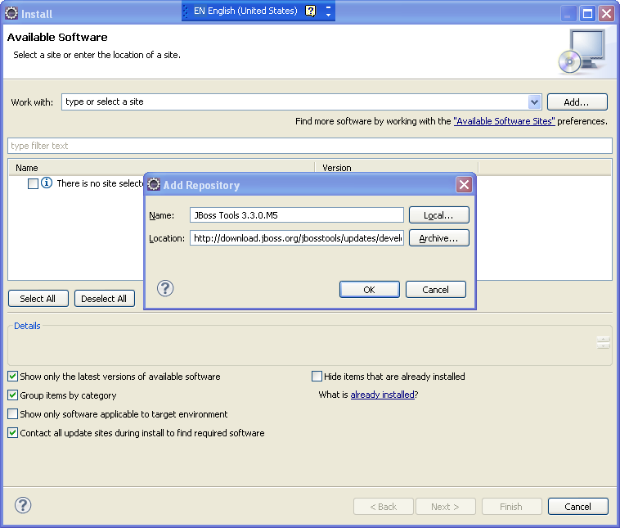
  •   Call Help>Install New Software..., click the Add button and enter the following update site:

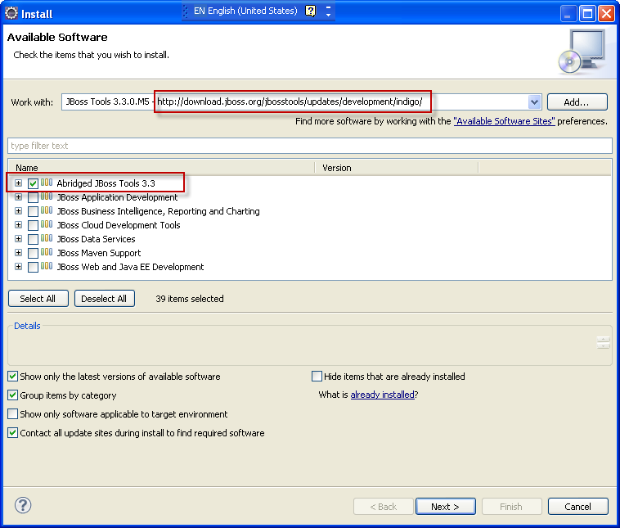
  http://download.jboss.org/jbosstools/updates/development/indigo/

jeeblog1.png


  • select the Abridged JBoss Tools 3.3 category

    jeeblog2.png

      Click Next, Next, check "I accept the terms of the license agreements" and click Finish.


  • Wait for Eclipse to download and install the JBoss Tools 3.3.  
  • Restart Eclipse when required.   


You have installed JBoss Tools 3.3.


JBoss Quickstarts (JBoss Central)


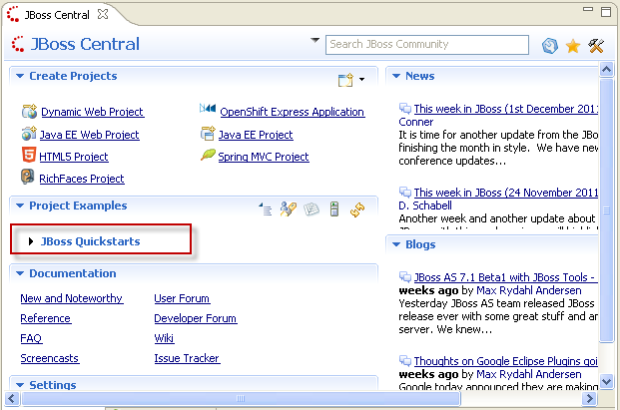
After Eclipse restarts, you will get the JBoss Central editor.

jeeblog3.png

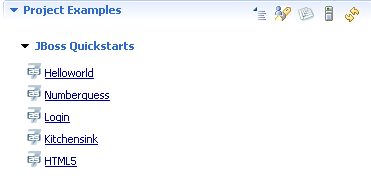
Expand the JBoss Quickstart widget in the Project Examples section


jeeblog4.png

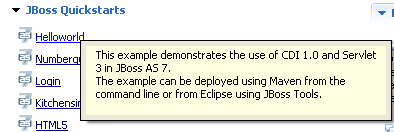
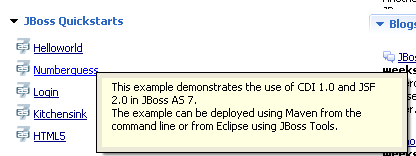
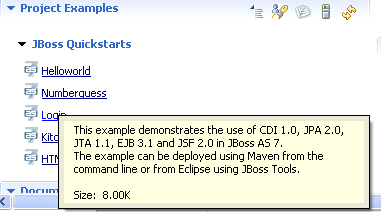
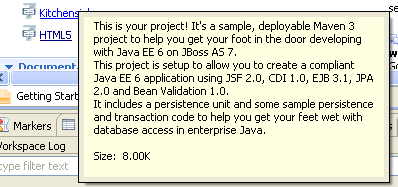
The helloworld, numberguess, login and kitchensink quickstarts will guide you through creating a Java EE 6 application.

Here I will describe to you how to create the helloworld application.  The rest of the applications are used in a similar way, but they introduce new concepts as shown in the following figures:

jeeblog5.png

jeeblog6.png

jeeblog7.png

jeeblog8.png

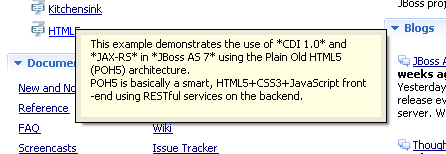
The HTML5 is a template project that doesn't include any cheat sheet.

jeeblogX.png

Helloworld quickstart


In order to create the helloworld Java EE 6 application, you have to do the following:


  1. click the Helloworld project example in the JBoss Central editor

    jeeblog9.png

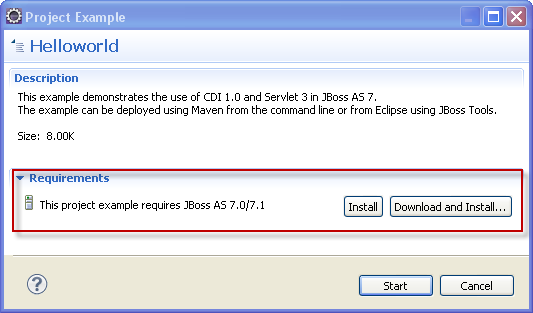
  2. JBoss Tools will warn you that you have to install JBoss AS 7.0 or 7.1 in order to create, deploy and run this application.
    If you have already installed and configured JBoss AS 7.x, you won't see any requirement and will be able to skip to the step 3.             


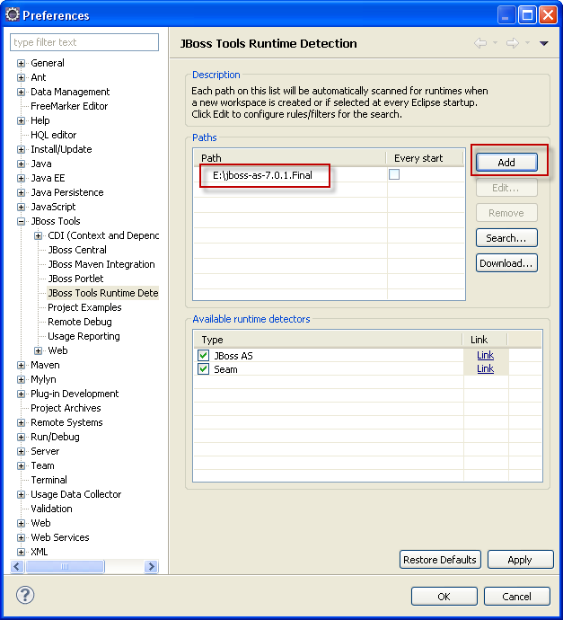
    • If you have already downloaded JBoss AS 7.x, you will be able to configure it using the Install button.

      jeeblog10.png

      Add the directory where you downloaded your JBoss AS and JBoss Tools will configure a JBoss AS 7.x server for you.


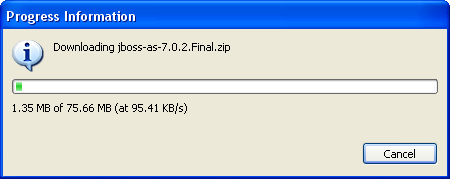
    • If you don't have any JBoss AS 7.x server, click the Download and Install... button and JBoss Tools will, for you, download JBoss AS 7.0.2


      jeeblog11.png

      jeeblog12.png


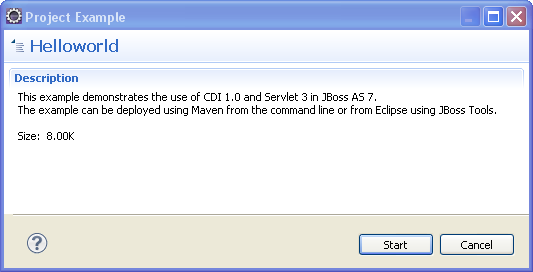
  3. When the JBoss AS is installed and configured, you will get the following dialog:

    jeeblog13.png

    Click the Start button.

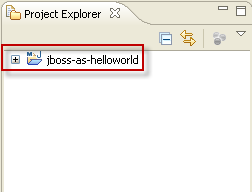
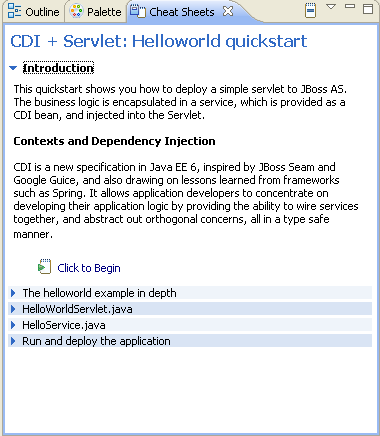
    The jboss-as-helloworld project will be imported and you will get the helloworld cheat sheet that will help you to review the application.

    jeeblog14.png

    jeeblog15.png

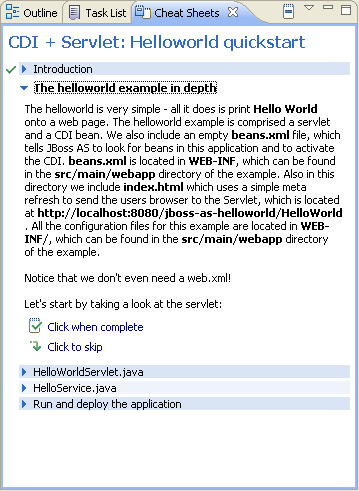
    Read the introduction to learn how the application works and click Click to Begin.

    The following screen will appear:

    jeeblog16.png

    After reading a detailed description, click Click when complete.

    jeeblog17.png

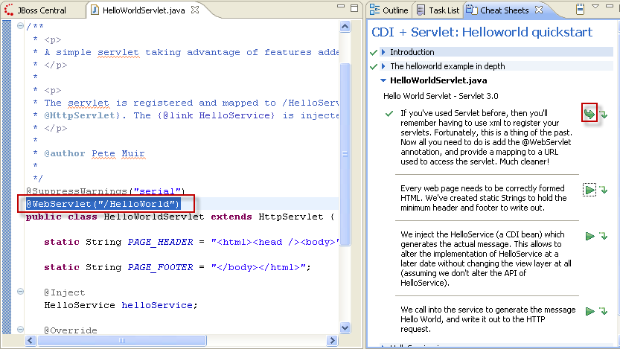
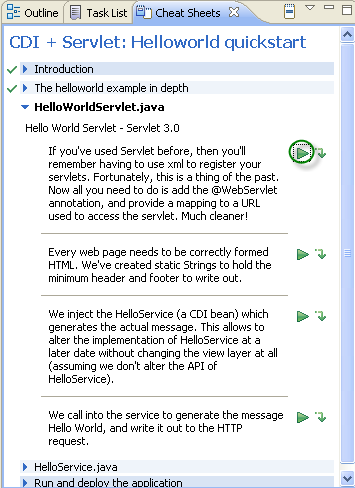
    The HelloWorldServlet.java section explains the HelloWorld servlet in detail.  When clicking the action, the cheat sheet will open the appropriate section of the code.

    jeeblog18.png

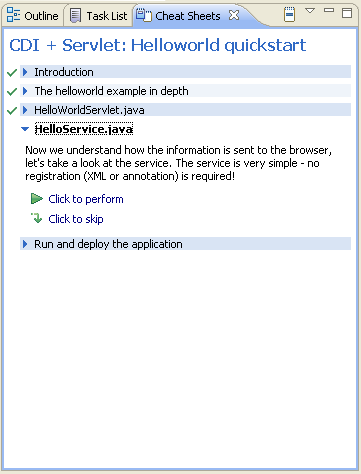
    Run or skip all the actions in the HelloWorldServlet.java section. You will get the HelloService.java section.

    jeeblog19.png

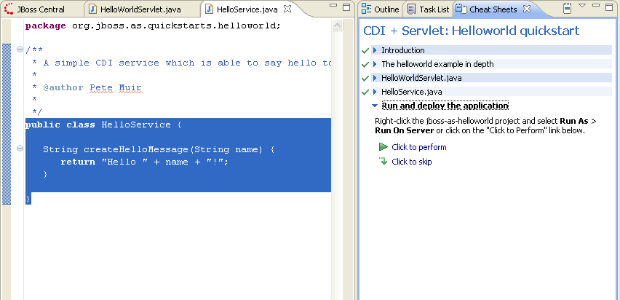
    Click Click to perform. The following screen will show up:

    jeeblog20.png

    That's it. You are ready to deploy and run the application on the JBoss AS 7 server you previously installed and configured.
    Click Click to perform

    jeeblog21.png

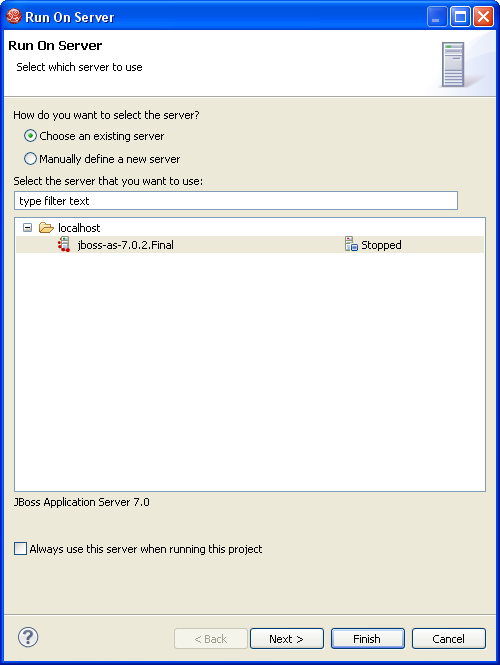
    Click Next

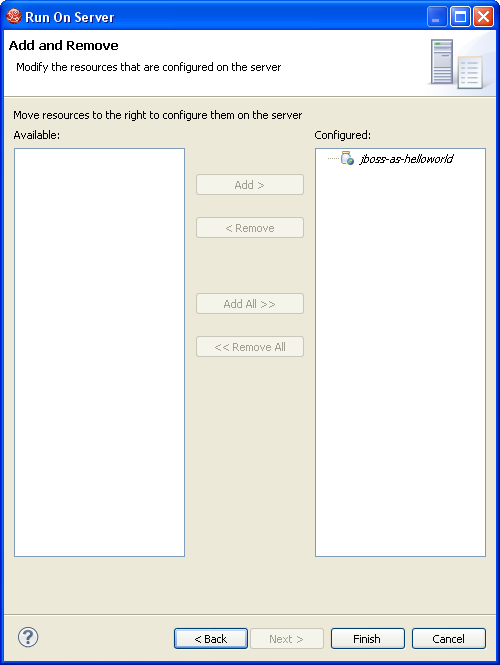
    jeeblog22.png

    Finally, click the Finish button.

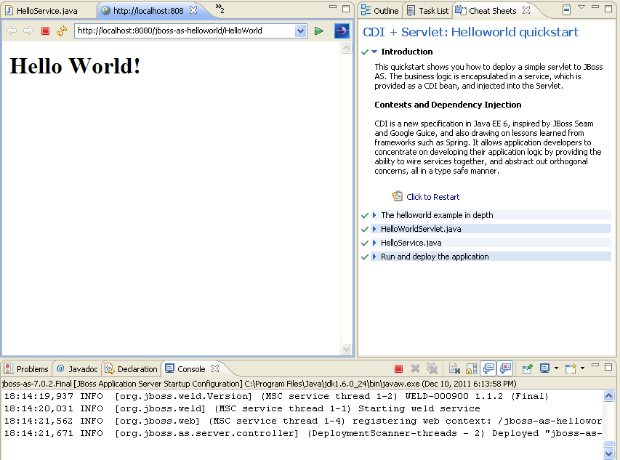
    The cheat sheet will start the server, deploy the application and open it in a browser.

    jeeblog23.png


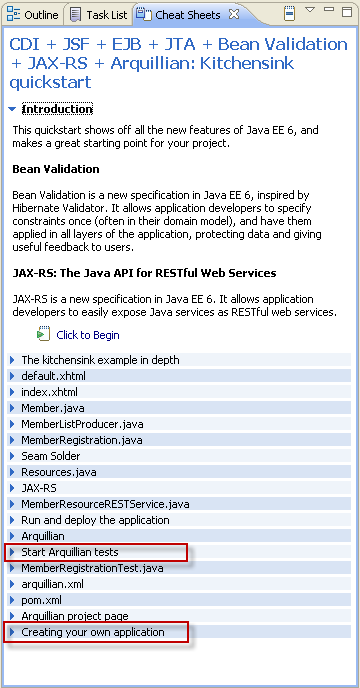
In a similar way, you will be able to create and review the numberguess, login and kitchensink applications. Kitchensink is an especially interesting application. In addition to explaining many Java EE 6 features (CDI, JSF, EJB, JTA, Bean Validation, JAX-RS, Arquillian), it automatically runs an Arquillian test and enables you to create your starting project.
Some advanced Java EE developers might also be interested in reviewing this application.

jeeblog24.png

JBoss Tools includes the JBoss Maven Integration and Weld feature that enable you to quickly and easily start developing Weld applications.

Installing JBoss Tools 3.2.0


The best way to install JBoss Tools including the JBoss Maven integration is to start with Eclipse Java EE IDE for Web Developers.
What you then need to do is download appropriate archive for your OS, unpack it and start Eclipse.
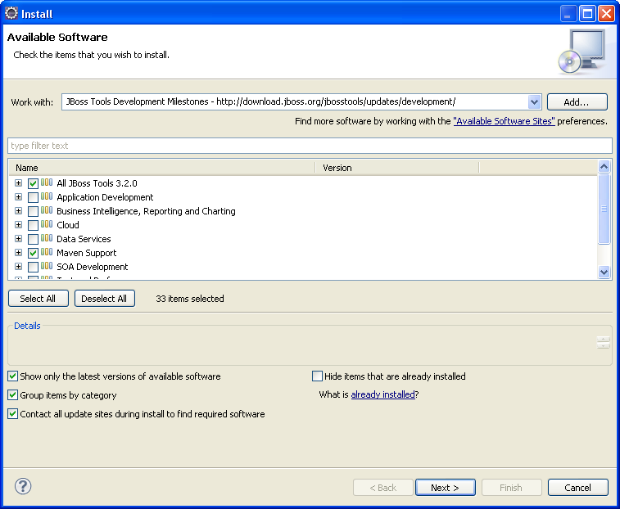
Call Help>Install New Software..., click the Add button and enter the following update site:

http://download.jboss.org/jbosstools/updates/development/

Choose All JBoss Tools 3.2.0 and Maven Support

JBossToolsInstall.png

Click the Next button, accept the license terms and click the Finish button.

Click the OK button on the Security Warning dialog.

JBossToolsSecurityWarning.png

and the Restart Now button on the Software Updates dialog.

JBossToolsRestart.png

You have installed JBoss Tools, the JBoss Maven Integration and all required dependencies.


Installing JBoss AS 6.0 Server


You can perform the following steps to install the JBoss AS 6.0 Server:

Download JBoss AS 6.0.0.Final and unpack the archive to some directory.
 

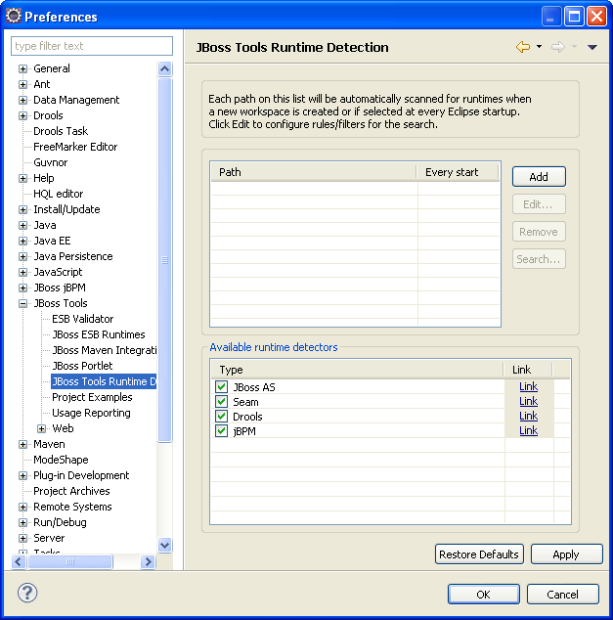
Call Window>Preferences>JBoss Tools>JBoss Tools Runtime Detection

JBRuntimeDetection.png

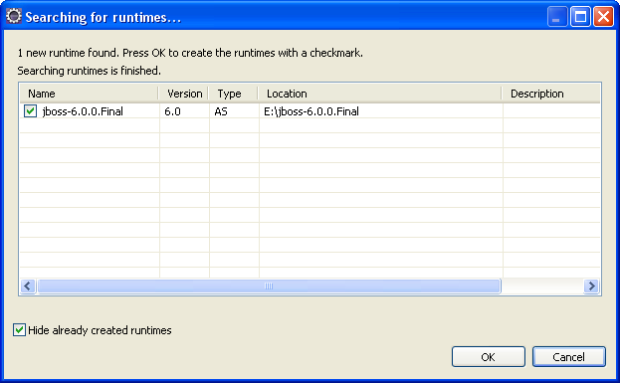
Click the Add button and point to the directory where you unpacked the JBoss AS 6.0.0.Final.

JBRTSearchDialog.png

Click the OK button.


The JBoss AS 6.0 Server is created.


Creating weld-jsf-login example


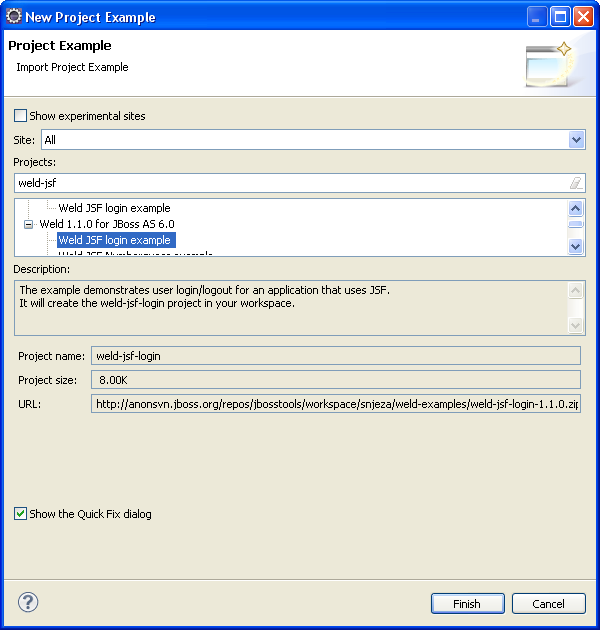
In order to install this example you need to call Help>Project Examples

JBTProjectExamples.png

Select Weld JSF login example and click the Finish button.


You will then get the weld-jsf-login application in your workspace.

If you are interested in more info on this example, see Weld 1.1.0 Reference - Chapter 3. JSF web application example


Deploying and starting weld-jsf-login application


The following procedure demonstrates how to deploy and start this application:


  • Open the Servers view (Window>Show View>Other...>Server>Servers)
  • Right click the jboss-6.0.0.Final server and select Add and Remove...
  • Select the weld-jsf-login application and click the Add button
  • Click the Finish button
  • Right click the weld-jsf-login project in the Package Explorer view and select Run As>Run On Server
  • Select the jboss-6.0.0.Final server and click the Finish button


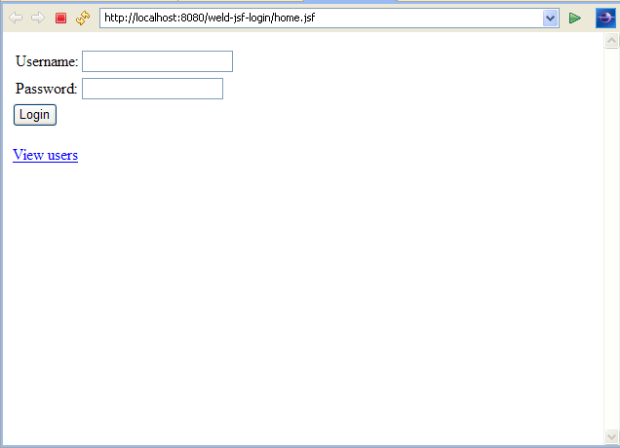
As a result, the weld-jsf-login application will be deployed and executed on the JBoss AS 6.0 server.

weldjsflogin.png

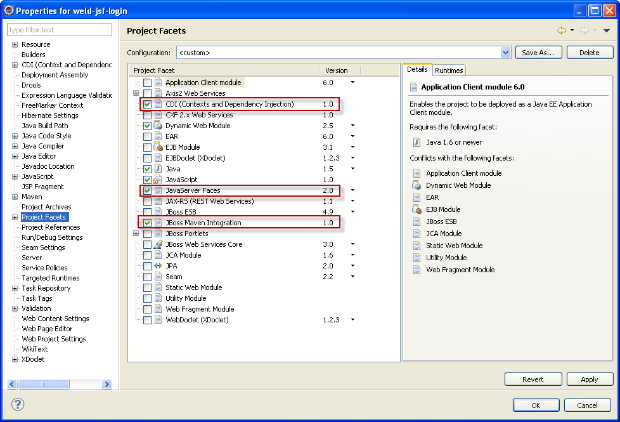
The application includes the JBoss CDI and WTP JSF feature.

facets.png


The following examples can be created in a similar way:

  • numberguess
  • permalink
  • pastecode
  • translator


References


Weld - JSR-299 Reference Implementation
JBoss Tools Guides - Latest Version
m2eclipse - Maven integration for Eclipse

Filter Blog

By date:
By tag: