The JBoss Tools Source Lookup plugin automatically adds a source attachment when debugging JBoss AS servers.
The plugin has been tested with JBoss AS 7.x and JBoss AS 6.1.
Installing the JBoss Source Lookup plugin
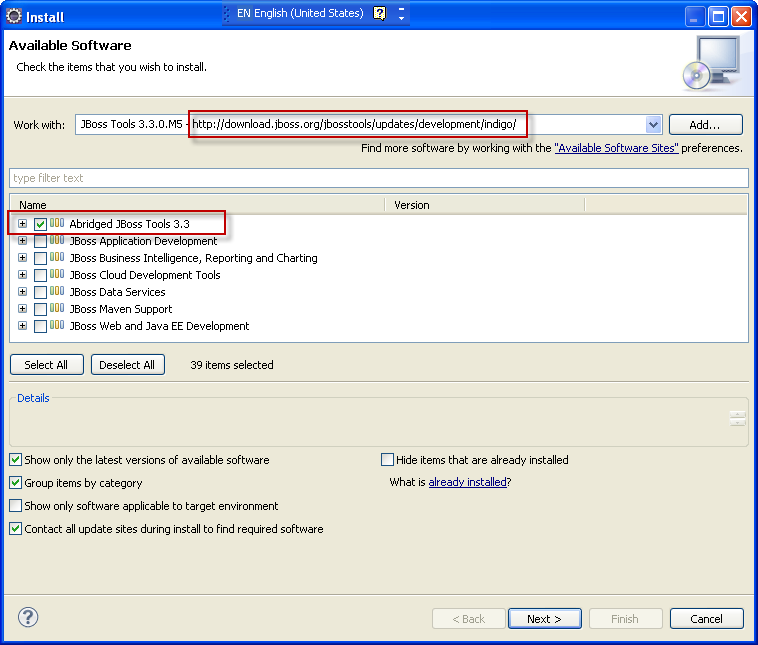
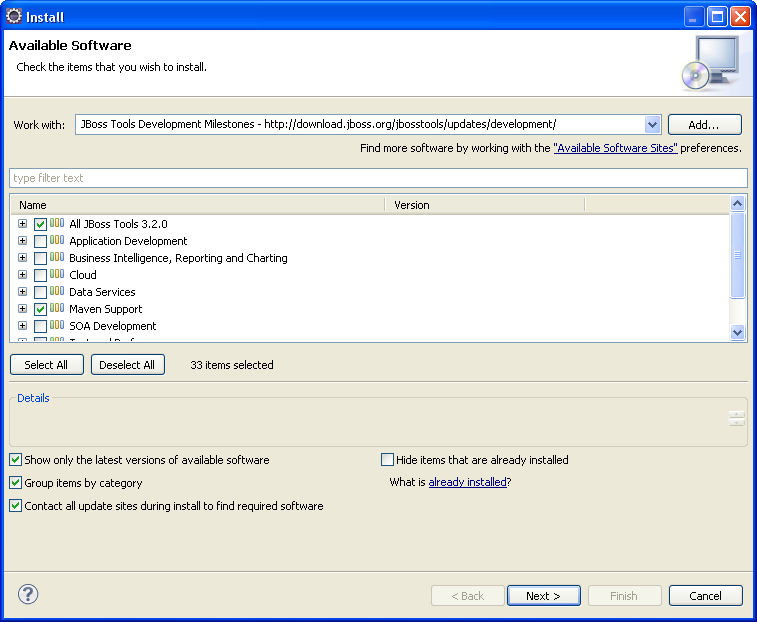
- install JBoss Tools 3.3 as described in Learn Java EE 6 quickly using JBoss Central
Note: Since JBoss Tools 3.3 Beta3 JBoss Source Lookup is available and part of JBoss Tools Maven integration.
No need to install JBoss Source Lookup from the temporary updatesite anymore.
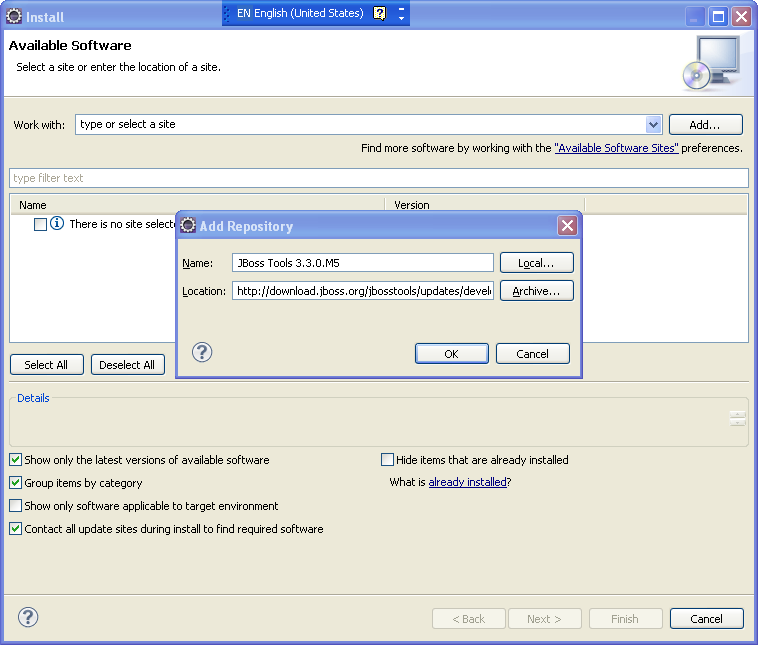
- call Help>Install New Software..., click the Add button and enter the following update site:
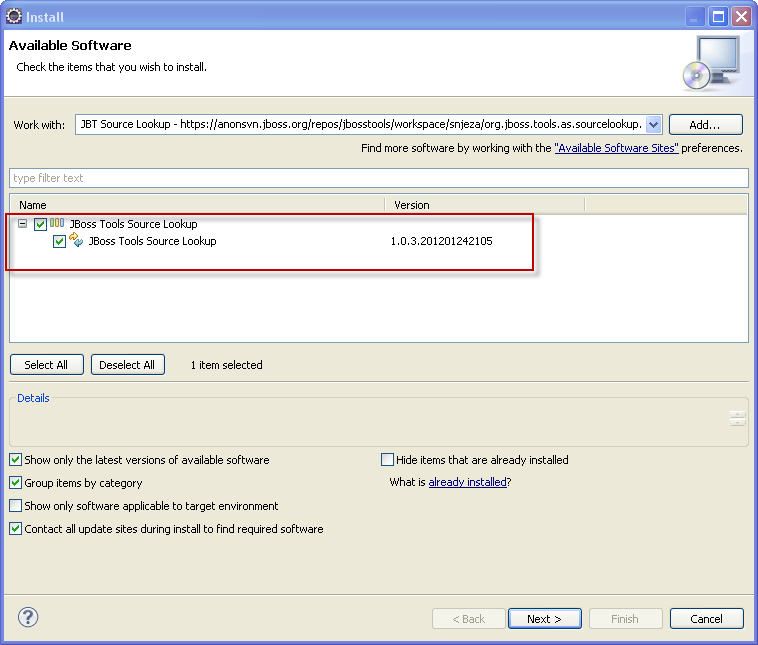
Install the JBoss Tools Source Lookup category and restart Eclipse.
Using the JBoss Source Lookup plugin
- set up the central JBoss Maven repository as explained in: Maven Getting Started - Users
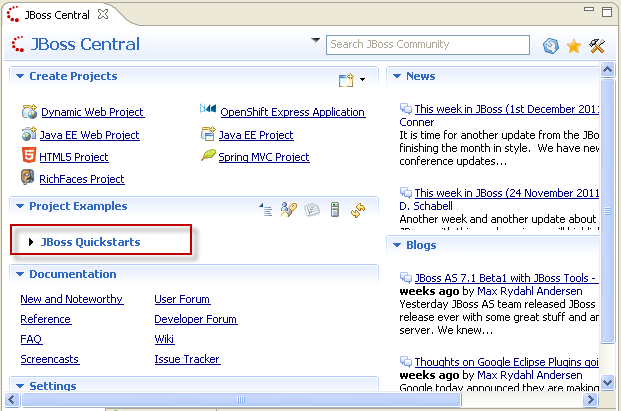
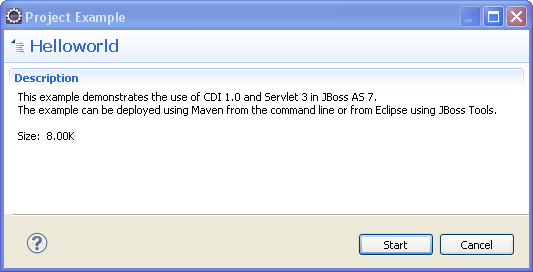
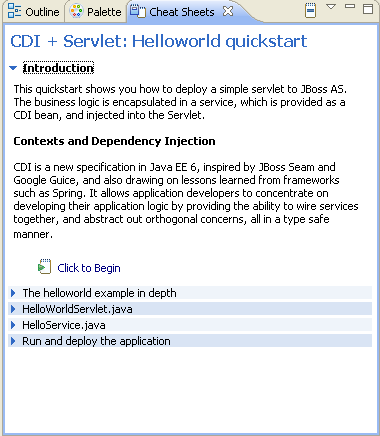
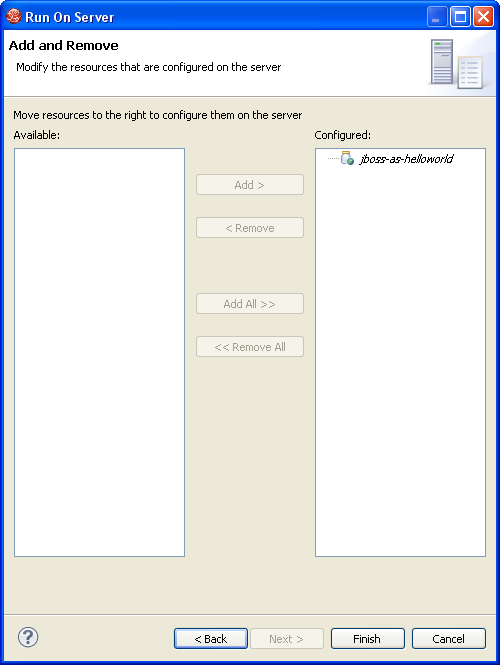
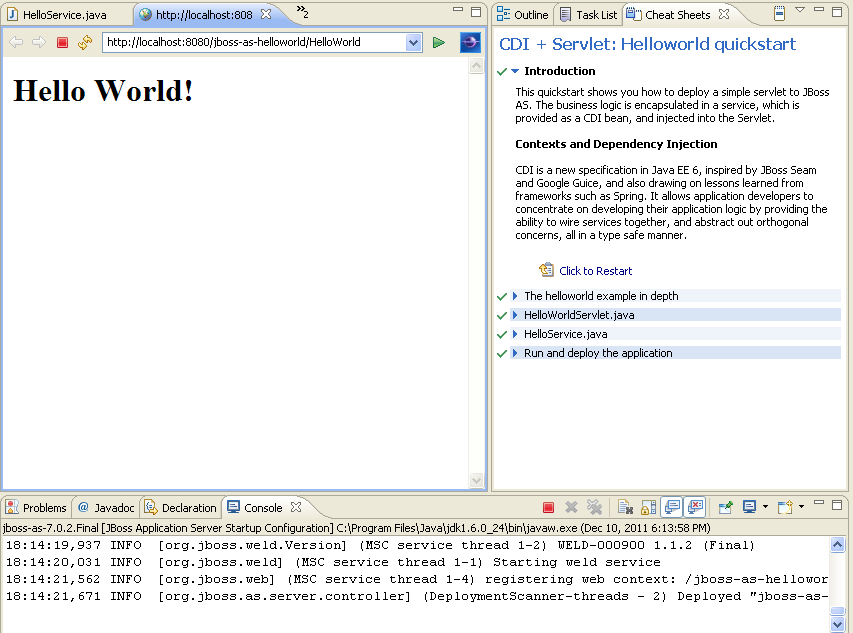
- create the jboss-as-helloworld project by following the instructions in Learn Java EE 6 quickly using JBoss Central
- wait for Maven to refresh indexes
The use and debugging of this plugin is demonstrated in the following screencast: Debugging JBoss AS server.
The JBoss Source Lookup plugin enhances source attachment in the following way:
- archive file doesn't have to be in the maven classpath
- archive file doesn't have to be included in the classpath (jbossweb-*.jar, for instance). The JBoss Source Lookup plugin will find a class within a JBoss AS distribution and, if it is a Maven artifact, the plugin will attach the corresponding source.
- archive file doesn't have to be in the m2e index (jbossjts-4.16.0.Final.jar, for instance)
You don't have to add any JBoss AS Runtime to the classpath. I have added it in order to ensure the classes within the runtime are included in the Java Search and in order to be easier to add a breakpoint.
Debugging Apache Tomcat and Glassfish servers
The JBoss Source plugin can serve to debug other servers.
If a server includes mavenized archives, the JBoss Source container will find, download, and show source files.
I have tested the Apache Tomcat 7.0.25 and Glassfish 3.1.1.
If you want to debug Apache Tomcat and/or Glassfish, you have to do the following:
- create some Apache Tomcat/Glassfish server

- open the server editor
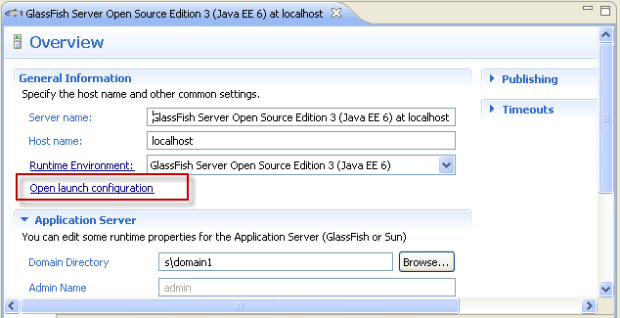
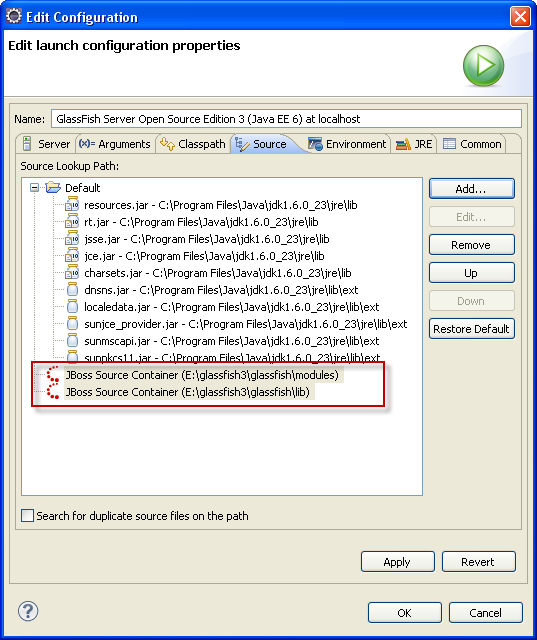
- click Open launch configuration and select the Source tab
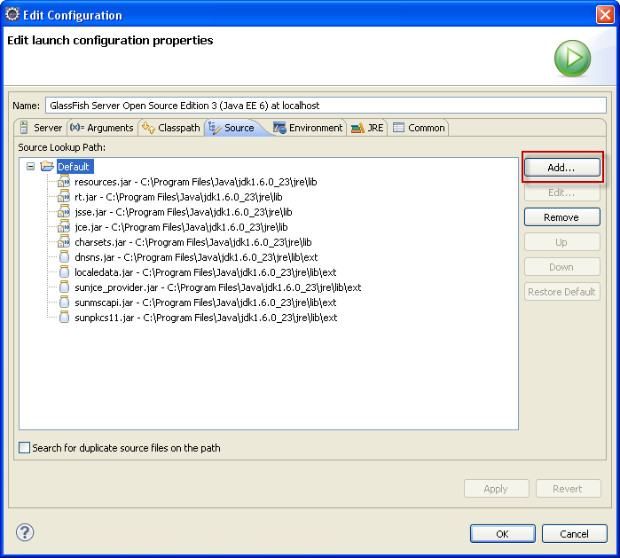
- click the Add button and select the JBoss AS Source Container
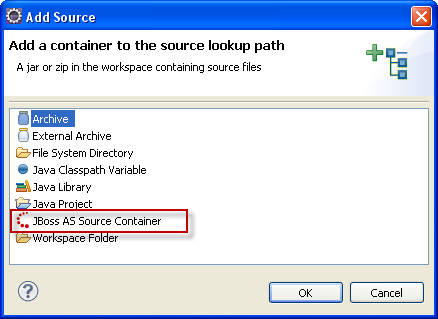
- JBoss AS servers will be automatically recognized and you can choose them by clicking a server
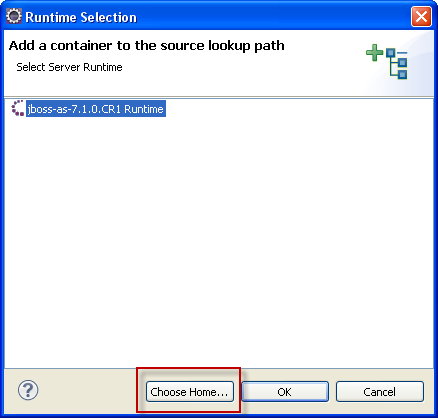
As to other servers, you need to click the Choose Home button, select all the directories in which the server's archives are placed.


If you debug Tomcat, you can choose $TOMCAT_HOME/lib. When debugging Glassfish, you can choose $GLASSFISH_HOME/lib and $GLASSFISH_HOME/modules.
You can add as many JBoss AS Source containers as you want.
- move a JBoss Source container(s) to the end (optional)
- you can add a Server Runtime container to the project's classpath (optional)

- start the server in the debug mode
StandardWrapper.java is placed in the glassfish's web-core.jar.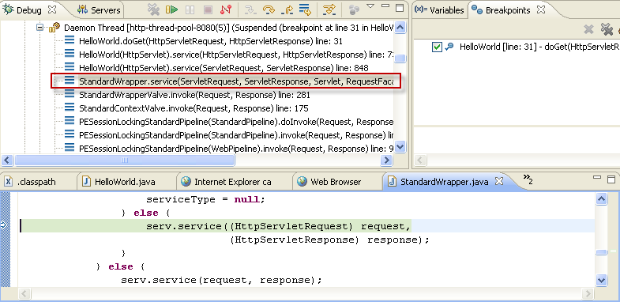
The Source Lookup plugin finds this archive's source and shows it in the editor.


In a similar way you can debug Apache Tomcat server.
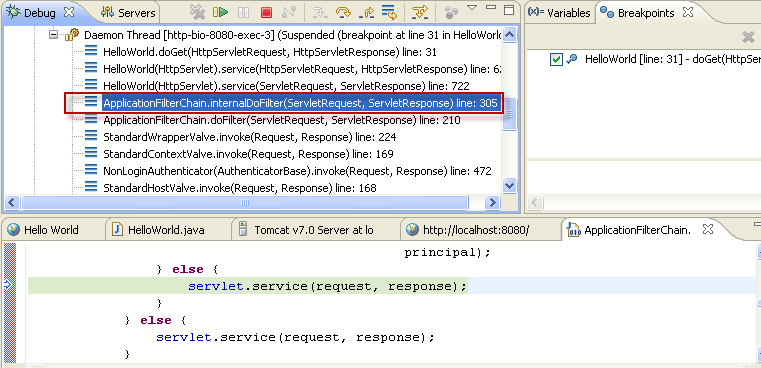
The ApplicationFilterChain.java is placed in the Tomcat's catalina.jar archive.
The Source Lookup plugin finds source for a mavenized archive as follows:
- using the m2e API
- using the archive's metadata (META-INF/maven)
- using nexus repositories that can be defined using the Source Lookup preferences page
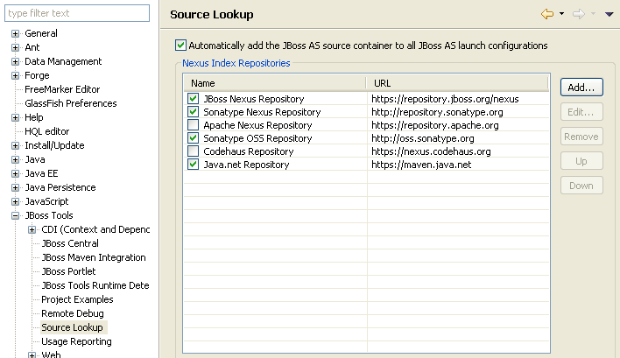
The Source Lookup preferences page enables you to add/remove, enable/disable and/or change ordering of Nexus repositories.
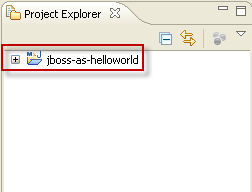
You can see that the helloworld project I have used in this blog, is not a maven project (it doesn't contain the maven icon).
JBoss Source Lookup plugin can be used to debug any Java project.
The plugin doesn't have to be used for debugging only.
It will find, download and open a source file for a mavenized archive included in the classpath when double-clicking a class file in the Package Explorer view, opening it using Navigate>Open Type or some other way.
The JBoss Source Lookup plugin can be used for any Java project and any launch configuration.
Note: When starting debugging the first time, it could take some time until m2e updates indexes and the JBoss Source lookup plugin scans the container's directory.