With JBoss Tools 3.2 Beta 2 it is simple to start using CDI (Context Dependency Injection).
All you need is the following:
- JBoss AS 6 or another Eclipse supported CDI container such as Glassfish
- JBoss Developer Studio 4 Beta 2 or another Eclipse with JBoss Tools 3.2 Beta 2 installed
- 5 minutes to watch or read the following blog
Here it is as a video walk through:
...and here are the steps in Screenshot form:
Step 1: Install/Configure the Server runtime
The simplest way to setup JBoss runtimes is to use the "JBoss Runtimes" preference page which are available
via the Preferences or by simply pressing Ctrl+3 and type in "JBoss runtimes".
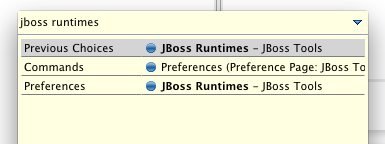
When pressing enter you should see the following Preferences page:
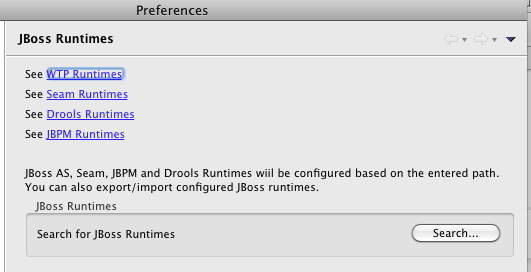
Click the "Search..." button and point it to a directory with your JBoss runtimes; in this case I got a few.
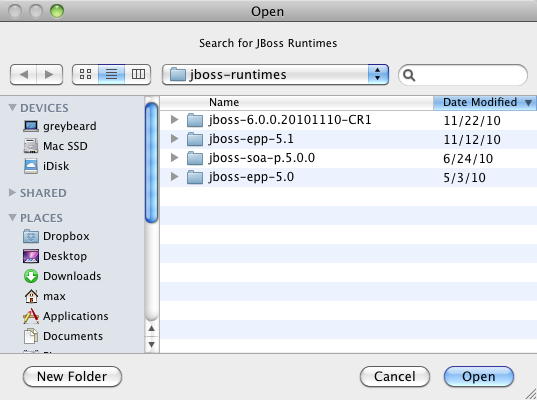
When you have selected the directory JBoss Tools will scan for runtimes it knows about and show
you what it found:
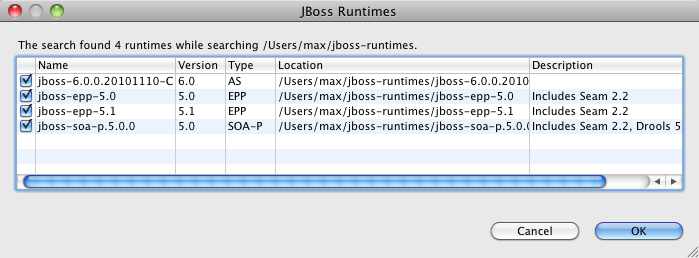
In this dialog you can then remove the checkmarks for runtimes you do not want configured or simply press OK and JBoss Tools will make all selected runtimes available from within the IDE.
For the Server parts it is now availabe in the server view:
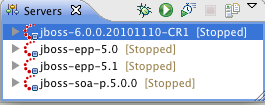
From here you can start the server (in this case JBoss 6) by clicking the Debug or Run icon. If you start via Debug icon the server will wait at any breakpoints you have set in your code and allow you to inspect the current state.
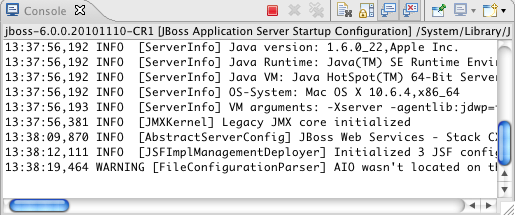
In any case when the server starts up it sends the output of the console to the Console View:
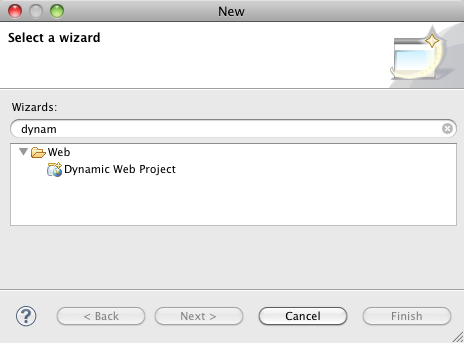
Step 2: Create the Project
Now use the File > New > Dynamic Web Project or simply press Ctrl+N and find the "Dynamic Web Project" wizard
On the Wizard page, type in a project name (i.e. "cditest") and Click the "Modify" button under Configuration.
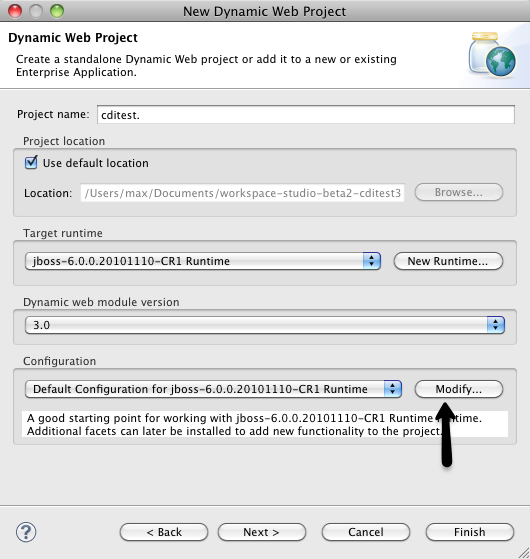
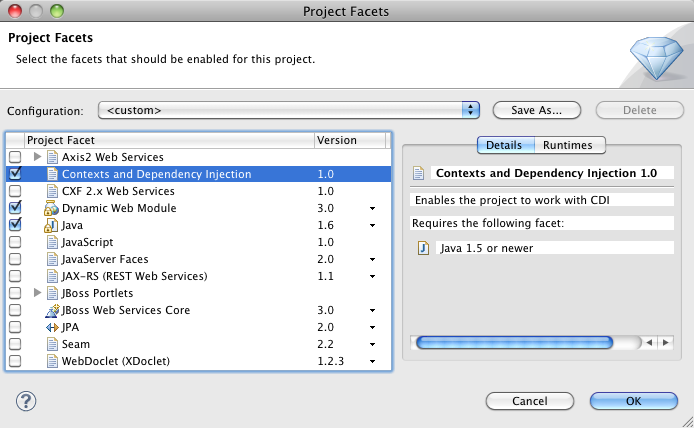
The Modify Configuration is where you can enable/disable what Eclipse calls project facets.
In this case we simply want to enable the Context Dependency Injection facet.
Now Click Ok and press Finish on the Wizard and a basic WAR project will be created for you.
Step 3: Create the code
The code we will create are the minimal for printing out Hello World via a servlet.
We will need to add the following files:
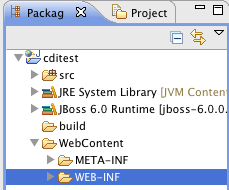
- WebContent/WEB-INF/beans.xml to enable CDI fully for the project (in next revision of JBoss Tools this file will be created for you)
- src/org/cditest/HelloWorld.java the bean for giving the "Hello World" greeting.
- src/org/cditest/HelloServlet.java the servlet for rendering the greeting in its response method.
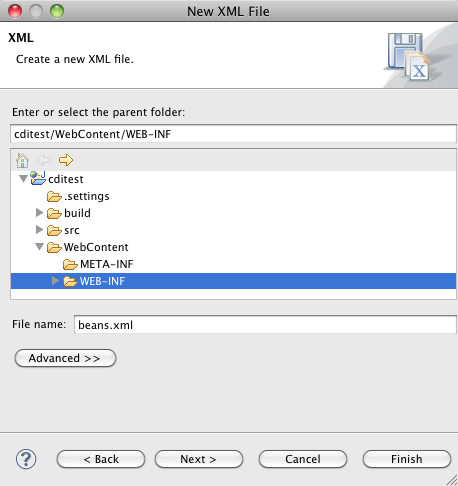
To create the bean.xml simply use Ctrl+N and type in "XML File" and choose the WebContent/WEB-INF folder and give it the name: beans.xml
The default file is empty, but we need to add the following content to make it work:
<beans/>
that will suffice for this blog; remember the beans.xml file is simply just
a marker file to inform the CDI container that the War archive should be scanned for beans.
Next on comes the HelloWorld and Servlet class - for this I will just paste the simplest code
which you can paste into two .java files or use Eclipse's excellent wizards for it. If you want to see the full steps for this you can watch the video above.
HelloWorld.java:
package org.cditest;

public class HelloWorld {
    public String getGreeting() {
        return "Hello World!";
    }
}
HelloServlet.java:
package org.cditest;

import java.io.IOException;
import javax.inject.Inject;
import javax.servlet.*;
import javax.servlet.annotation.WebServlet;
import javax.servlet.http.*;

@WebServlet("/HelloServlet")
public class HelloServlet extends HttpServlet {
    @Inject private HelloWorld hello;

    public HelloServlet() {
        super();
    }

    protected void doGet(HttpServletRequest request, HttpServletResponse response)
        throws ServletException, IOException {
        response.getOutputStream().println("<html><h1>" + hello.getGreeting() + "</h1></html>");
    }
}
If you look at the code of the HelloServlet you can see it simply a class with a @WebServlet annotation to specify the context/url name, an @Inject annotated field called Hello and a doGet() method which prints out the value of hello.getGreeting().
In short, the simplest example of @Inject annotation on a servlet.
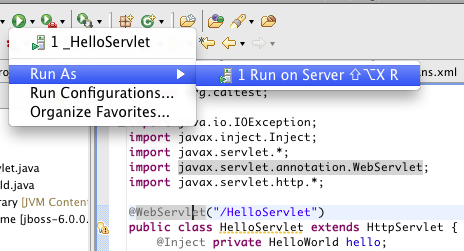
Step 4: Run the Servlet
From within Eclipse you can use the Run As... or Debug As... toolbar menu to run what is the current selection and the tools will try and guess what kind of "Run" that means. i.e. for an XHTML page named home.xhtml it might be to open up a browser at http://localhost:8080/home.seam or in this case for a Servlet to open up the browser at the @WebServlet specified location relative to the deployment name, i.e. http://localhost:8080/cditest/HelloServlet.
For new projects like this example Eclipse will ask you what Server you wish to run on:
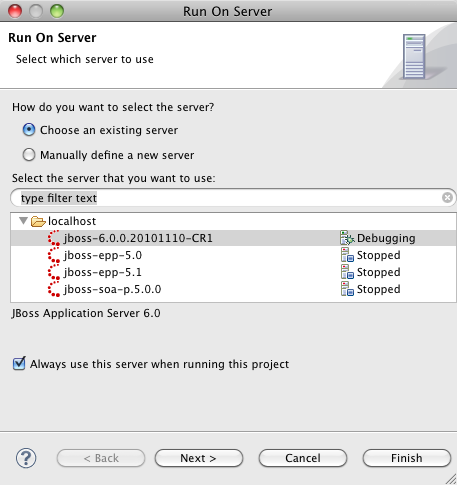
In this case I got several servers available, so I will choose the JBoss 6 server and
choose "Always use this server when running this project" so I will not have to answer
this question again on future Run's.
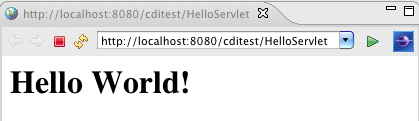
When the server is selected JBoss Tools will deploy the application and show the relevant page
in a browser:
Step 5: Have fun!
That is it - and there is of course more functionallity in the CDI tooling such as validations, quick fixes and code completions but I thought it would be good to just show the simplest application imaginable.
But with the steps described above you now know how to setup any JBoss runtime, create any kind of project and enable the Eclipse facets you want on them.
If you want to see how easy it is to debug your applications then watch the video above, it has a little more details.
Hope you enjoyed it
p.s. the exact same steps can be used to run against Glassfish or other CDI enabled servers that has Eclipse WTP server adapters.
