Step 1 of 8 - Next
JBoss Seam Getting Started Guide
Overview
This guide provides a step by step guide to setting up a functional, productive Seam development environment and deployment runtime. This guide will show you how to:
Install and Configure JBossAS With EJB3
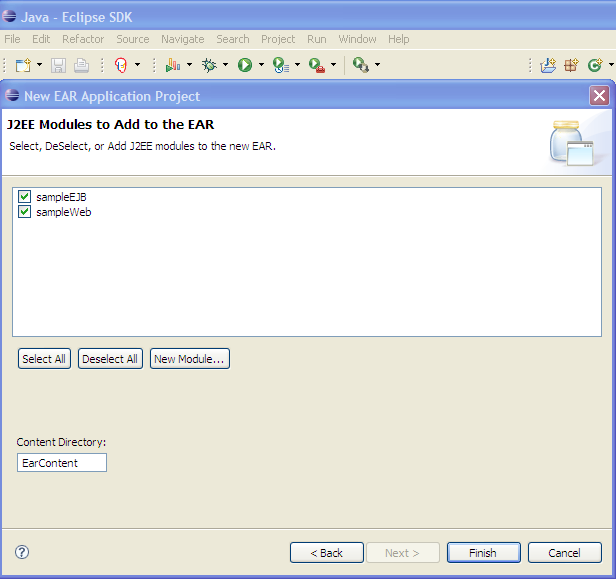
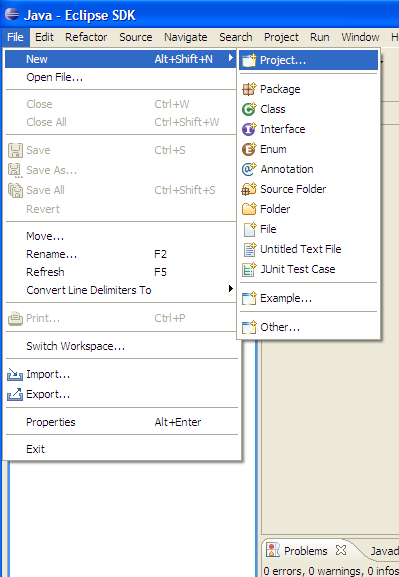
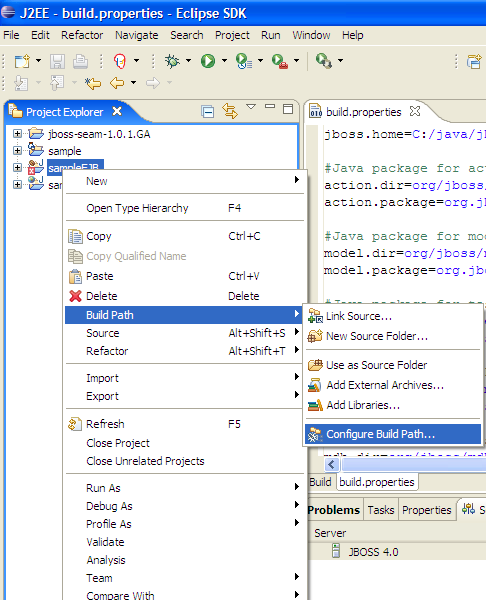
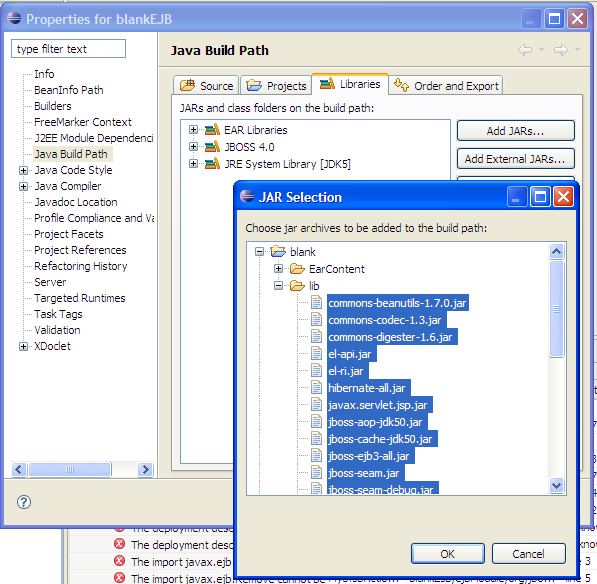
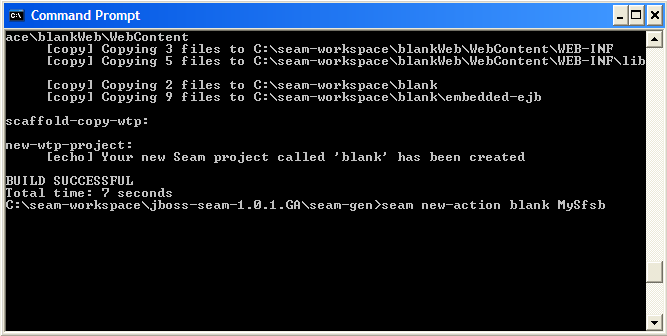
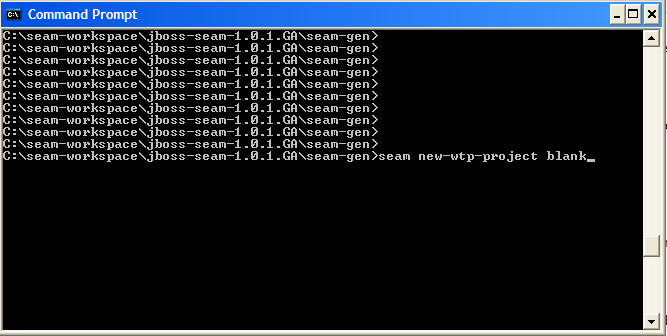
Generate/Deploy a Blank Seam Application Using seam-gen - Also generate SFSBs and facelets
After going through this guide, you will know how to:
Build and deploy applications using Seam, JBoss and Eclipse
Code generate new projects using seam-gen
Code generate SFSBs, facelets and other source code using seam-gen
Before you Begin
Make sure you have ant 1.6 or later installed/configured. You can get ant from http://ant.apache.org/.
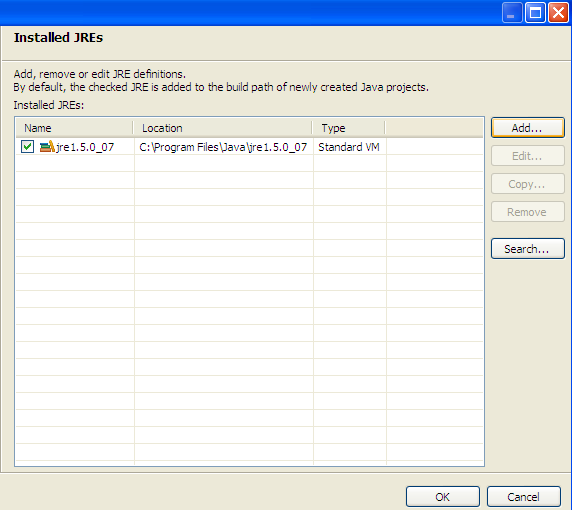
Make sure you have JDK 5. If you don't have JDK 5.0, you can get it from http://java.sun.com/javase/downloads/index.jsp.
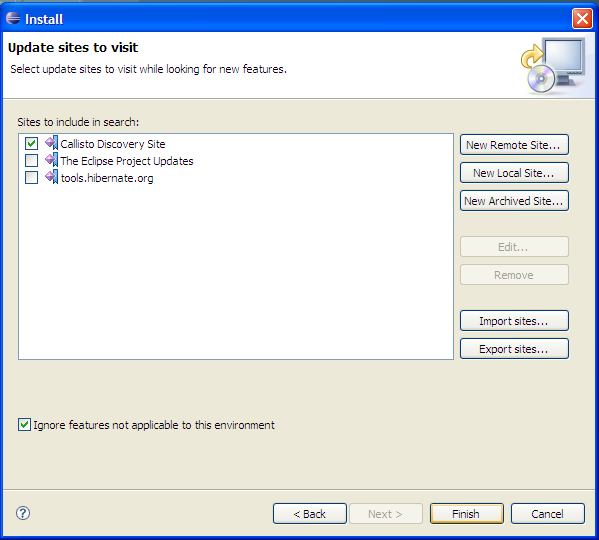
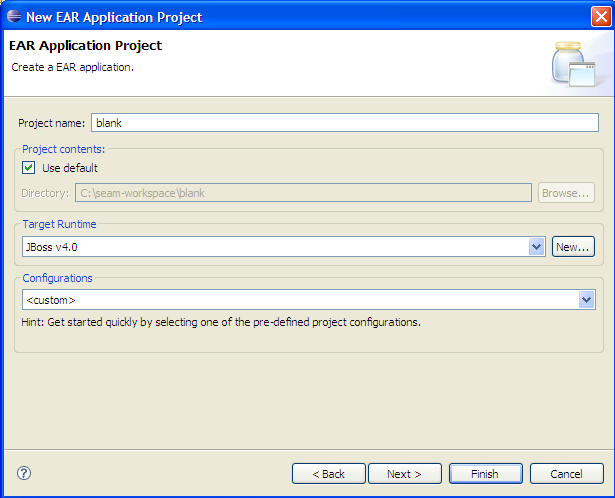
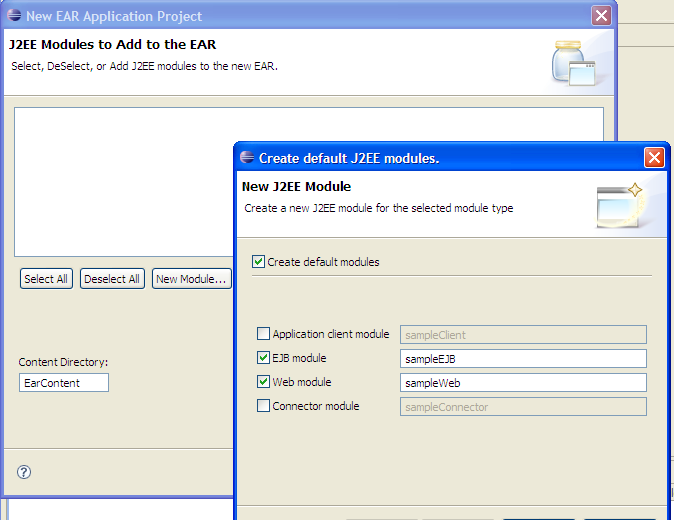
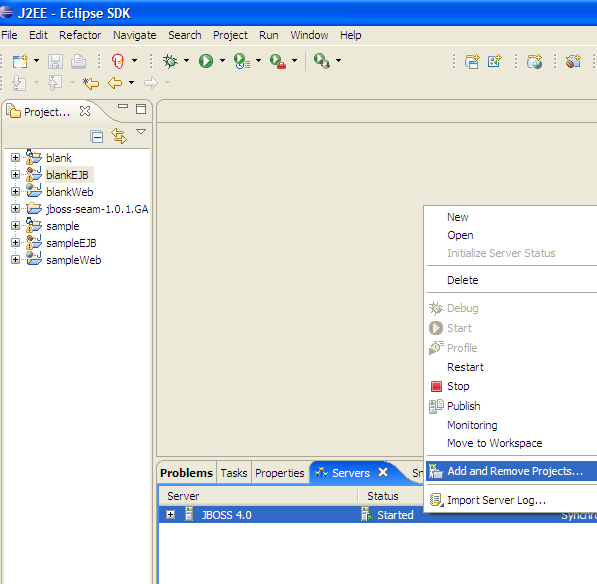
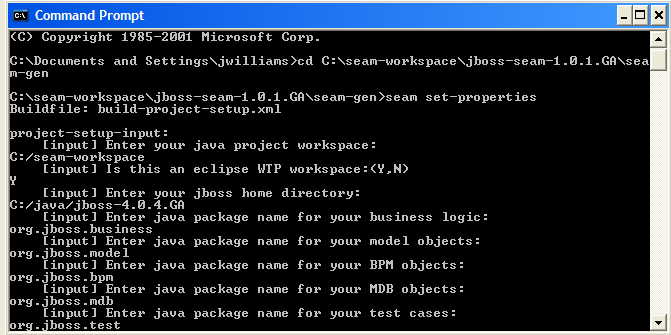
Step 1 - Install and Configure JBossAS With EJB3
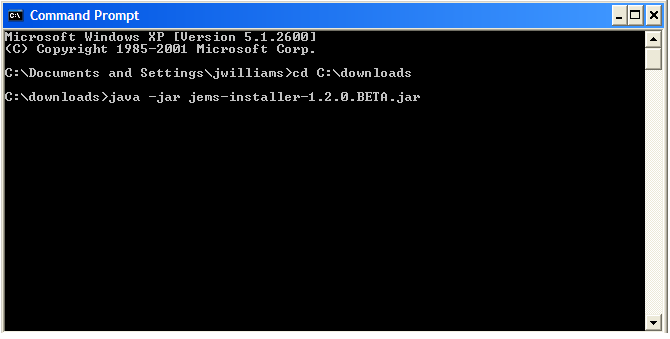
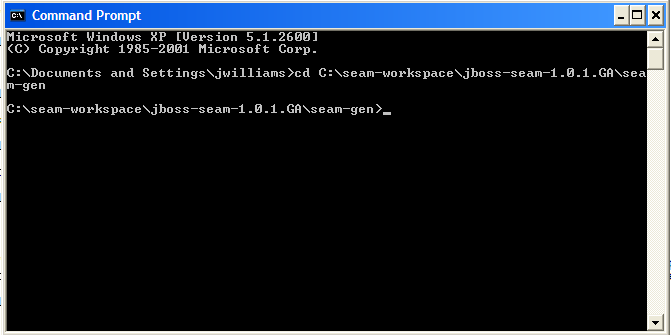
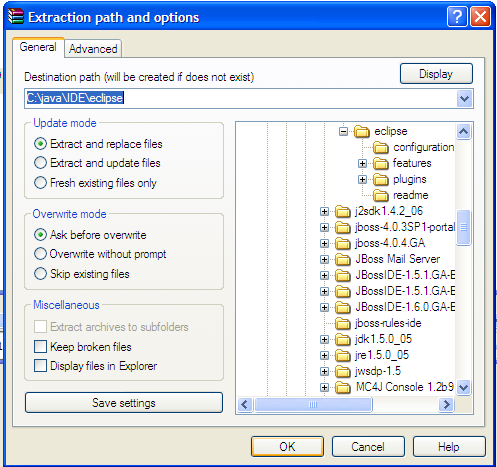
Download the JEMS installer from: http://prdownloads.sourceforge.net/jboss/jems-installer-1.2.0.BETA.jar?download. Next, you will need to open a command prompt, cd to the download directory and run the installer:
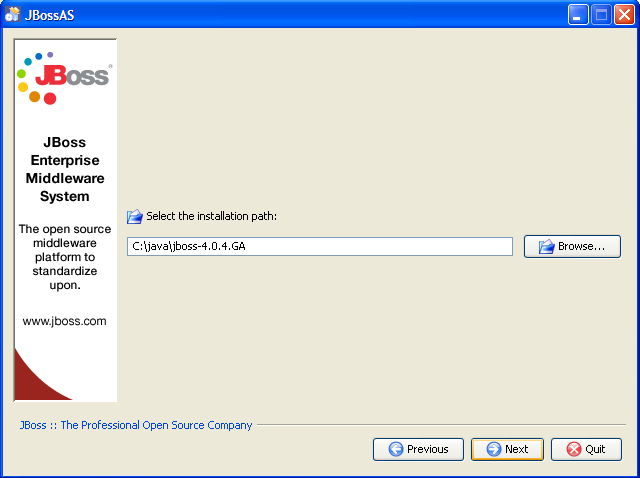
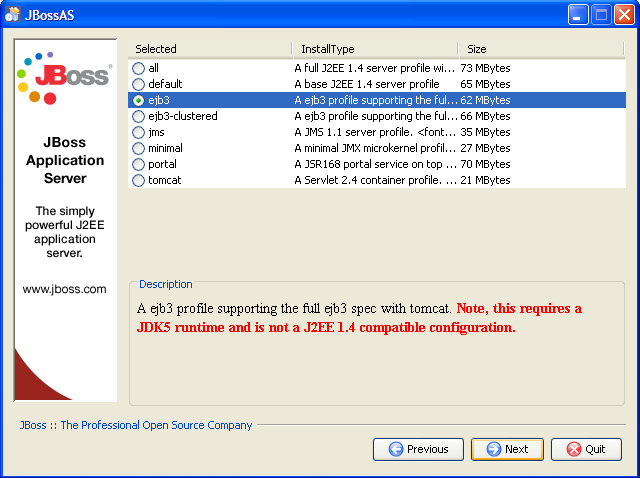
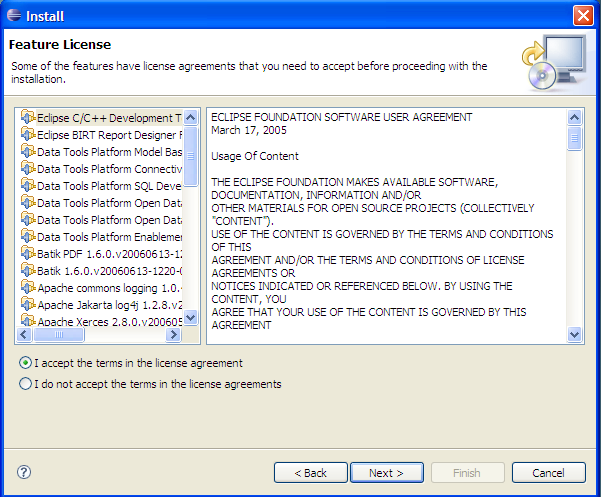
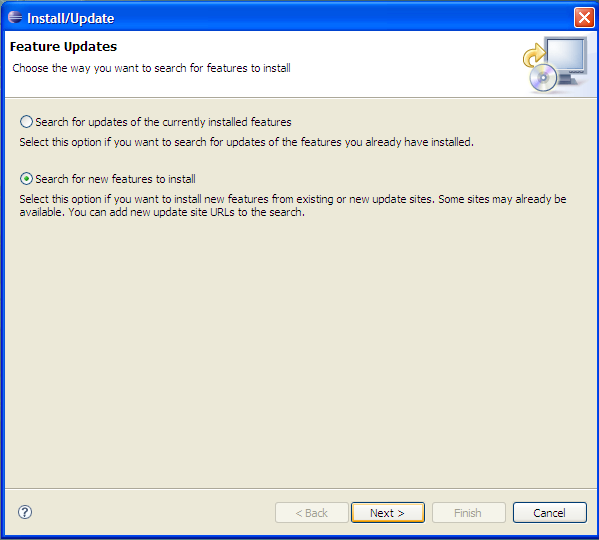
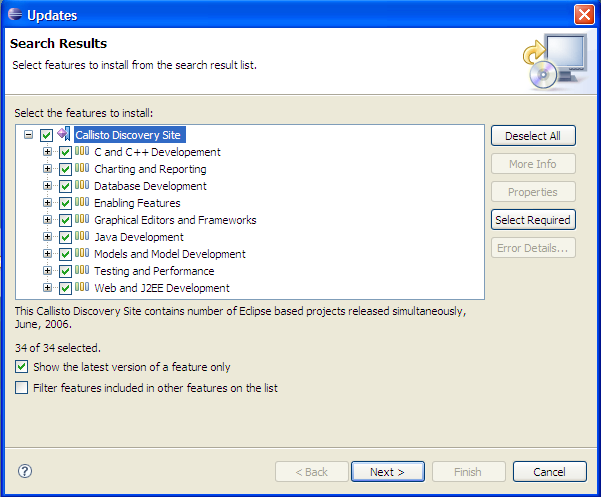
In the installer, you will click "Next" without changing any values on most screens. Below are the screens that you will need to input data or change the default selection:
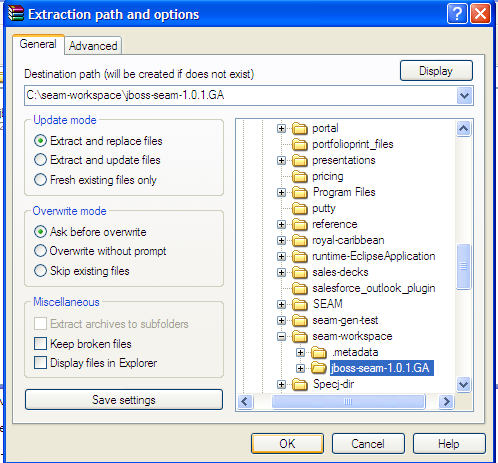
This screen allows you to provide a target directory for the install. It is recommended that you change this value to point to an easy to remember location.
This screen is reason why we are using the installer. We want to create an "ejb3" profile so that our Seam application will run correctly. And, it's very important that we use the latest EJB3 Candidate Release(CR8) with Seam.
Step 1 of 8 - Next


Comments